
Here's the final result:
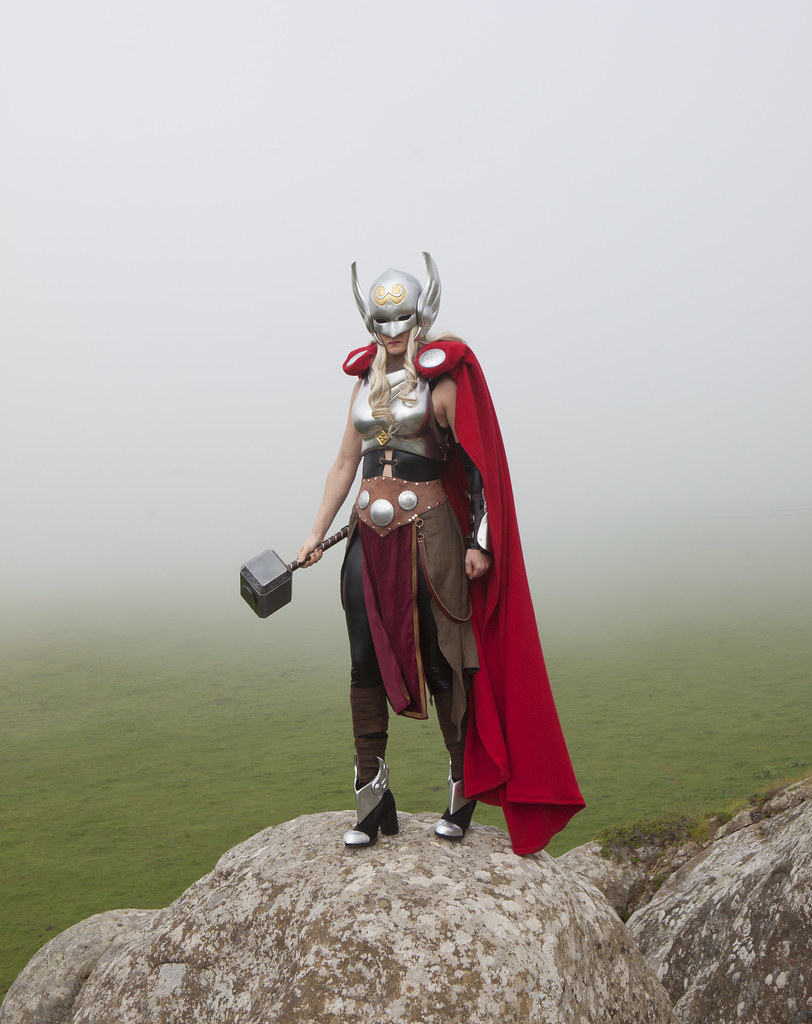
You can read about prototyping the helmet HERE and molding it HERE.
Then read about the armor making HERE.
For more details on how the little bits of sewing were done, read on...
I started with a wet-look zippered front catsuit like this one:

You can buy it here: LINK.
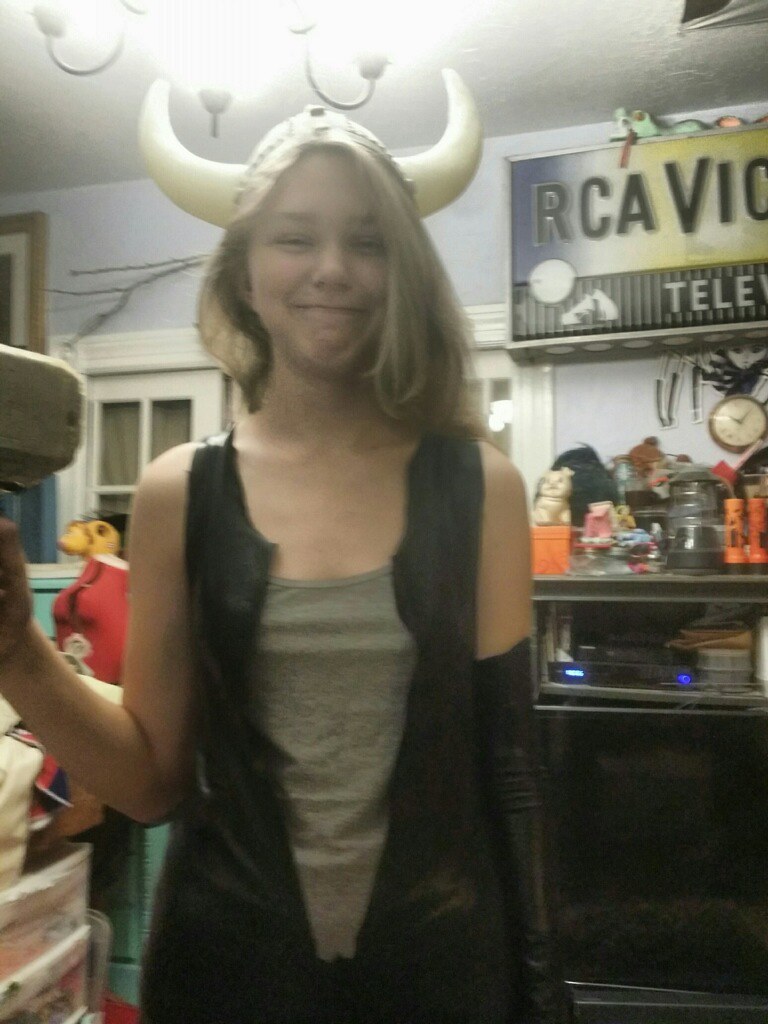
Once I had it in hand, I hit up a talented seamstress friend of mine who I could trust to modify it without mangling the finish on the fabric. She removed the sleeves, the collar and the zipper, and one of the sleeves was turned into a separate sleeve for the left arm. Somewhere in the middle of the whole process, she snapped a few embarrassing photos of her daughter to show me how progress was going:
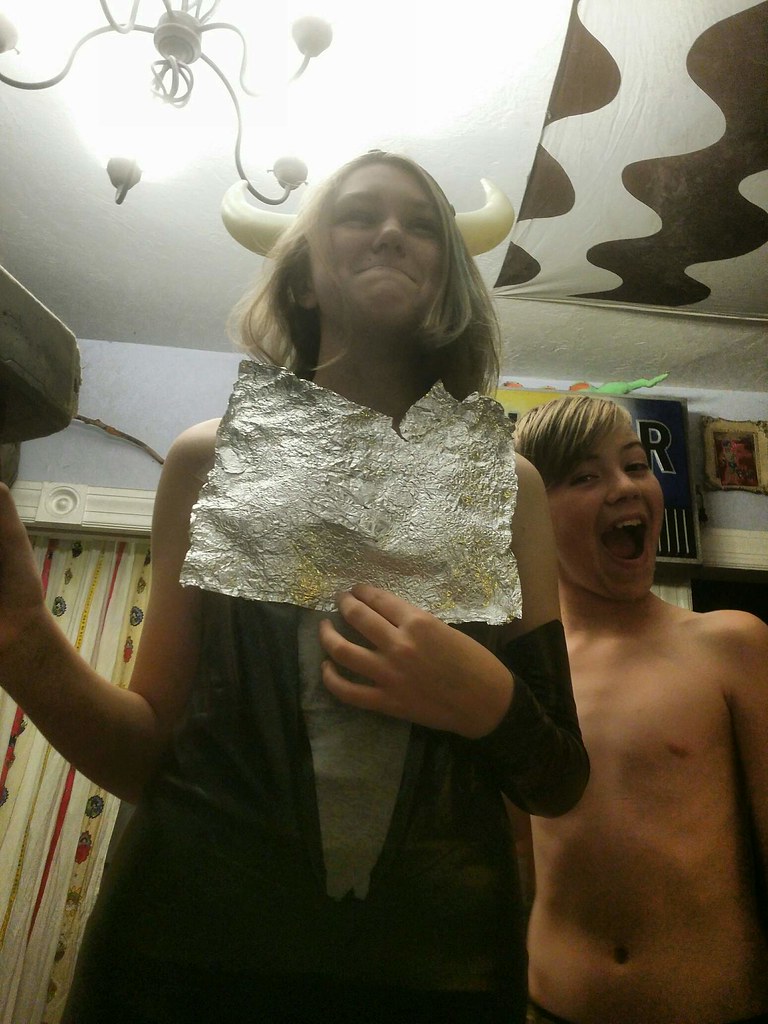
One of her younger kids decided it'd be clearer with the addition of an appropriately shiny armored chest plate:
And a cape:
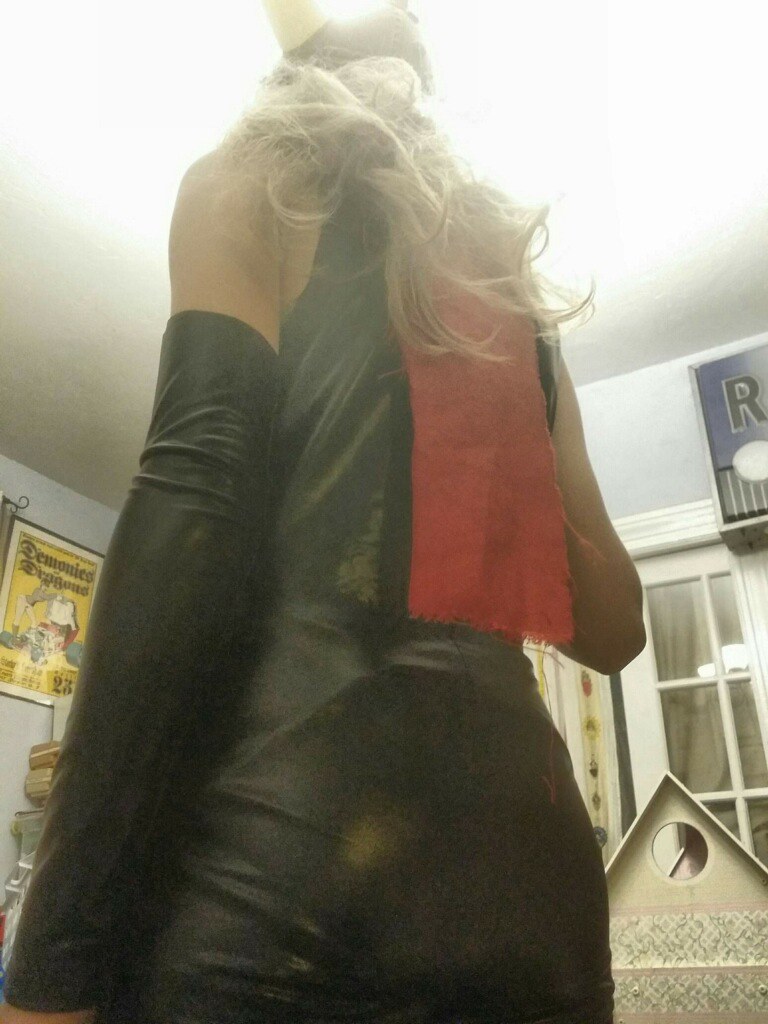
Poor kid.
Still, once the zipper was replaced with a couple of leather toggles, the undersuit was done.
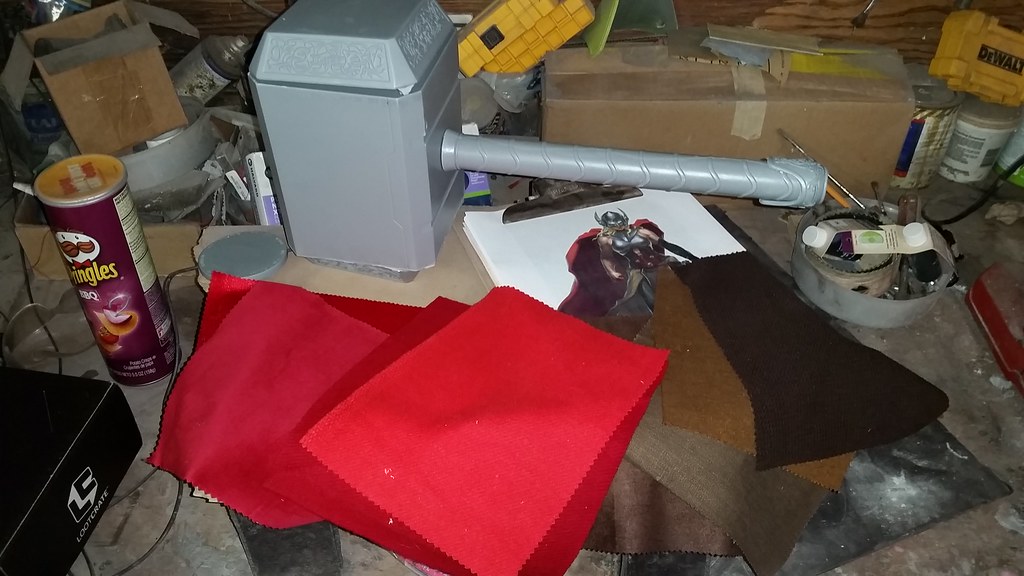
The other challenge was finding fabrics with the right textures and colors to make the rest of the soft parts. I started with all sorts of sample swatches:
My final selections were these:
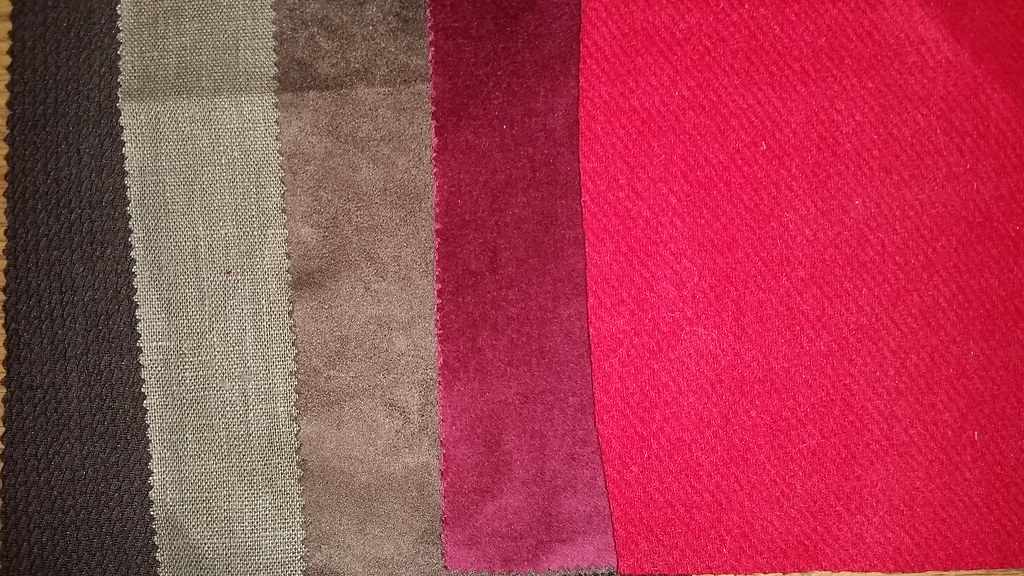
From left to right, a dark brown pique knit stretch fabric for the leg wraps, a lighter brown coarse linen for the rear skirt, a darker brown faux suede for the front skirt panel, a cabernet-colored velvet for another option for the skirt font, and a scarlet melton wool for the cape.
A little while later, I got the full order of all of the fabrics I needed.
I also picked up this braided gold trim:
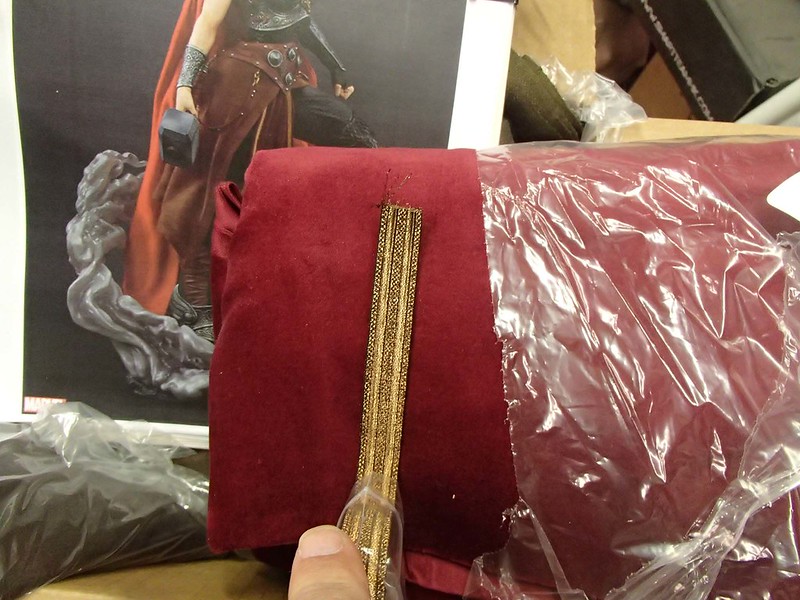
Then it was time to start on the skirt. I hit up a local seamstress who built the skirt around the back out of a coarse linen with the edges hemmed to keep everything neat and, then a drawstring sewn into the top to hold the whole thing in place under the belt. Piece of cake.
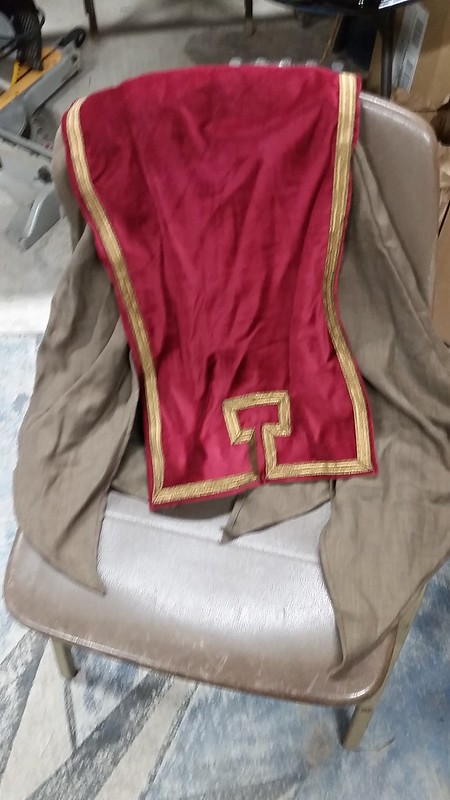
The front panel was a bit more involved. Because I hated myself too much to make up my mind, I decided to make it in two different colors so we would have options. One was a lovely velveteen in a just-right shade of "cabernet," and trimmed with some really nice gold bullion trim:
The other was a faux suede in a color called "chocolate:"
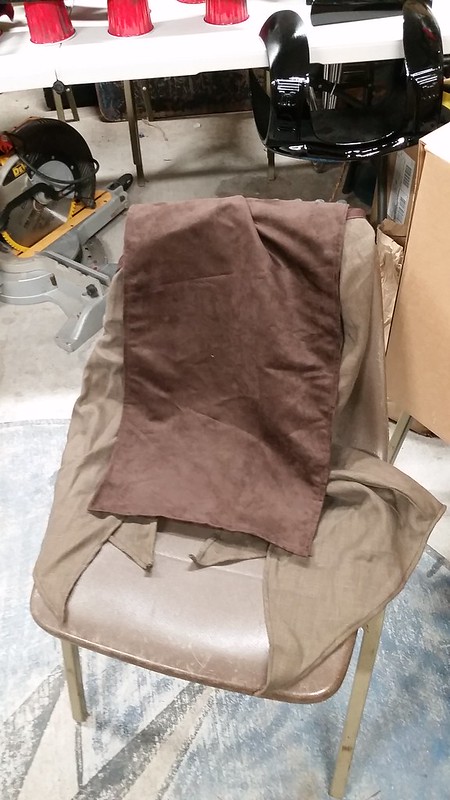
The last little detail was the legwarmers. I'm sure there's something in the lore of the character that makes this a combat-expedient kind of girding for better speed or some such thing, but I'm still going to call them legwarmers. In any case, the seamstress who had done such a wonderful job on my skirts took the textured stretch knit fabric I'd ordered special just for this project and fell right off the face of the earth. So in the last few minutes of the build, I asked the Lady Shawnon to go ahead and make up some quick strips of whatever brown fabric she could find on short notice. She did a great job:
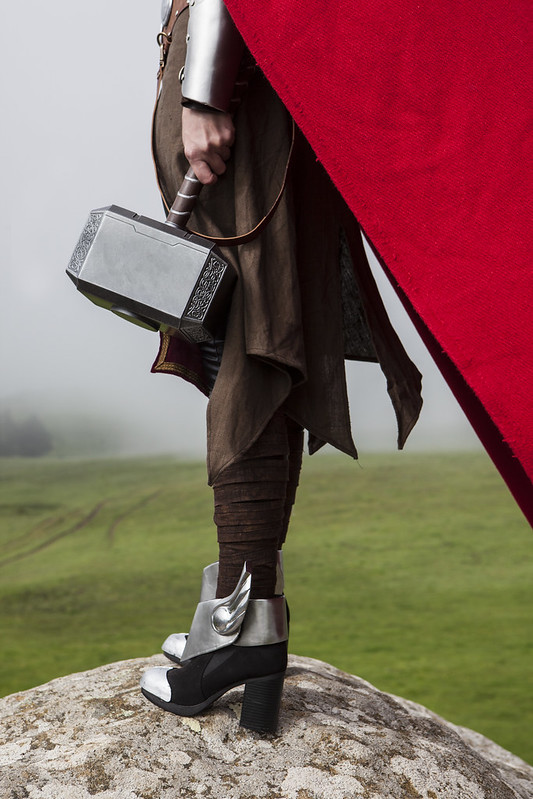
That was the last little thing, but there was one more big thing...
...the cape.
Building the cape began with a lightweight armature made of foamed PVC sheet (often called by the brand name "Sintra") that bolted onto the chest armor:
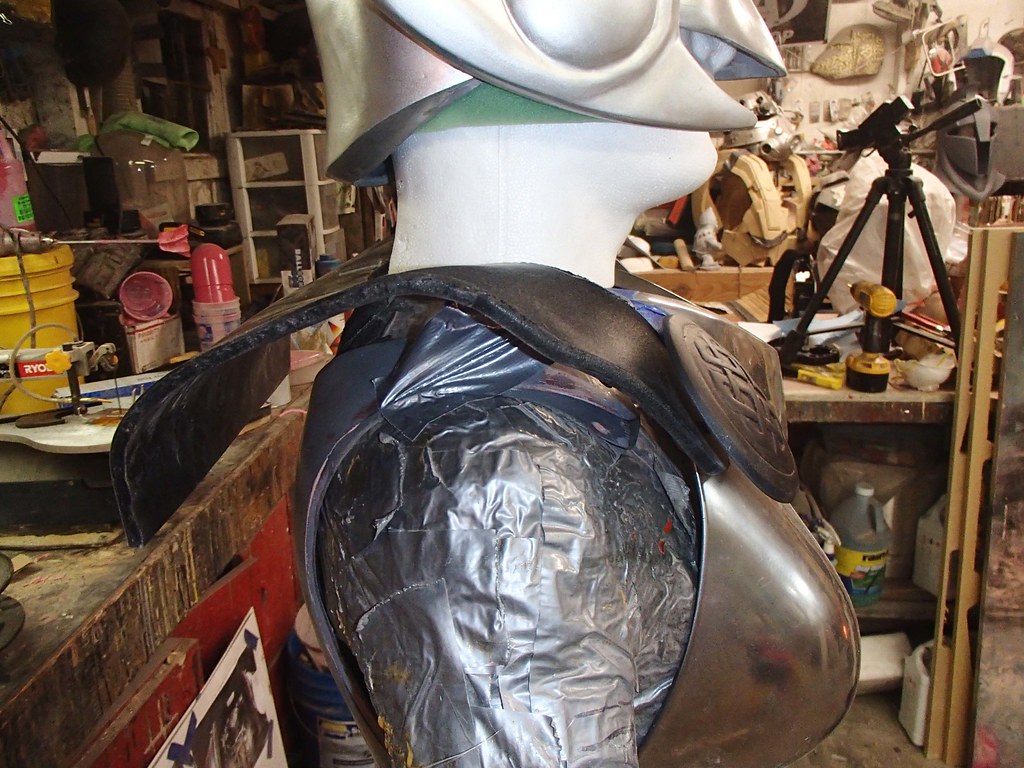
The front of the armature was drilled out and bolted to straps attached inside the front of the chest plate. The bolts threaded into the large disk pieces on the front of either shoulder to make everything neat and tidy:
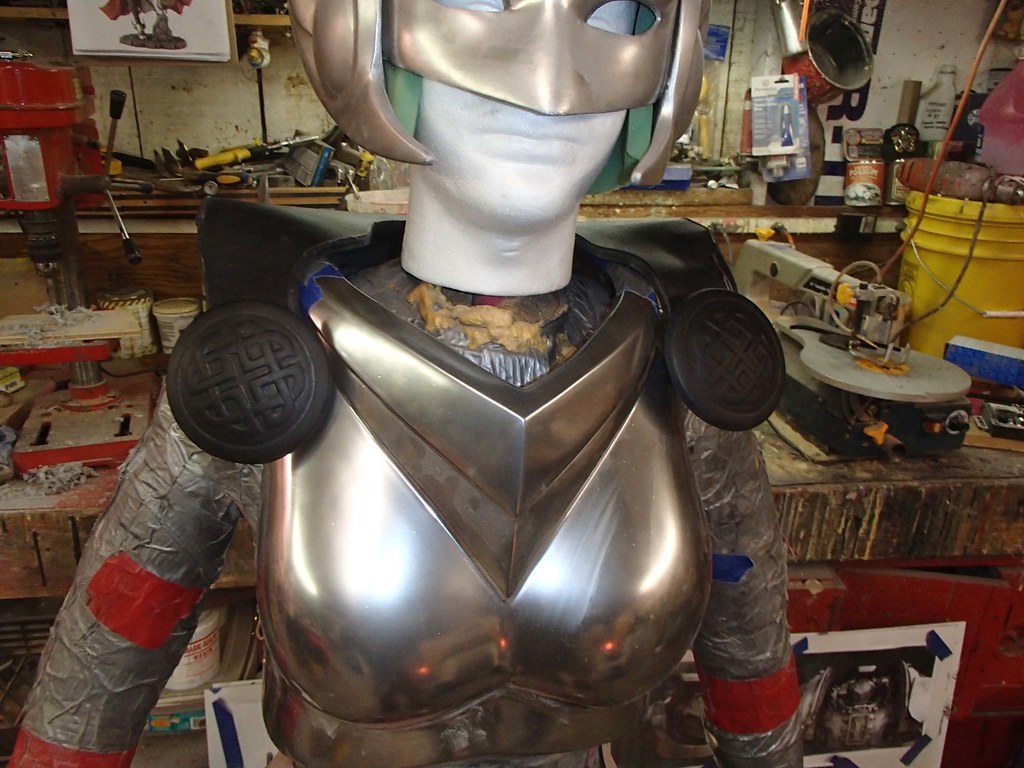
Once I was satisfied that this arrangement would work, the Sintra armature was padded with 1-inch upholstery foam, then wrapped in red stretch fabric to help it blend and become invisible under the actual cape.
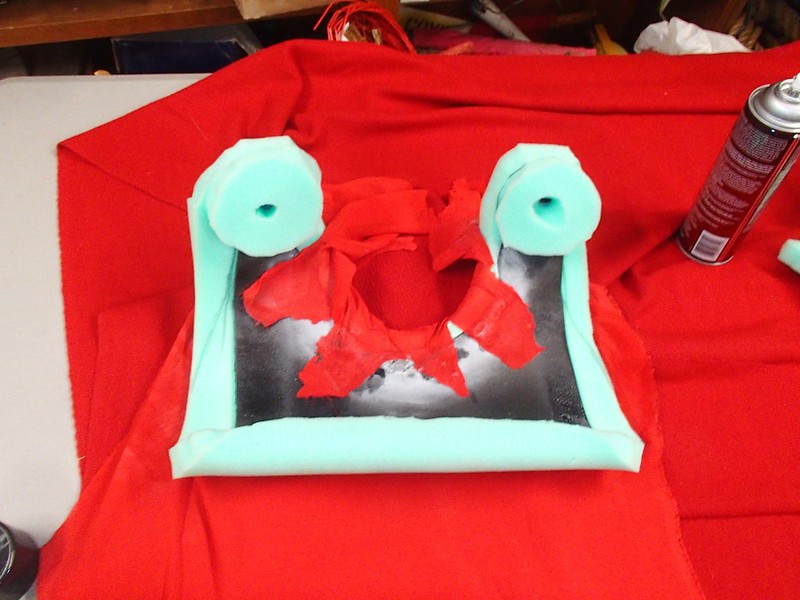
The fabric for the cape consisted of two yards of scarlet melton wool. This was screwed onto the forward edge of the armature with all of the gathers folded into it so that the cape would drape properly. Here it is before we took the time to hem the bottom edge:
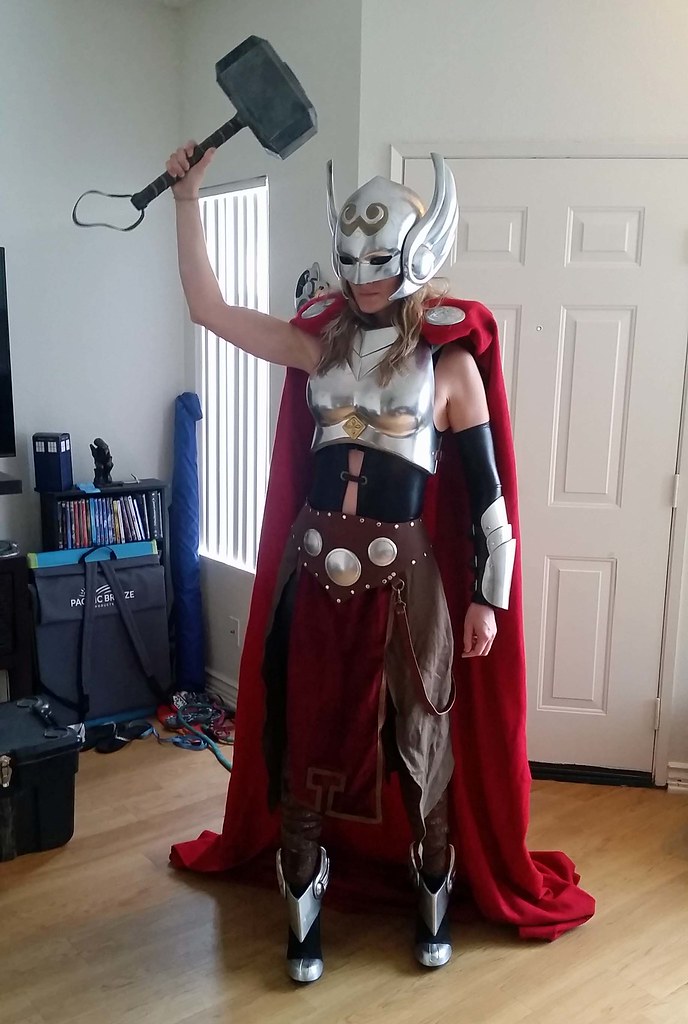
It does the trick.
So here's how the whole thing looks with the armor in place:
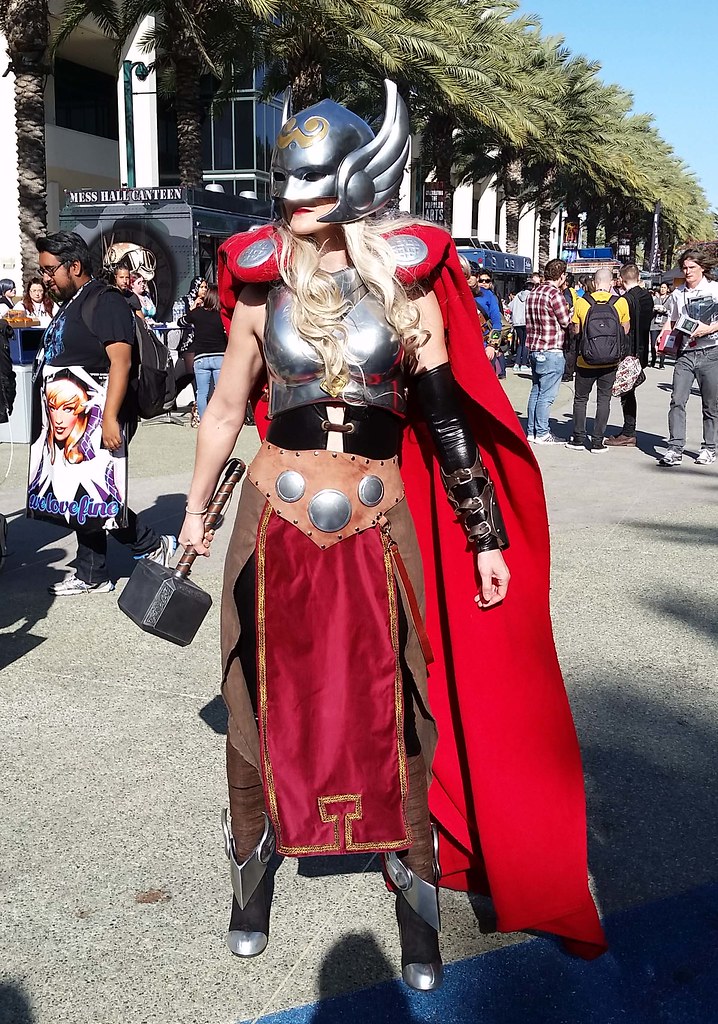
Stay tuned. There's better finished pictures coming soon!
No comments:
Post a Comment