While a lot of other makers have already jumped ahead and started making Deathtroopers, Shoretrooper armor, and Tank Driver helmets, I decided to reign myself in and just make this particular blaster rifle prop carried by this guy:

That's a new version of imperial soldier that's being called the "Shoretrooper" on a lot of the forums and a "Scarif Stormtrooper" on the action figure packaging. While I like that his armor will make it possible to sit down and possibly even jog comfortably, what I really like is the weapon. While it looks like some of them are just carrying the same old Blastech E-11 that stormtroopers carried in the original trilogy, others are armed with this beauty:

This is the Blastech E-22 Heavy Blaster Rifle.
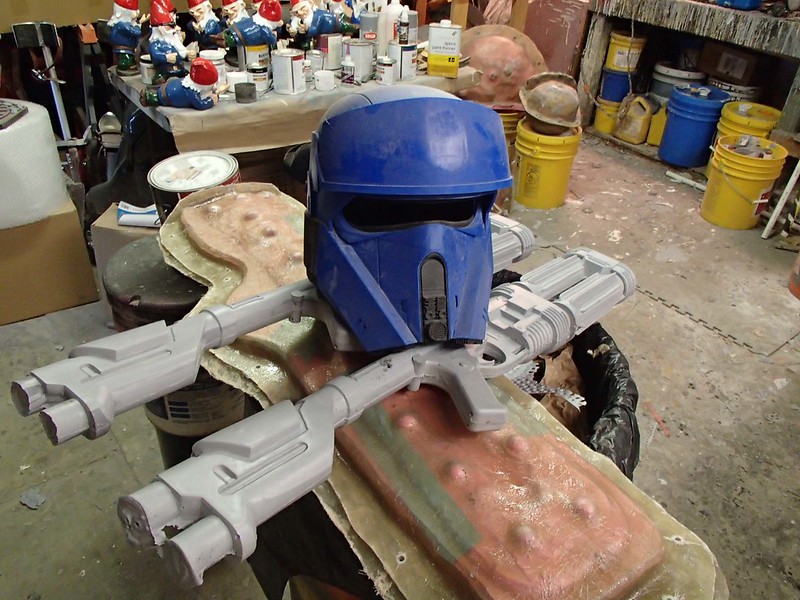
Here's my version:
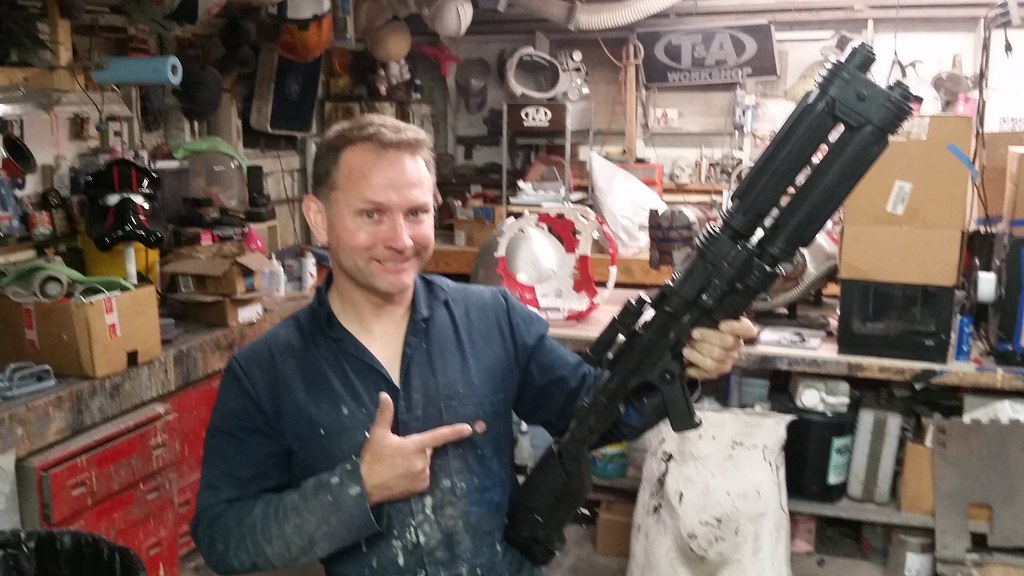
For details on the build (and better, focused pictures) read on...
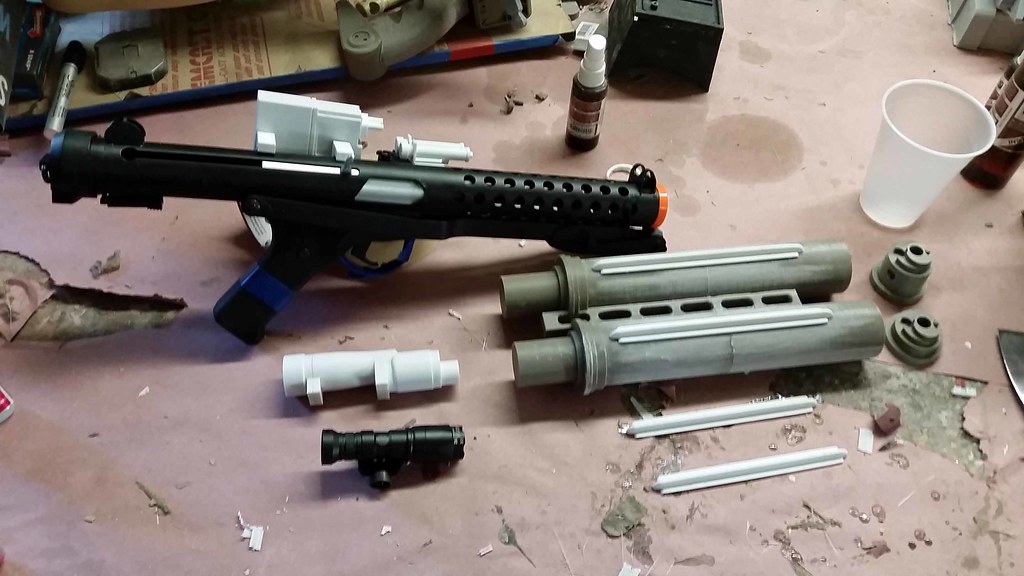
The first thing was a bit of shopping. For the light on the side, I used an Emerson LED Flashlight like this one: LINK.
Of course, if you'd rather spend money, I should point out that the Emerson light is a knockoff of the SureFire M300 Mini Scout LED Weapon Light which you can find here: LINK.
The base firearm used to make the stormtrooper's E-11 blasters in the original trilogy was a Sterling Submachine Gun. In Rogue One, the propmakers used an airsoft replica made by a company called S&T. I found mine here: LINK. Pulling it out of the box, it looked like so:
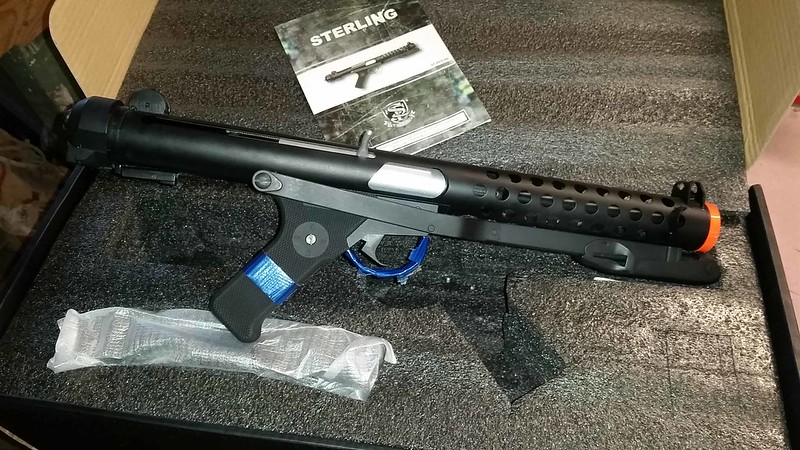
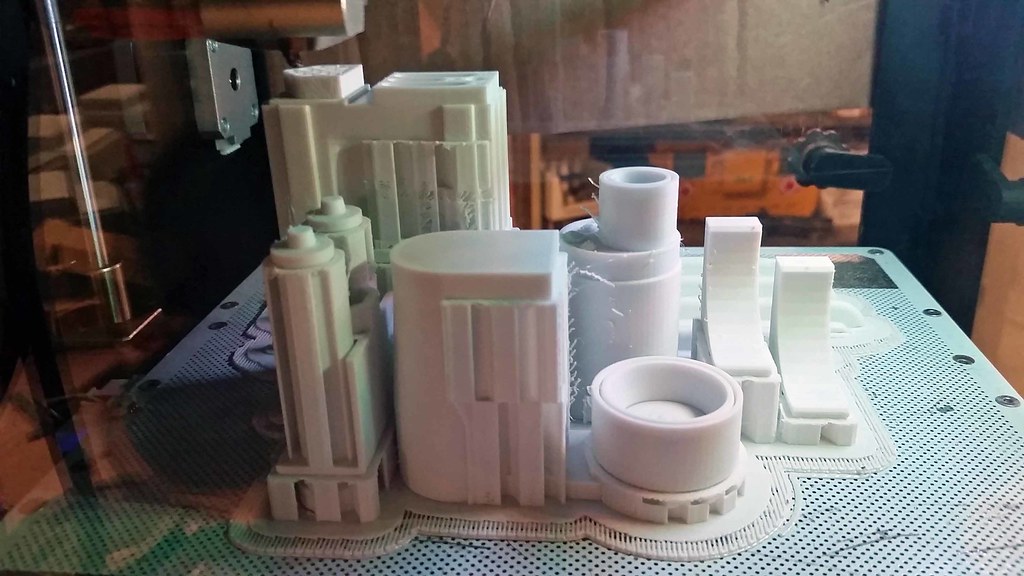
After using a pair of calipers to take a few key measurements off of the Sterling SMG, I fired up the 3D printers and set them to work churning out all of the add-on parts:
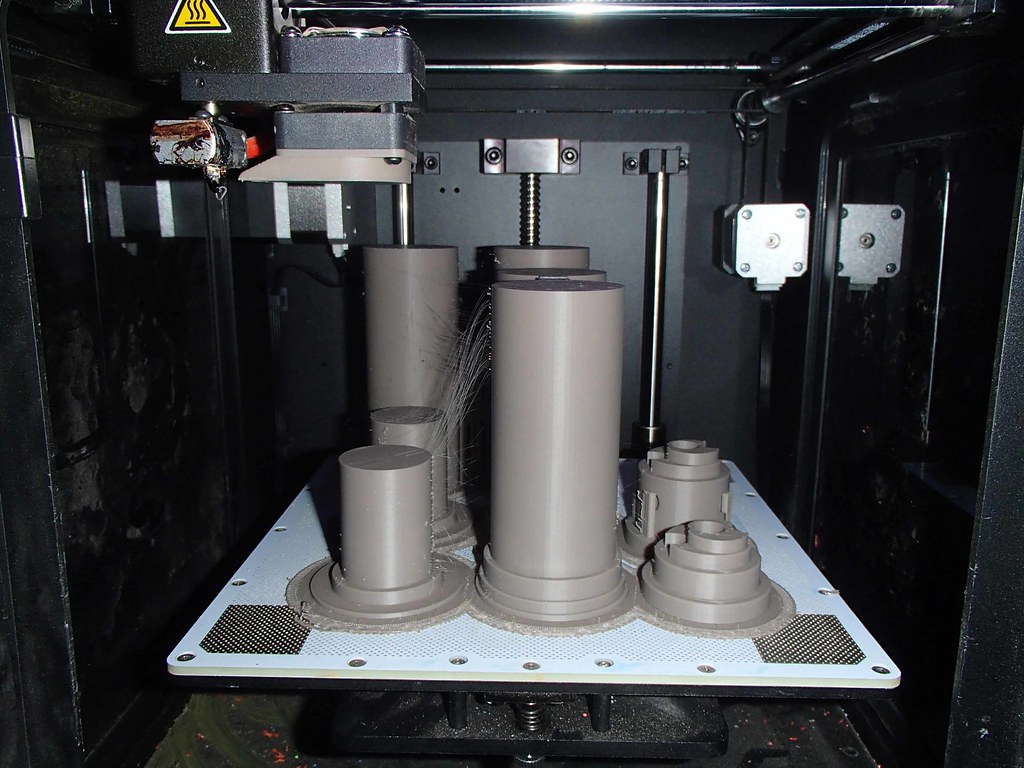
Here's all of the barrel bits:
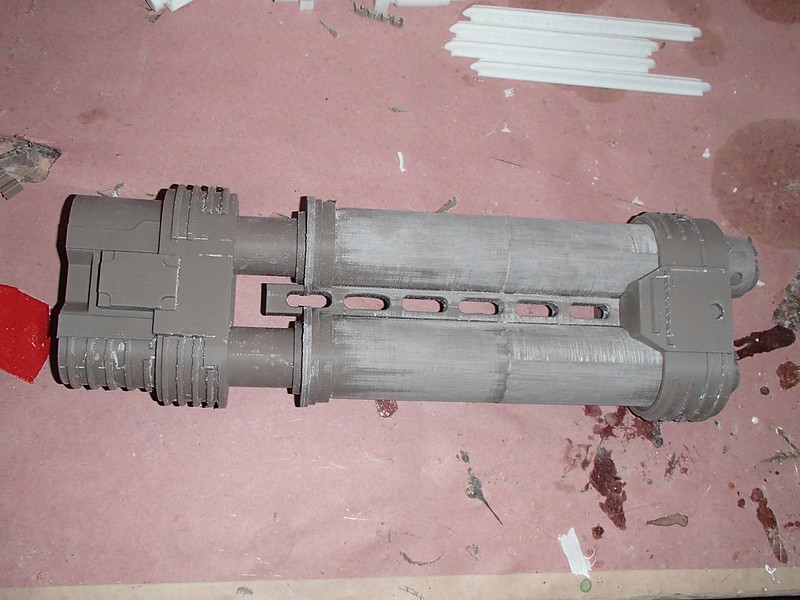

And the scope parts along with the ammo counter box:
With all of the add-on parts printed, the next step was to prep the Sterling for molding. The first step was to remove the orange safety cap from the barrel:
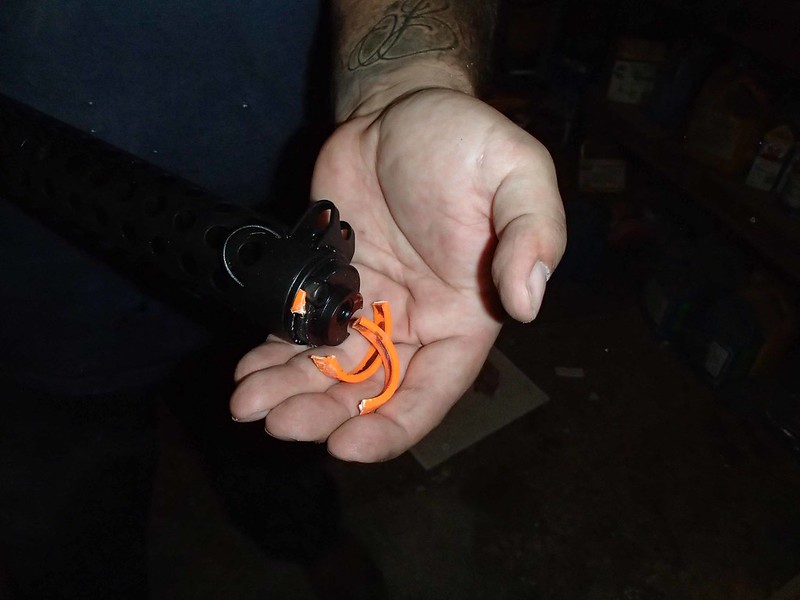
NOTE: before someone gets excited about removing the orange bit and thinks I'm some sort of felon, you should know that 15 U.S. Code § 5001 specifically allows for exemptions for replica firearms to be used for theatrical purposes. Since this thing will likely never leave my workshop again, I don't forsee any problems.
Also, it wasn't me, it was my friend Mike:

He's the felon.
So there's that.
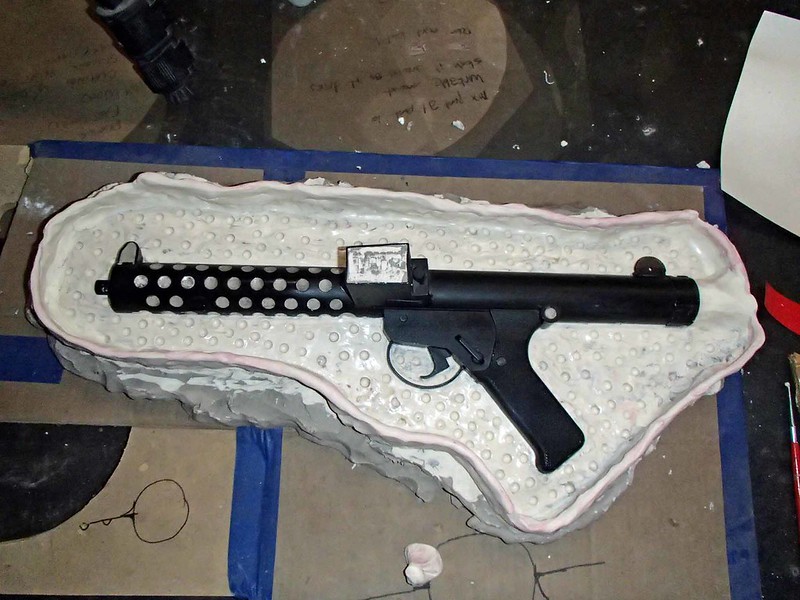
That done, it was time to remove all of the details that could be unscrewed from the gun, fill the vent holes on the barrel shroud with clay, and build up a clay bed to begin the molding process:
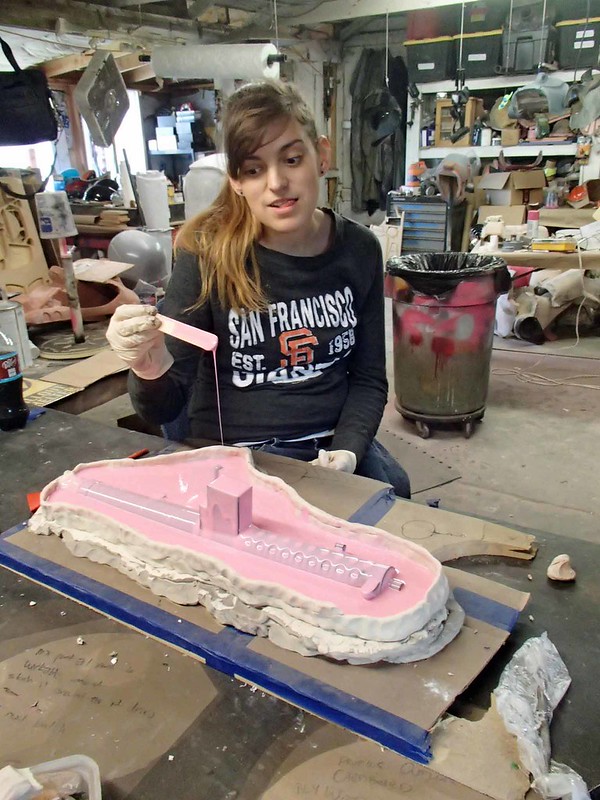
Once a drip wall was built up, the next step was adding a silicone print coat. Here's my friend Cassandra scooping silicone from the drip tray up onto the top of the model in order to build up a bit more thickness along the way:
Cassie did a great job, but at the end of the day, the cured silicone was still thinner on the high spots than the low spots:
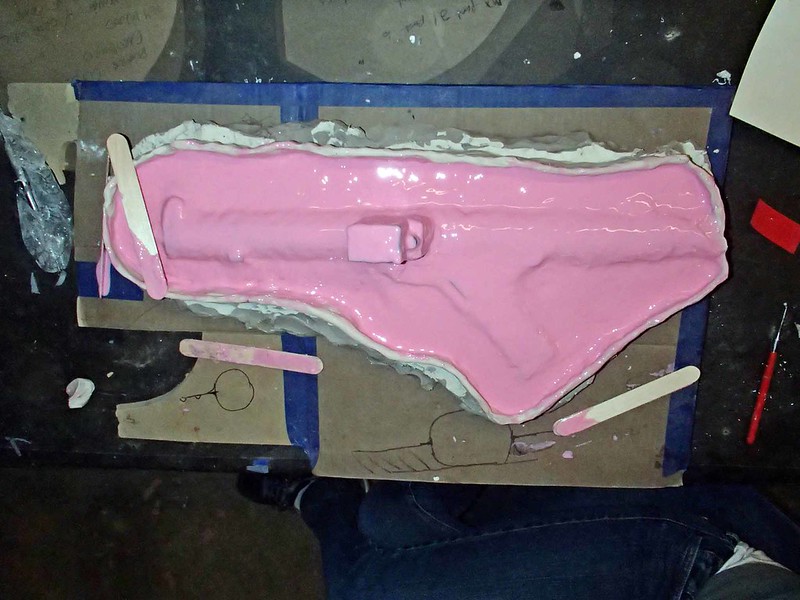
To resolve this, I mixed up another batch of silicone with a thixotropic additive to make it more viscous (kinda like cake batter) and piled more onto the high spots. This made for a thickened rubber jacket that was nice and strong and ready for building a mothermold.
Once the silicone had cured, it was time to build up the fiberglass mothermold:
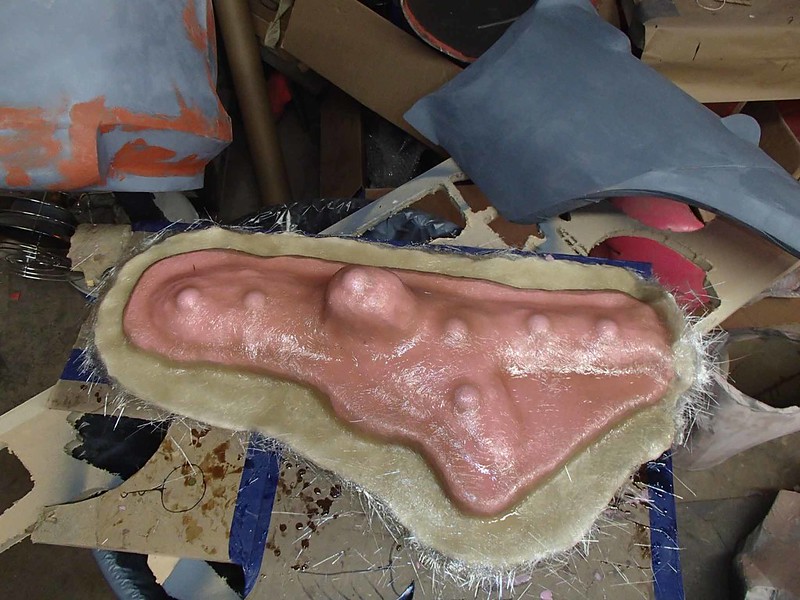
Once the fiberglass mothermold had cured, it was time to flip the whole mess over, remove most of the clay, build a new clay drip wall, and repeat the process. Here's the print coat on the second side:
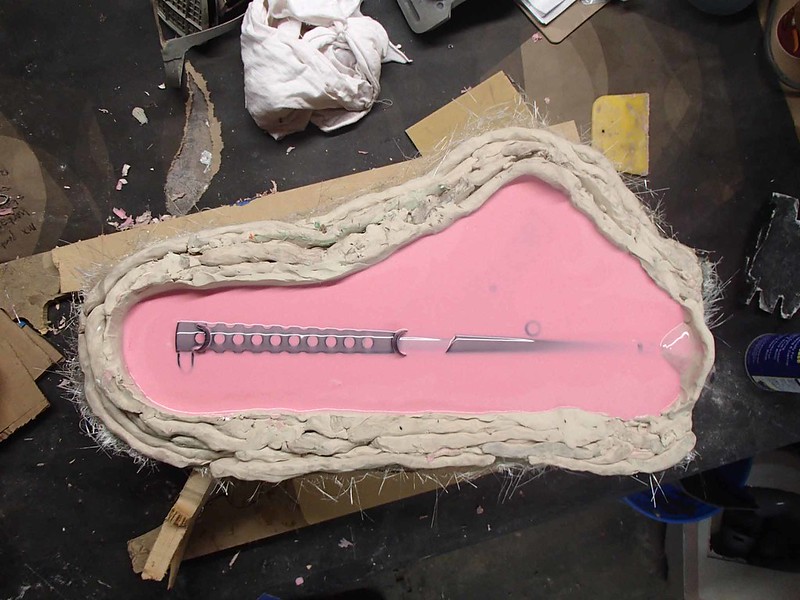
After that cured, I built up more thickness and added pre-cast silicone registration keys:
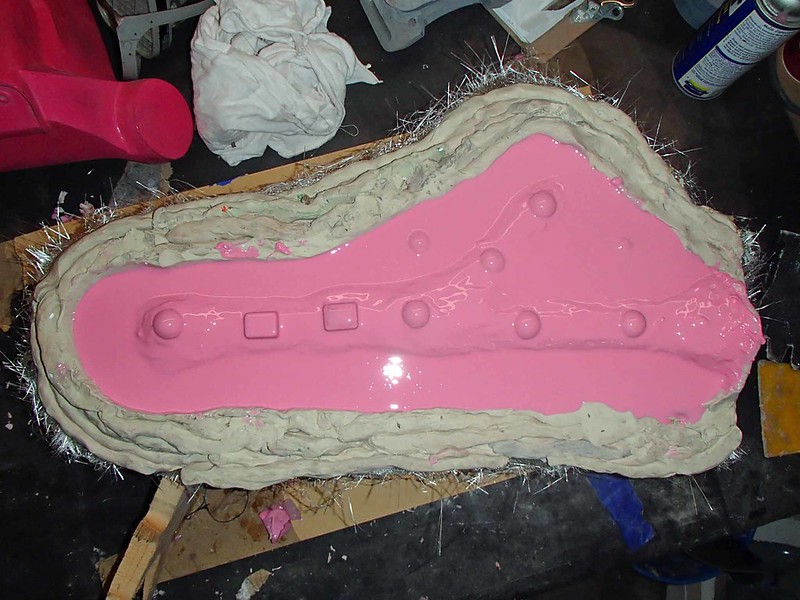
Once it cured, the second half also got a fiberglass mothermold:
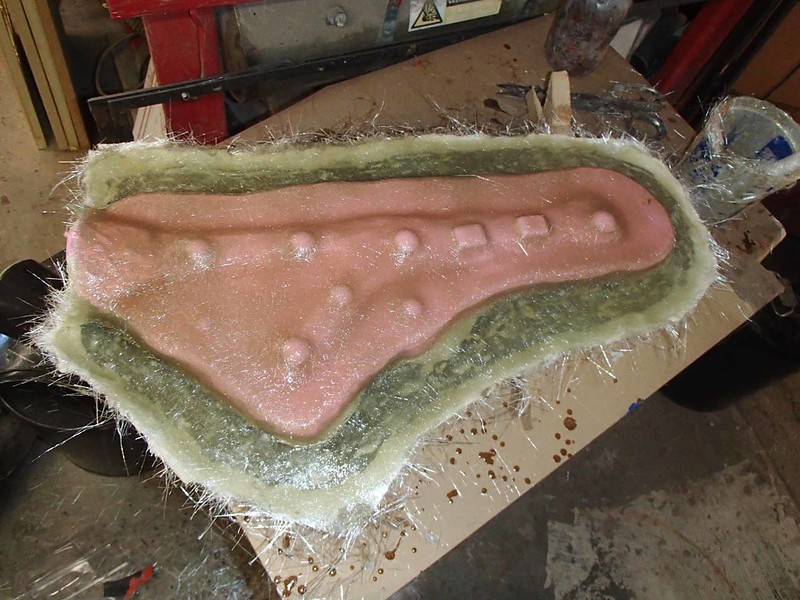
The next day, I pried the two halves of the mothermold apart:
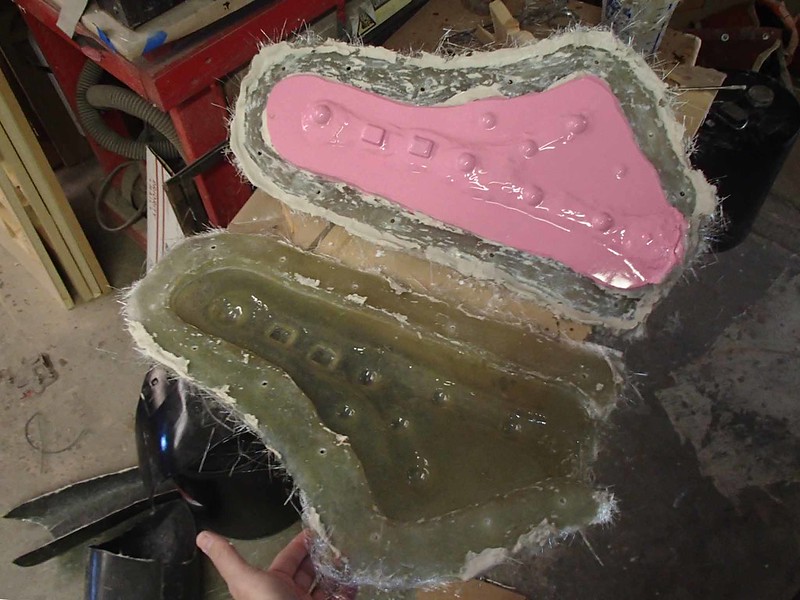
After removing the original gun and cleaning up the edges of the mothermold, I mixed up a batch of resin and cast myself a new plastic submachine gun:
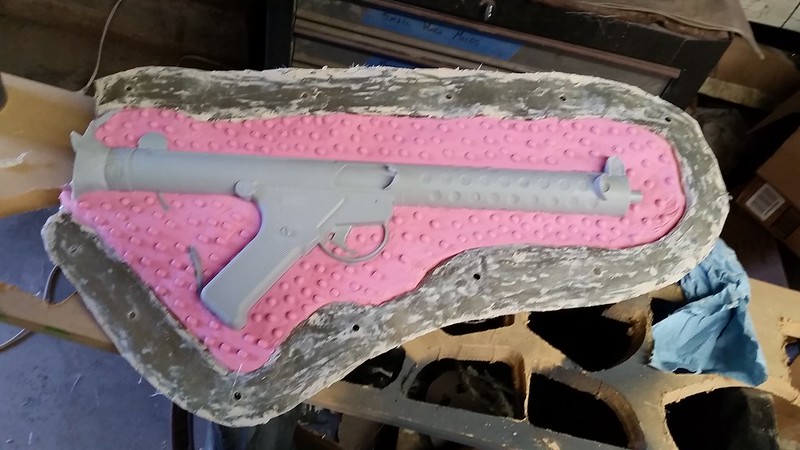
While I will probably use this mold to make myself a standard E-11 stormtrooper blaster, the goal here is to make the shoretrooper blaster. So the next step was to cut off the unneeded length from the front of the barrel and fit it with a new front end:
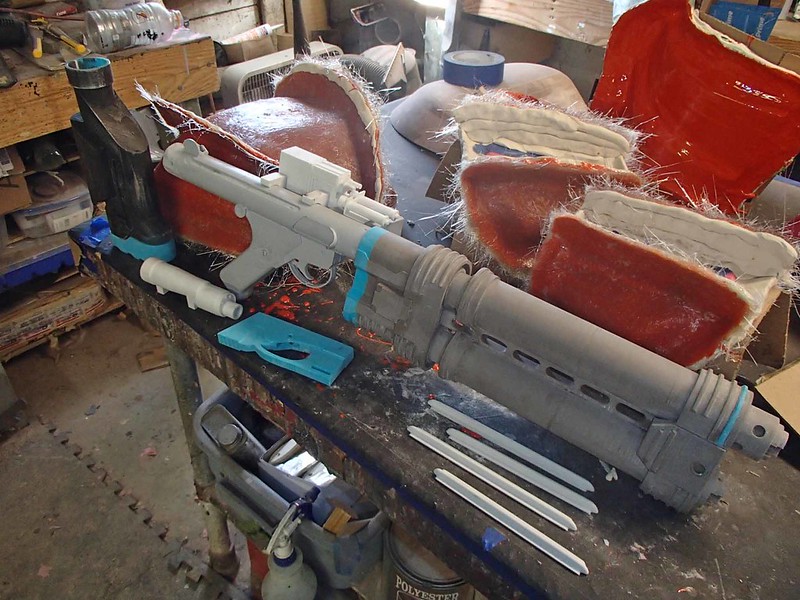
I also had to trim off the back end and add the new, 3D printed buttstock:
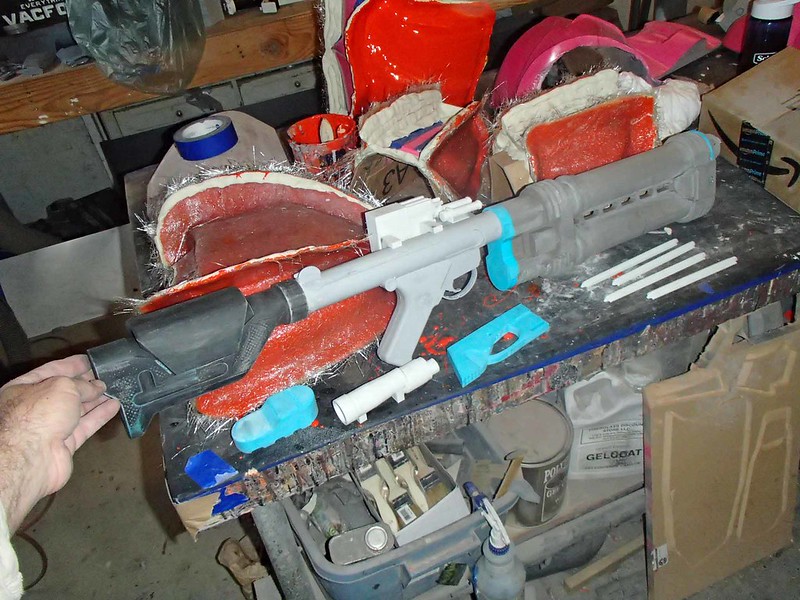
This is about the time when I started to get annoyed by the fact that the cheek pad on the stock didn't look enough like a separate piece. I decided that the best solution to this was to carve out a recess under the edge:
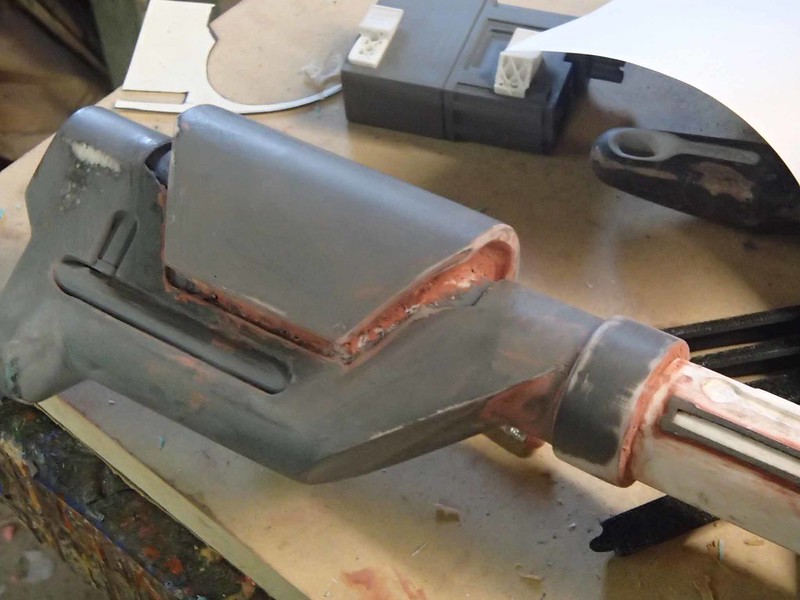
Then I had to modify the trigger guard area, removing the tiny little E-11 trigger guard and replacing it with the much more robust E-22 version:
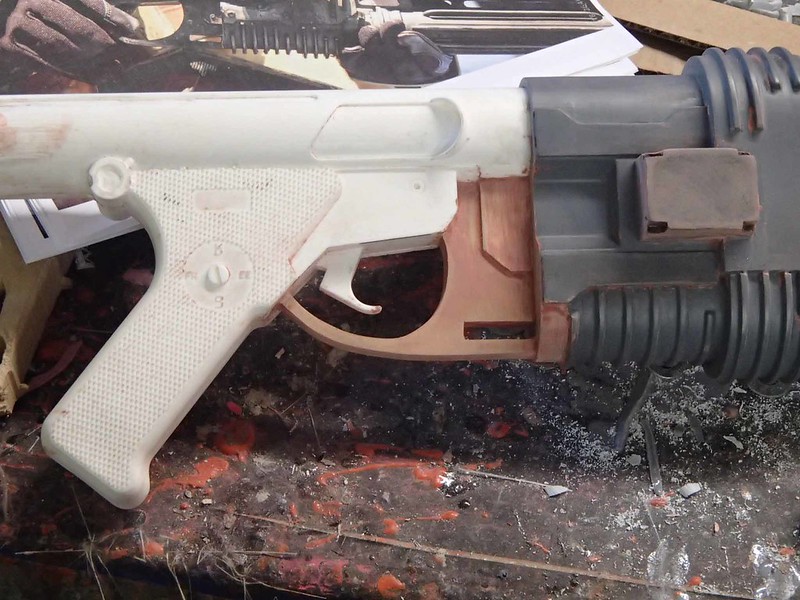
Finally, I started adding the fins to the forward barrel sections:
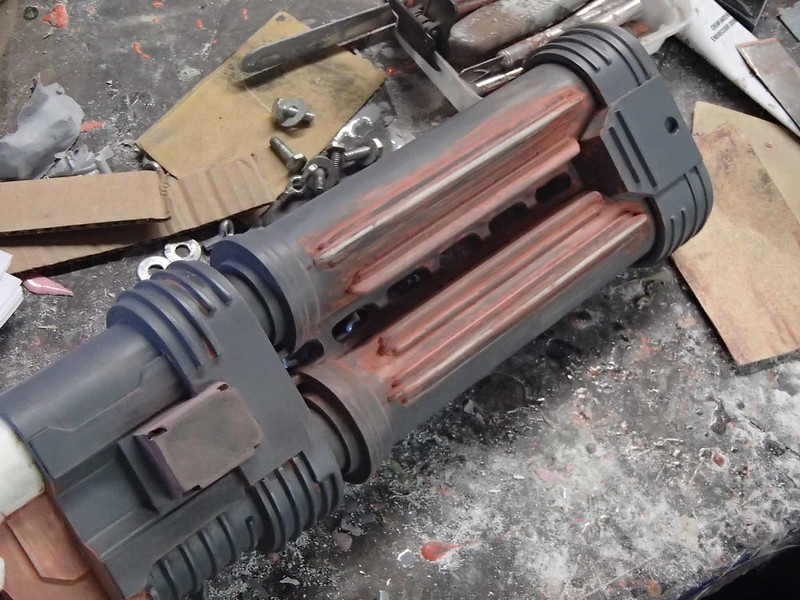
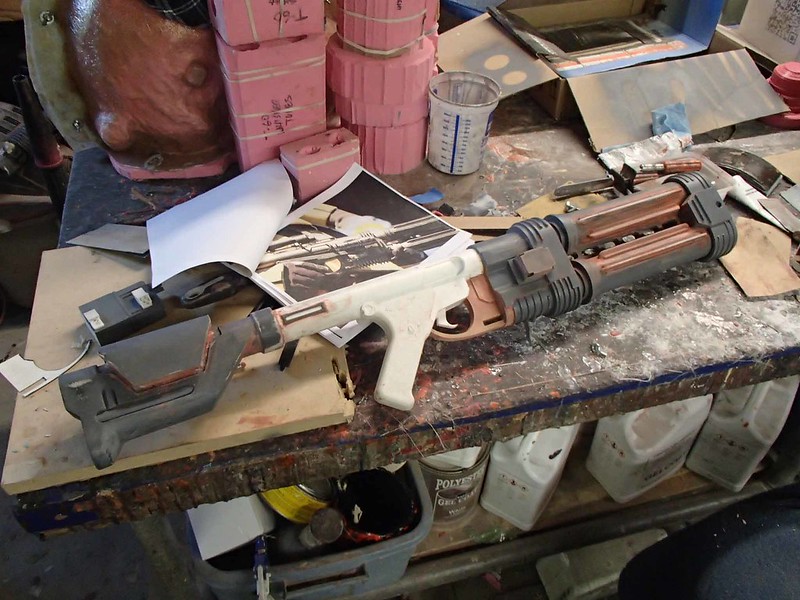
At this point, the whole thing was really starting to take shape:
Still dissatisfied with the look of the cheek pad, somewhere along the way I decided that I needed to make it separate part. To that end, I started by cutting and grinding down the surface of the existing cheek pad:
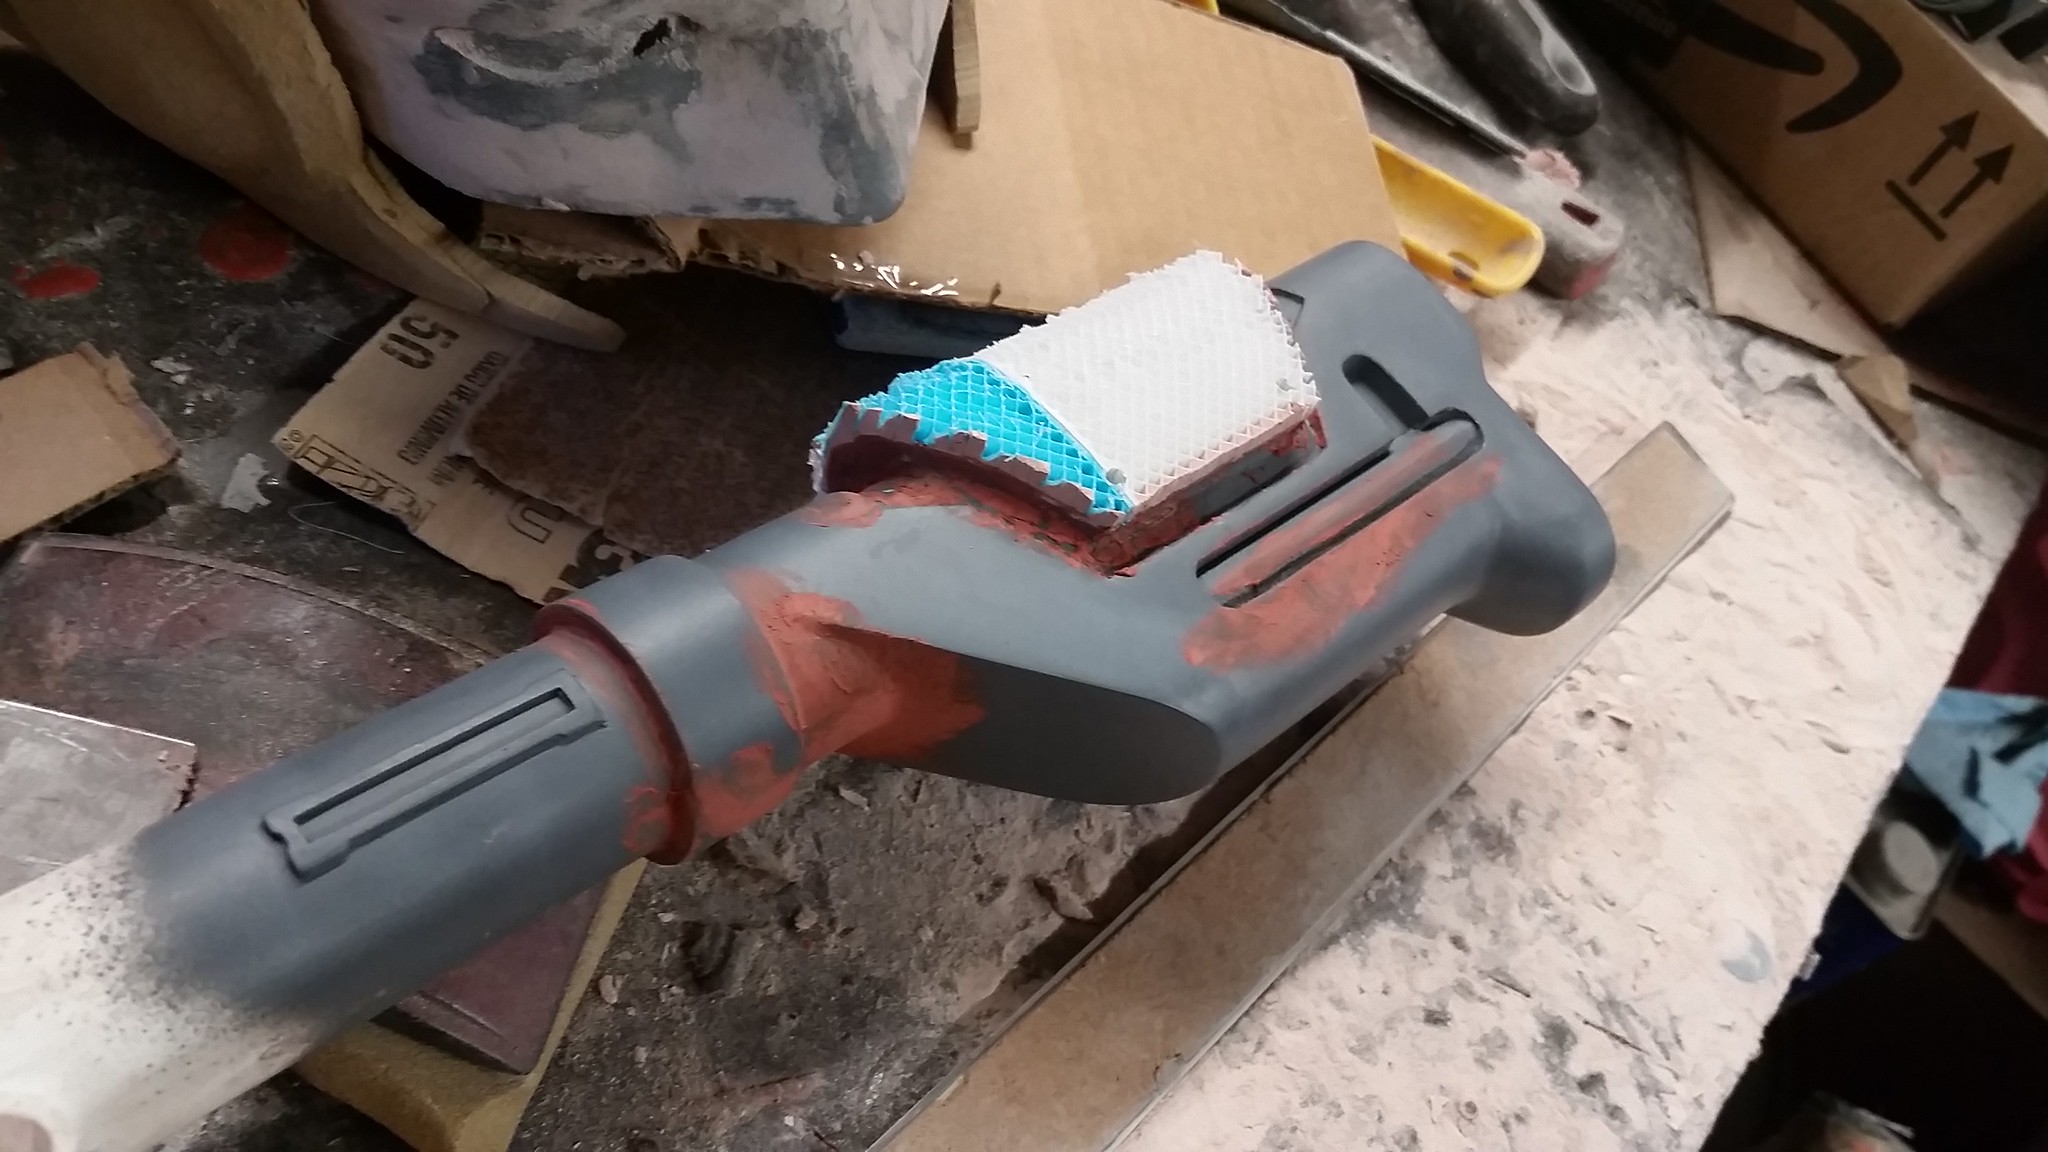
Then I smoothed over the infill that was exposed after the surface was ground off:
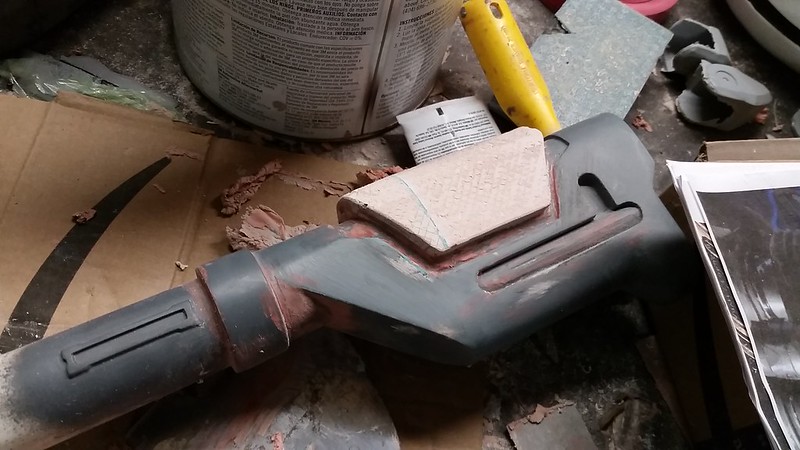
Then I printed out a new, separate part that fits snugly over the raised portion that was left behind:
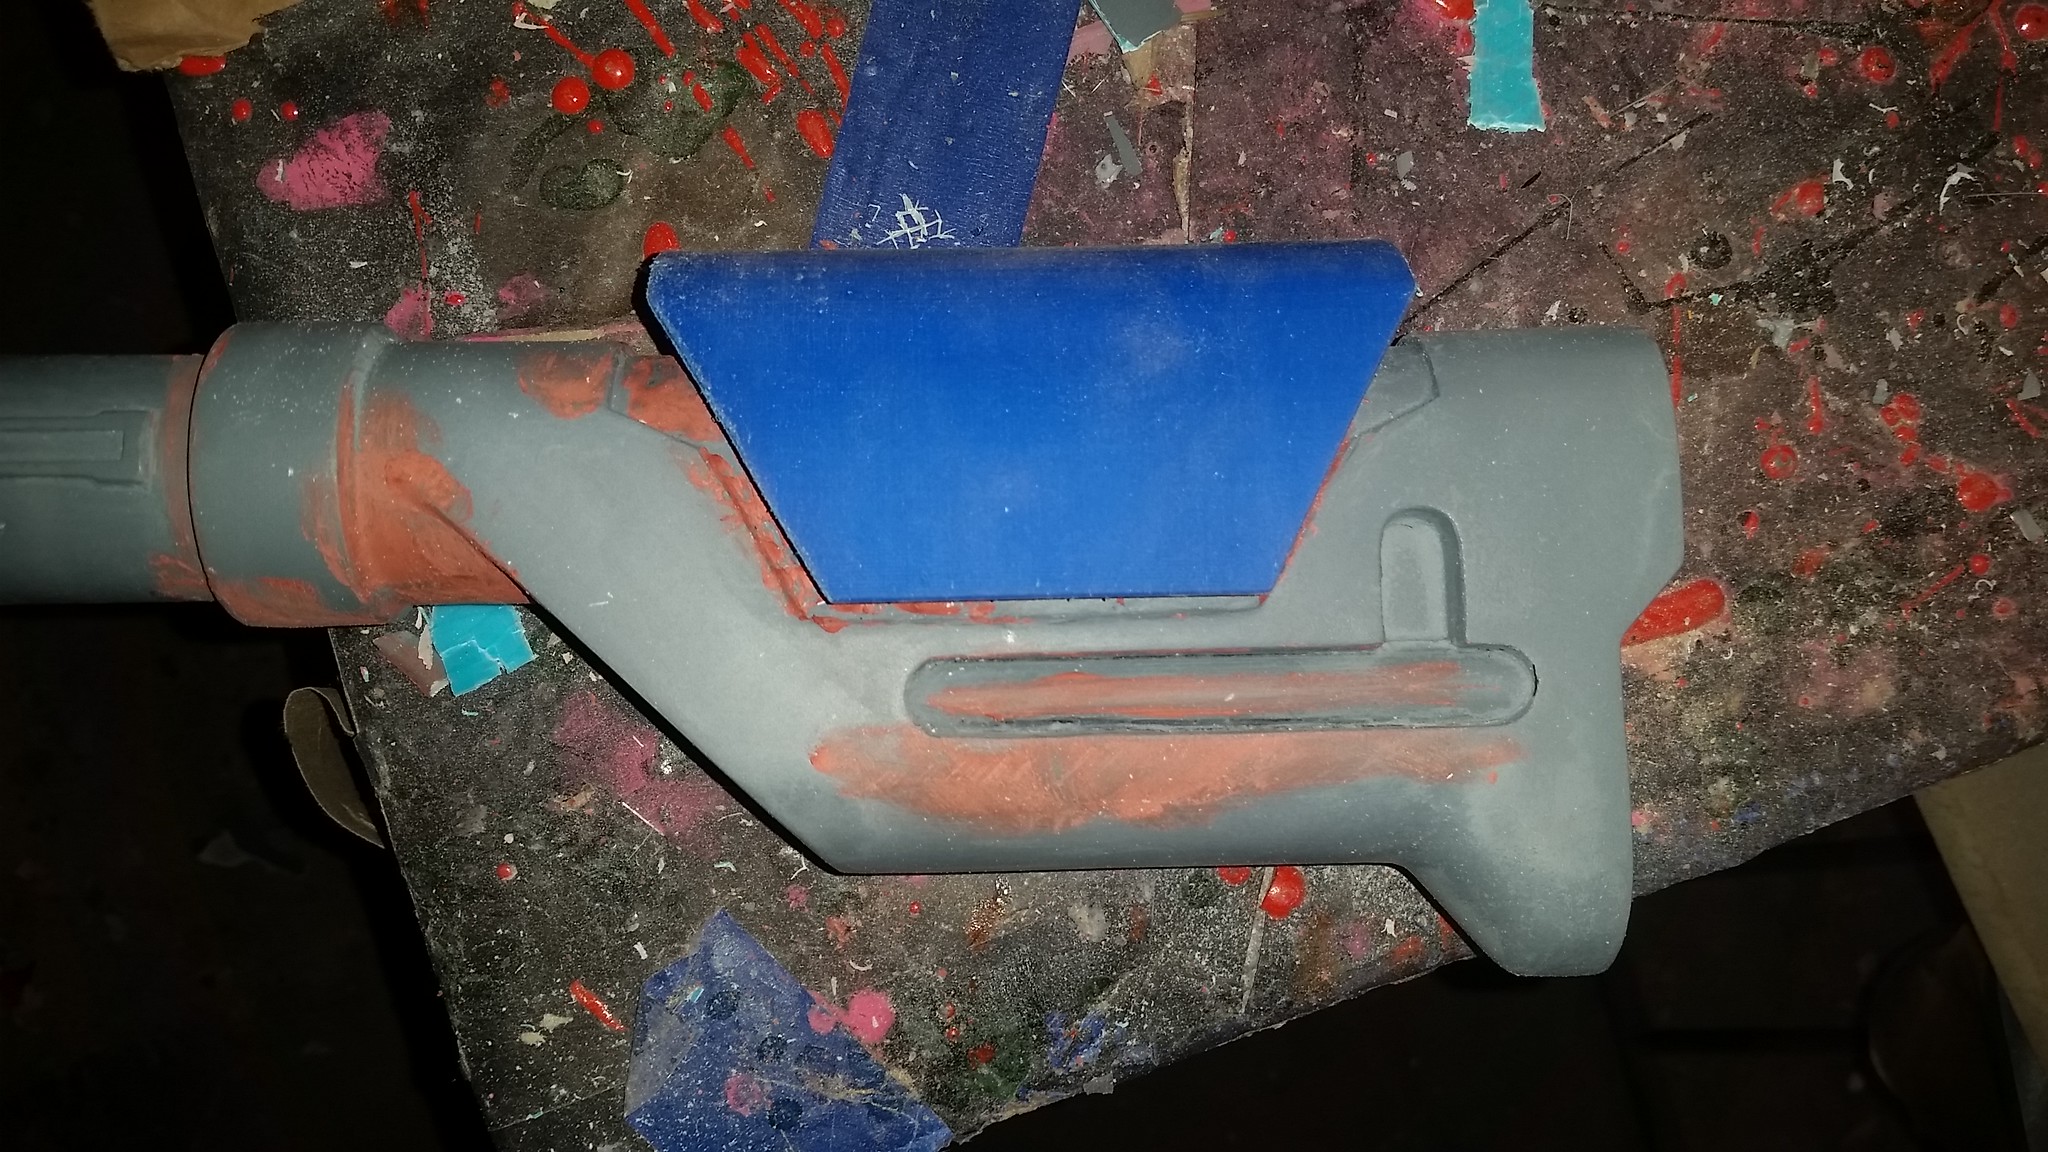
As long as I was screwing around, I also removed the magazine well from the left side of the main body:
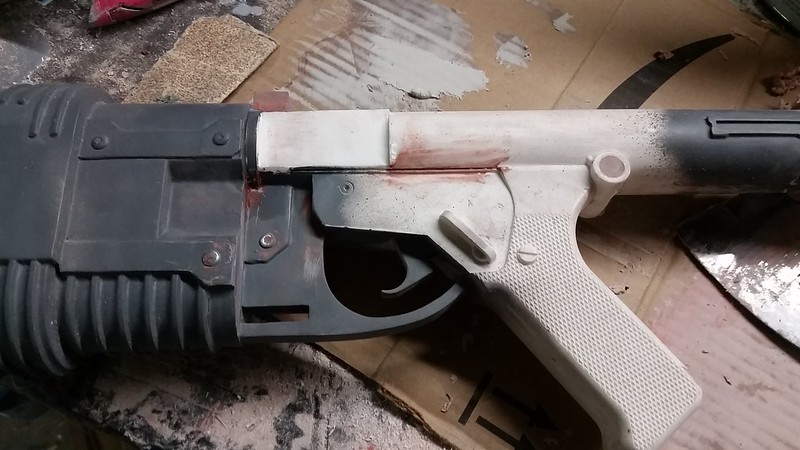
Then I cast a new copy and added the magazine to it:
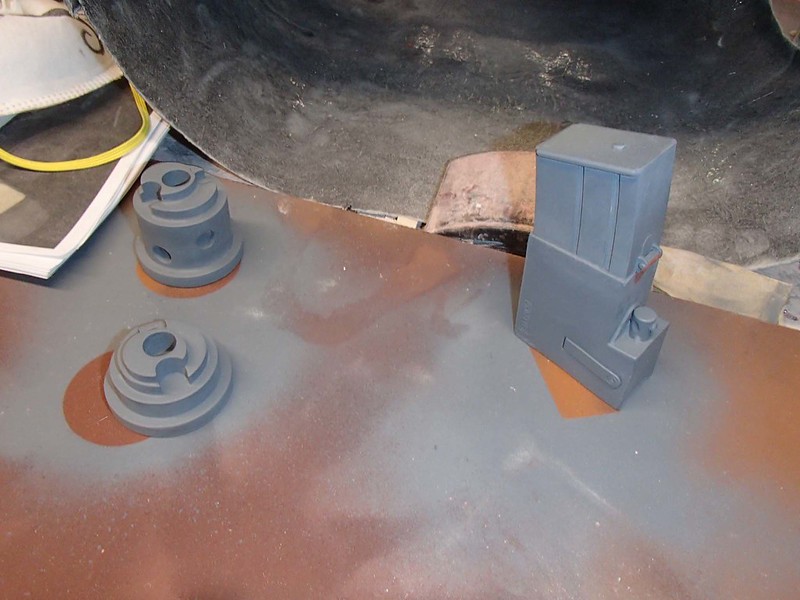
Molding this piece separately will make it easier to mold the main body of the rifle.
Most of what was left to do at this point was a whole lot of filler and sanding work. This would have probably been done pretty quickly if I didn't waste so much time strutting around and posing with the in-progress prototype:
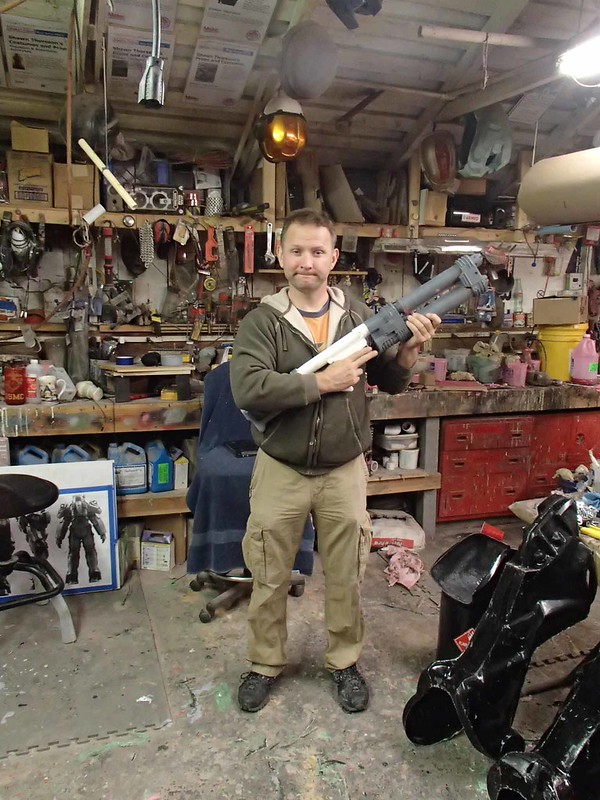
I sure thought I looked cool:
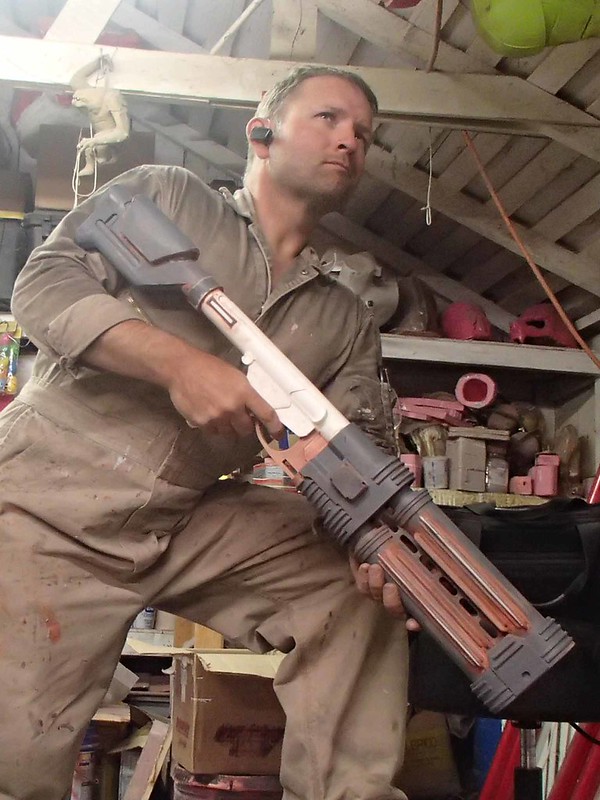
But despite all of the silliness, eventually I got it all smooth. Then it was time to make a new mold for the converted rifle. I started by mounting the whole thing into a bed of clay:
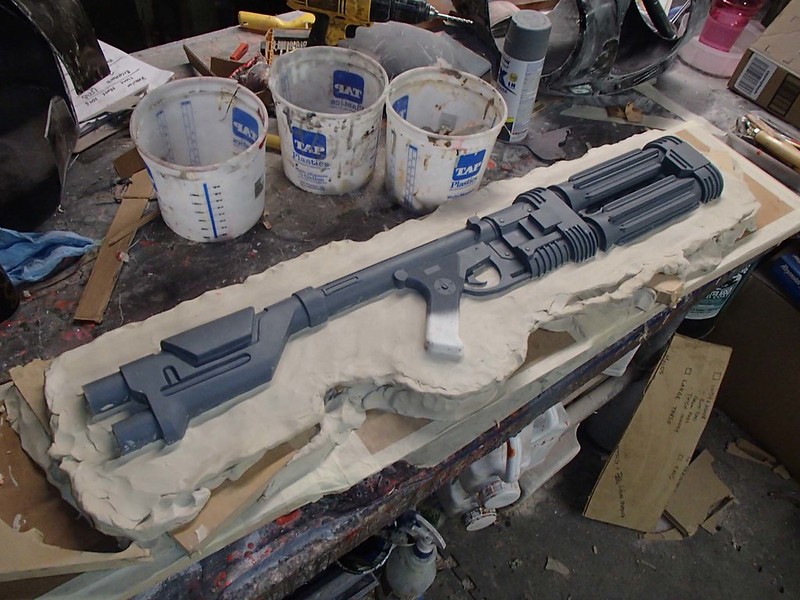
Then I built up a drip wall around the edge and pushed in a whole mess of little dimples for registration keys:
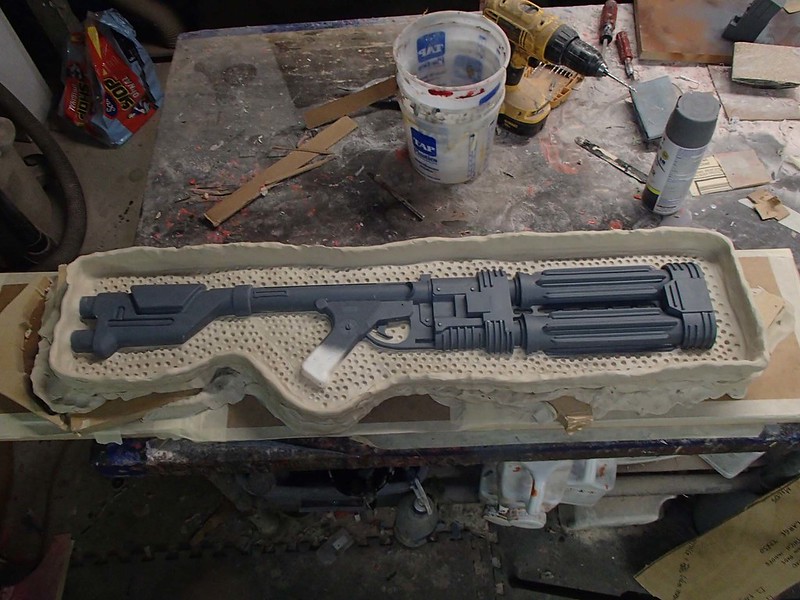
Then I poured on a layer of silicone and left it to cure overnight:

After building up a few more layers and adding some registration keys, here's how it looked:
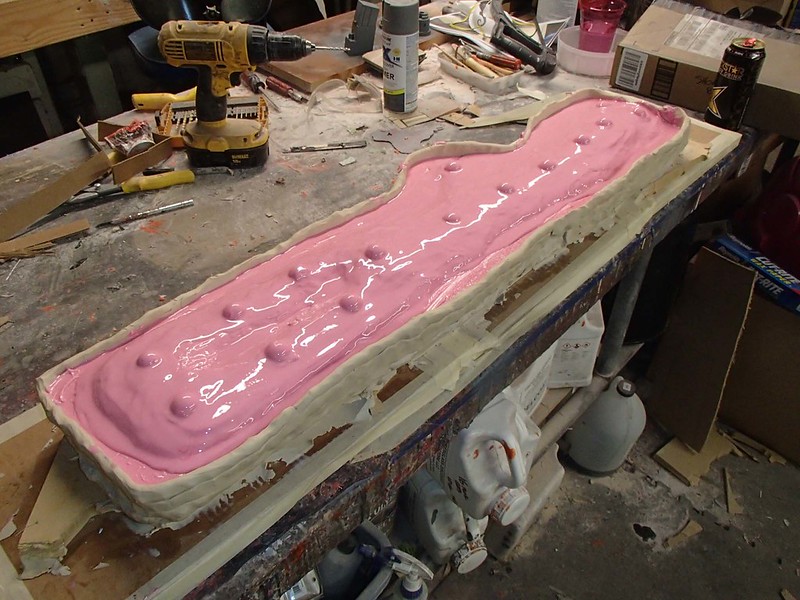
The next step was to remove the clay drip wall and reshape it as a parting wall for the mothermold:
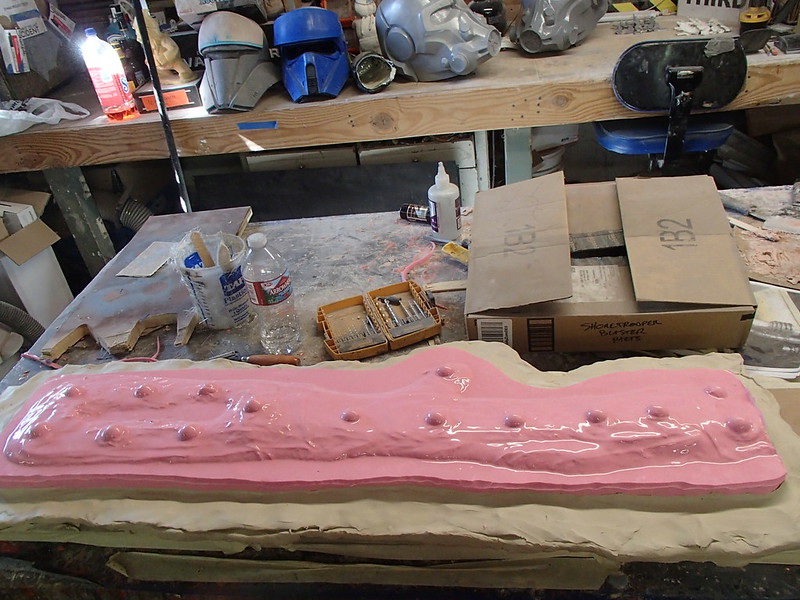
Here's the first half of the fiberglass mothermold laid up:
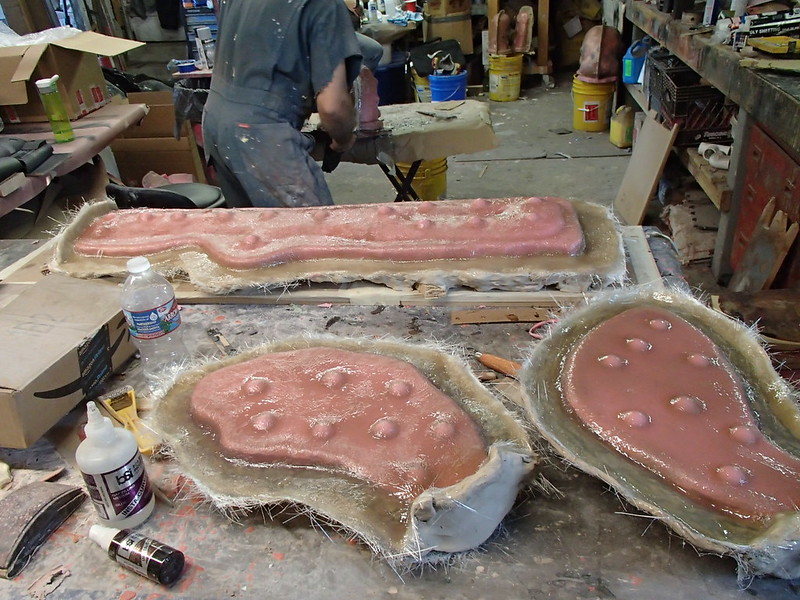
Once that had cured, I flipped the whole thing over and removed the clay from the prototype and the silicone jacket:
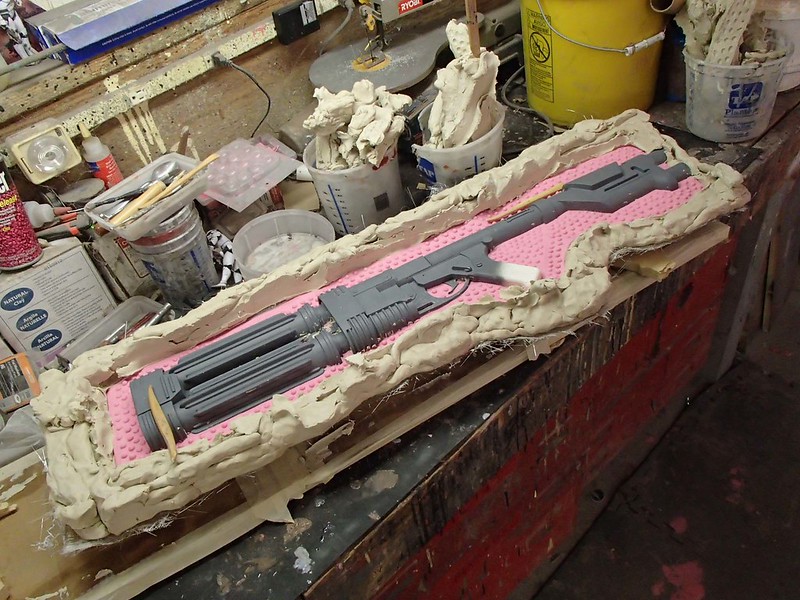
I left behind enough clay to create a new drip wall so I could pour in more silicone:
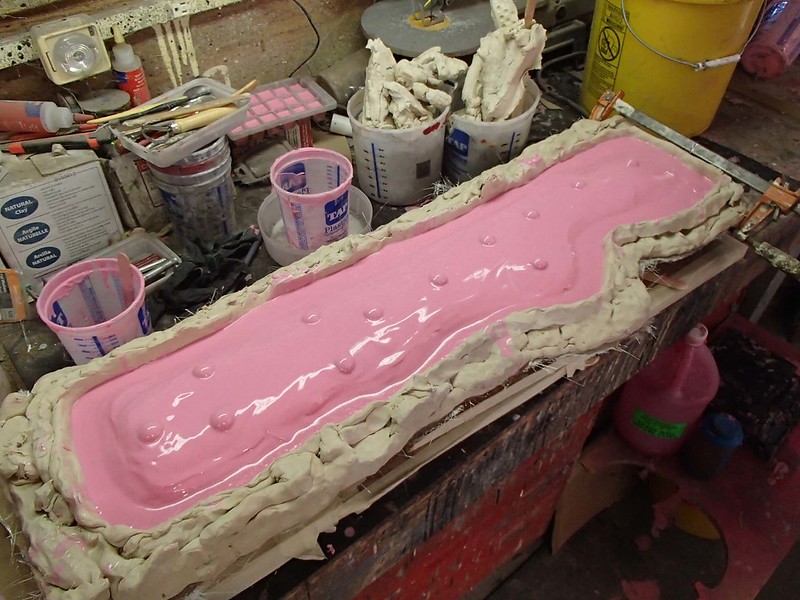
Once the second half of the jacket mold had cured, it was time to make the second half of the mothermold. I started by removing all of the clay:
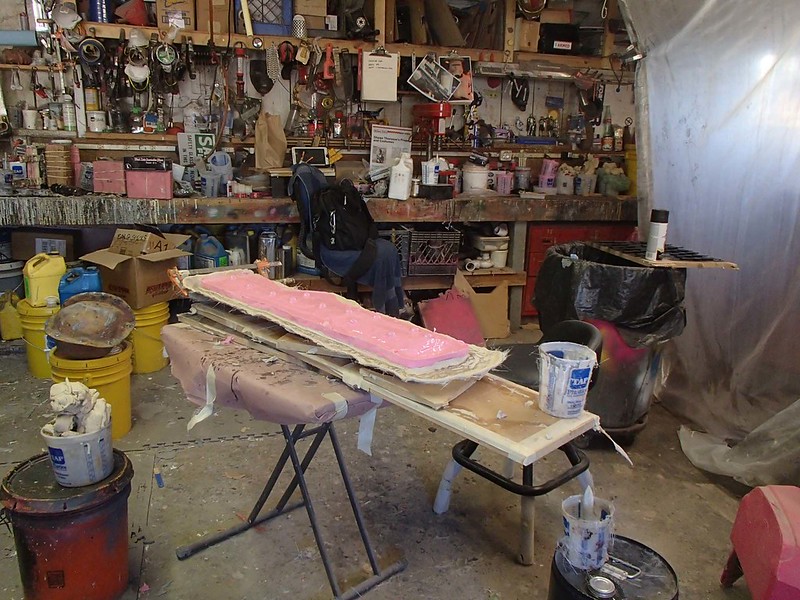
To prevent the two halves of the mothermold from bonding together, I coated the exposed fiberglass flange with a thin layer of petroleum jelly:
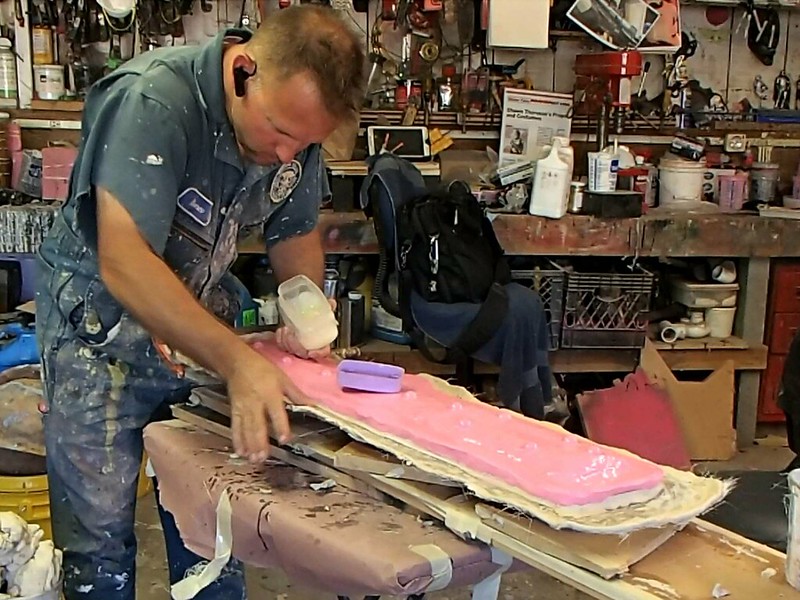
I can't tell you how funny it is when I run out of Vaseline and I make a run to the local drug store to pick up three of their largest tubs of the stuff in a hurry. One of these days I'll make it more entertaining by picking up some more random things to keep the clerks guessing. Maybe dog treats and sleeping pills. Or a short garden hose and some rubber gloves. I'll come up with something.
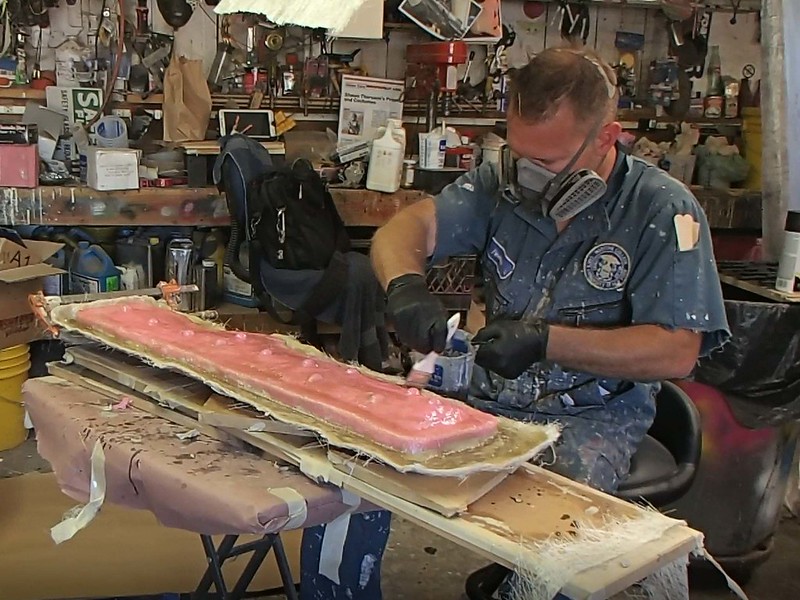
In any case, after splooging some Vaseline over the surface, it's just a matter of laying up the fiberglass for the second half of the mother mold:
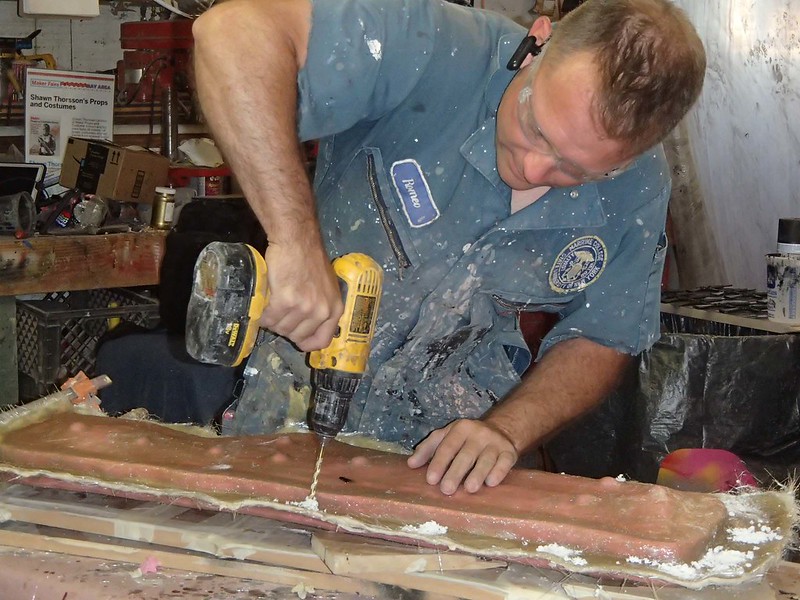
When that had cured, I drilled a series of 1/4" bolt holes along the edge of the flange:
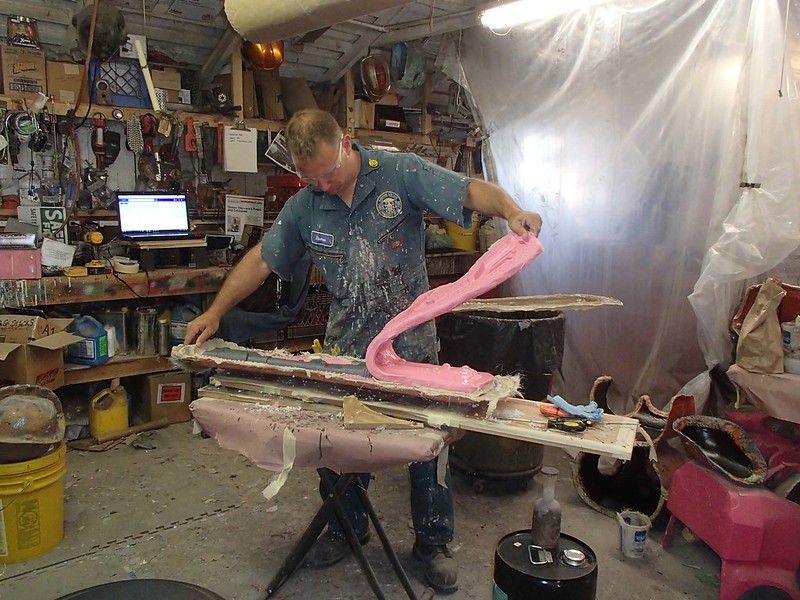
Then I removed the mothermold and peeled the rubber jacket off of the prototype:
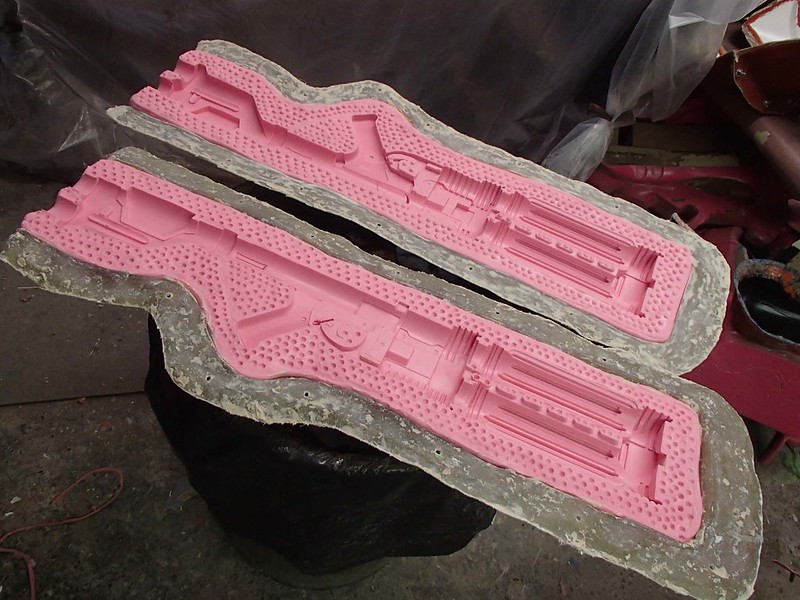
Here's the two halves of the mold laid open and ready to pour a cast of the rifle:
Since I didn't want this thing to weigh a metric butt ton, I decided I was going to have to mix in some microsphere filler to cut down on the weight. The down side to that is that the microspheres make reduce the strength of the resin cast copy. Also, since portions of the blaster end up being kinda thin, I was worried that the buttstock would end up sagging under its own weight if someone decided to mount the thing on a wall for display.
To mitigate all of these concerns, I decided to cast a couple lengths of PVC pipe inside the main body of the rifle:
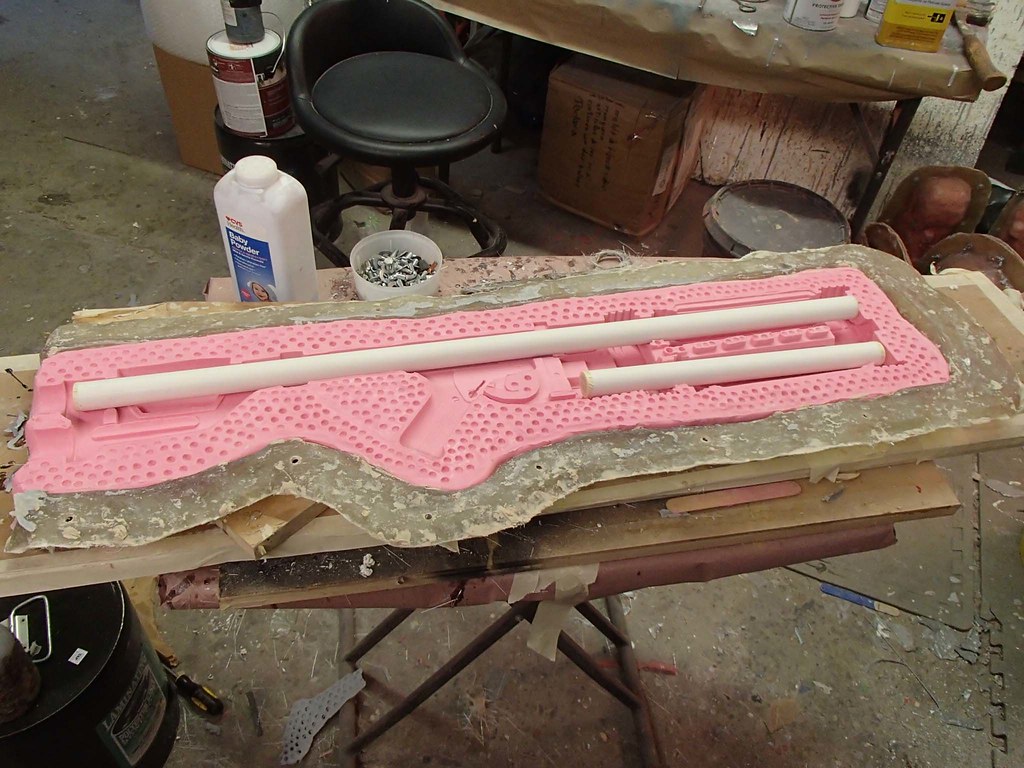
Here's the first cast out of that mold:
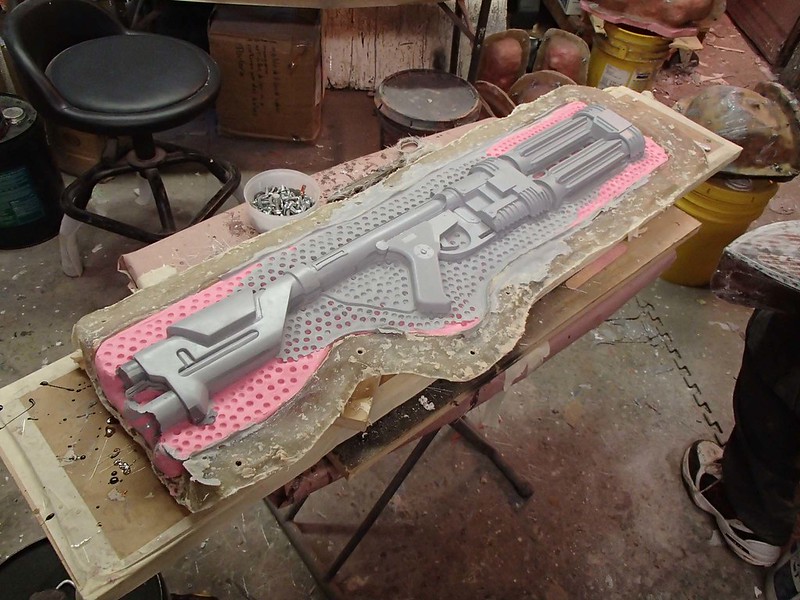
Here's the first cast out of that mold after trimming the flashing off:
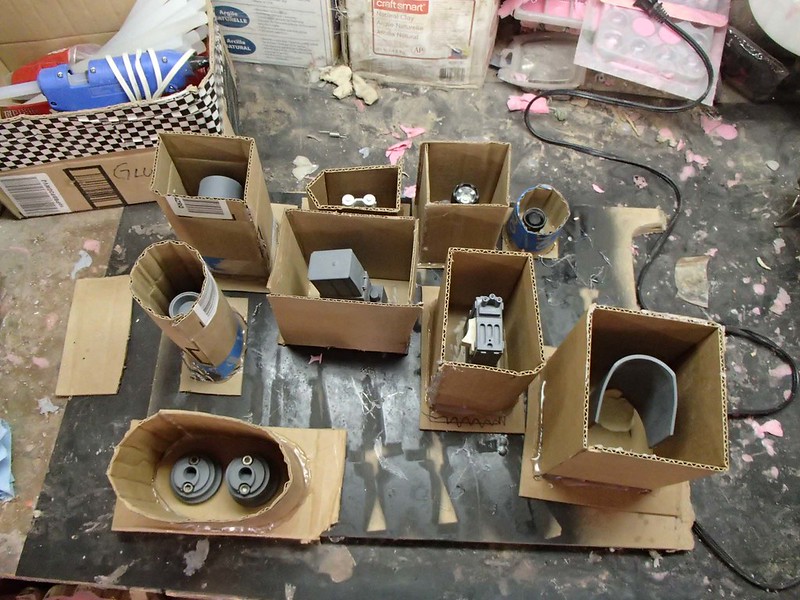
The rest of the little widgets that needed to be added on were made by creating simple block molds. I used this opportunity to teach my assistant Chuck how to make the molds:

She did a pretty good job gluing up all of the boxes:
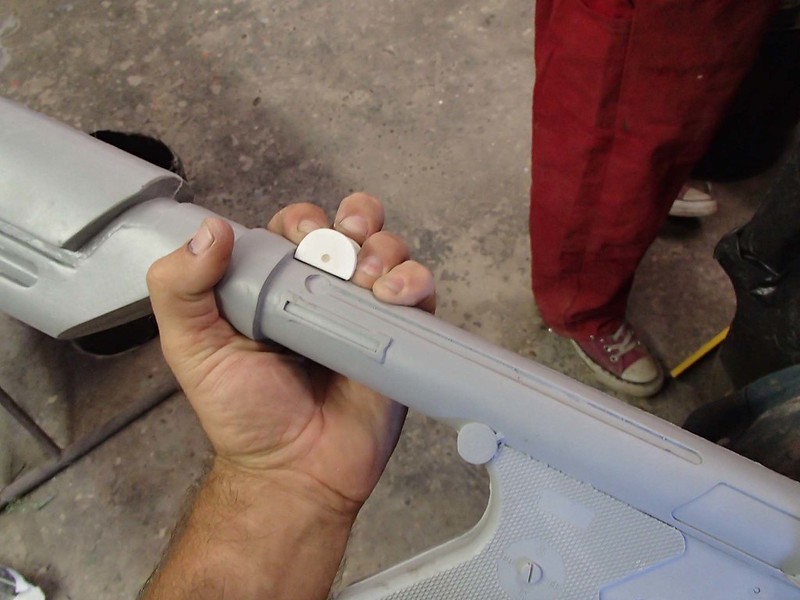
Somewhere along the way I made the very last of the prototype parts. This time around it was the rear sight block:
Then Chuck made the box for the last few bits:

Meanwhile, I started pouring rubber:
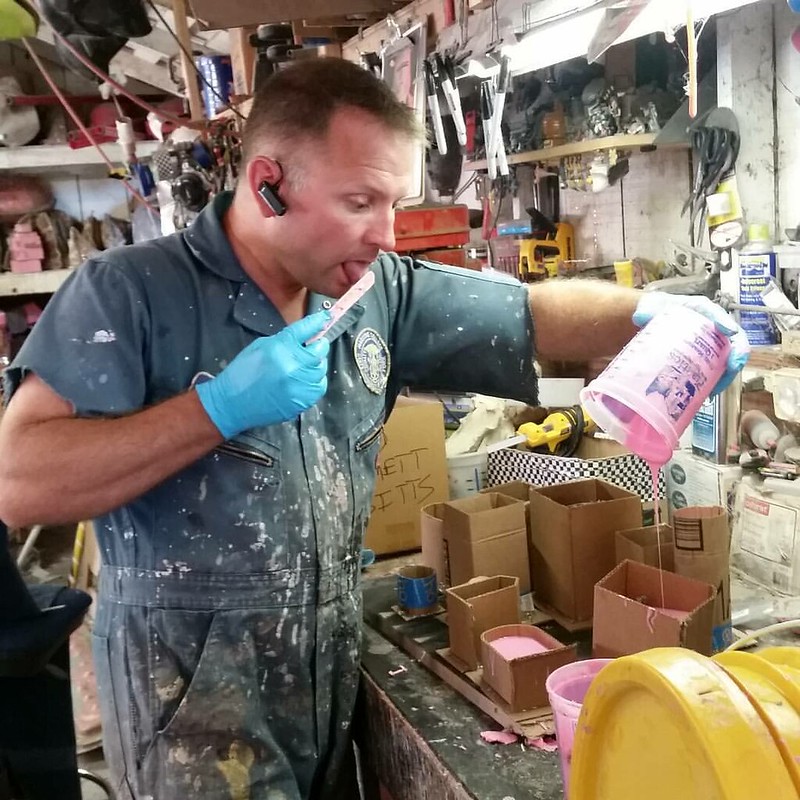
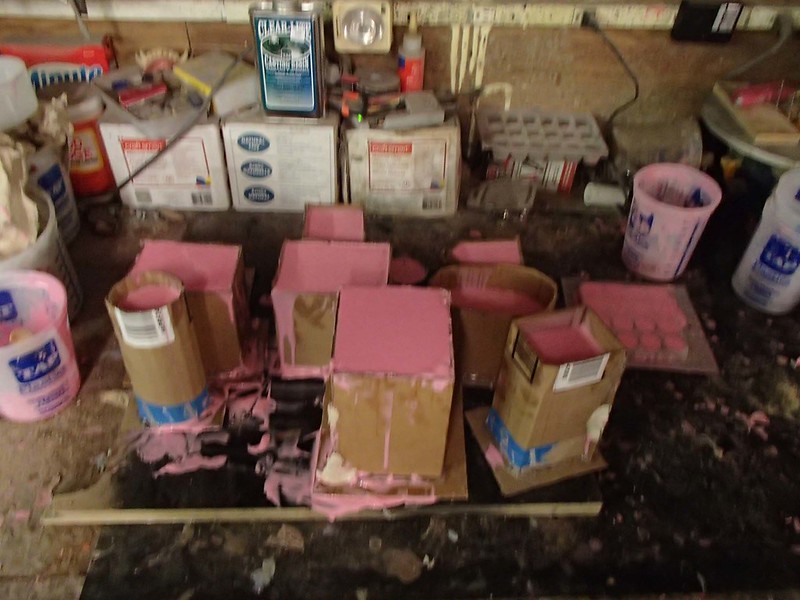
Everything went pretty well. Only one of Chuck's boxes leaked at all. The rest of the spillage is just overflow and me being sloppy:
The next day I got to work casting the little bits. Here's a shot of all of the cast parts required to assemble one rifle:
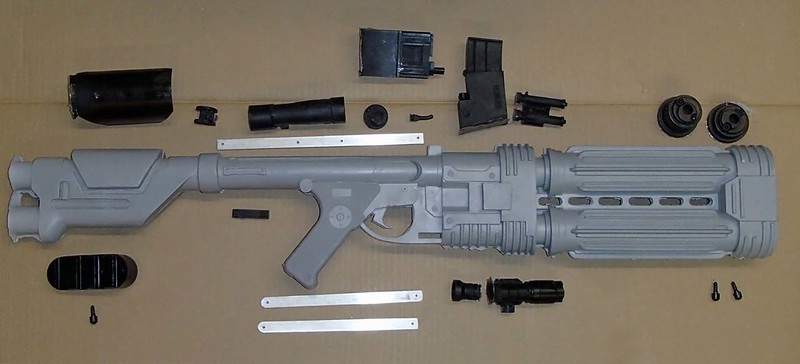
The shiny aluminum looking bits are made out of shiny aluminum. For authenticity.
In the process of tacking everything together, I couldn't help but get a few photos:
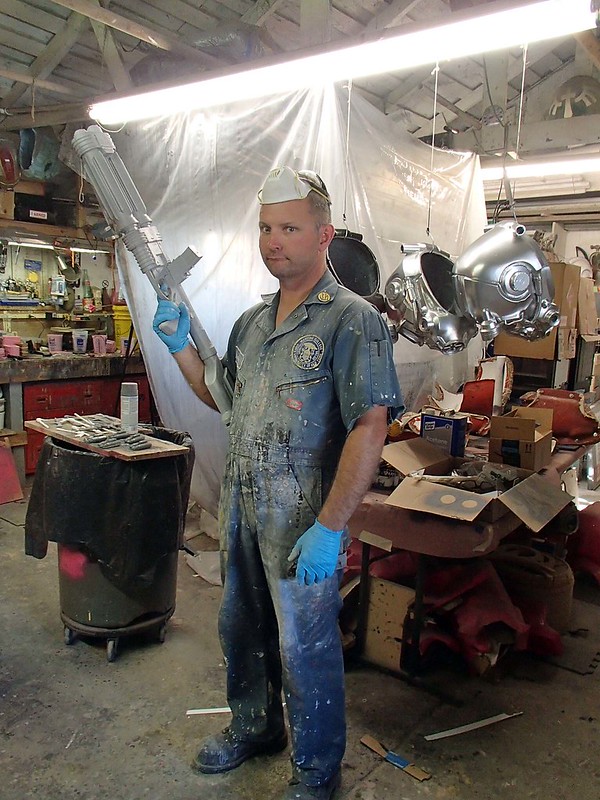
There were shenanigans:
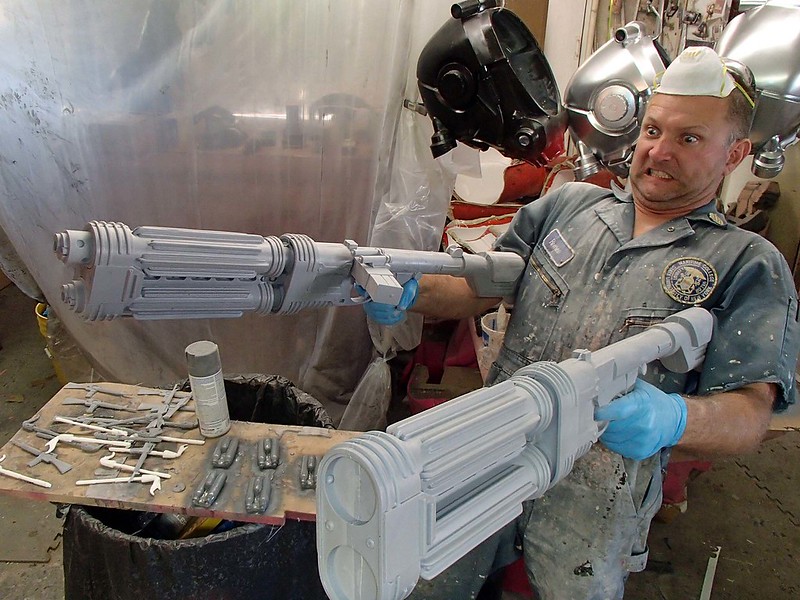
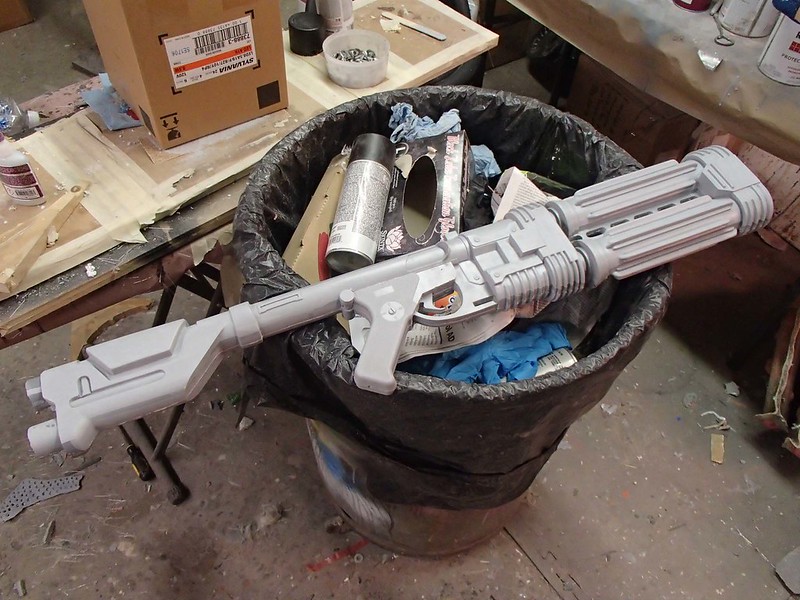
But somewhere along the way I managed to get a complete rifle cleaned up and glued together:
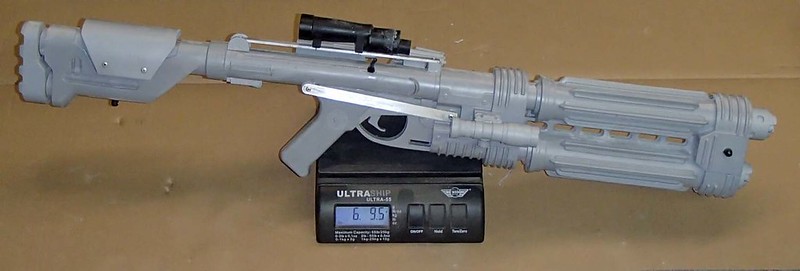
It's a tiny bit heavier than I'd like, but it works.
That whole thing was given a quick coat of black primer:
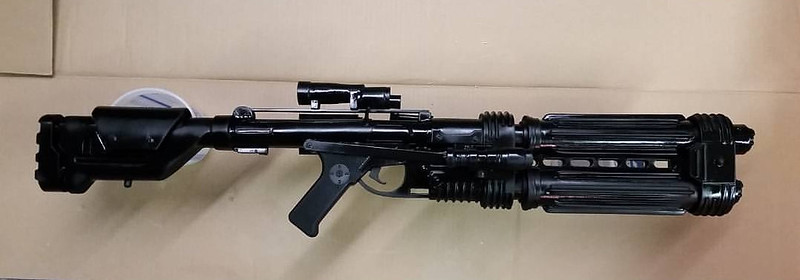
Then it was a simple matter of adding some rust-colored washes to give the finished piece a bit of age. A little drybrushed silver paint added even more wear and tear. Then, just like that, it was done:
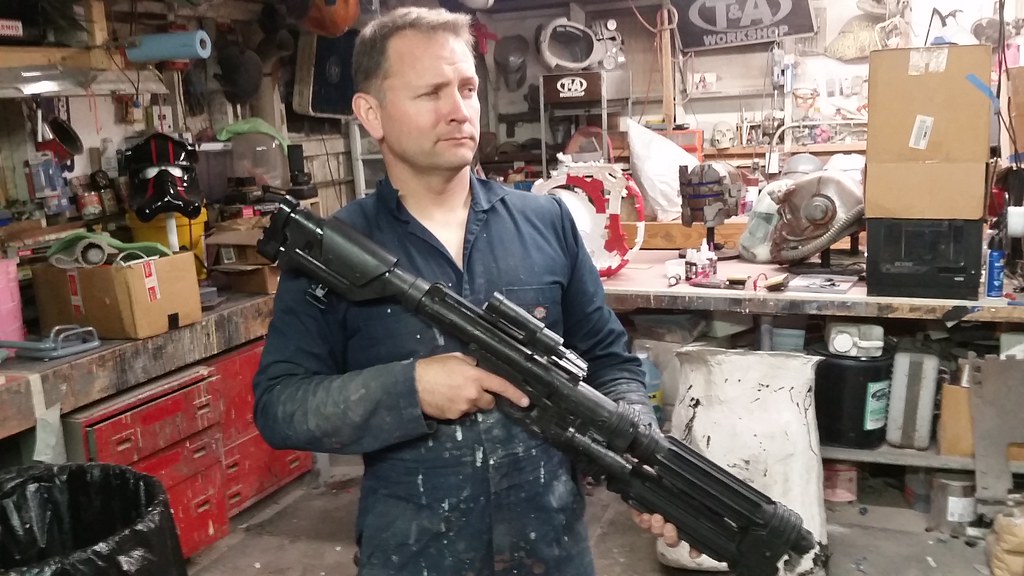
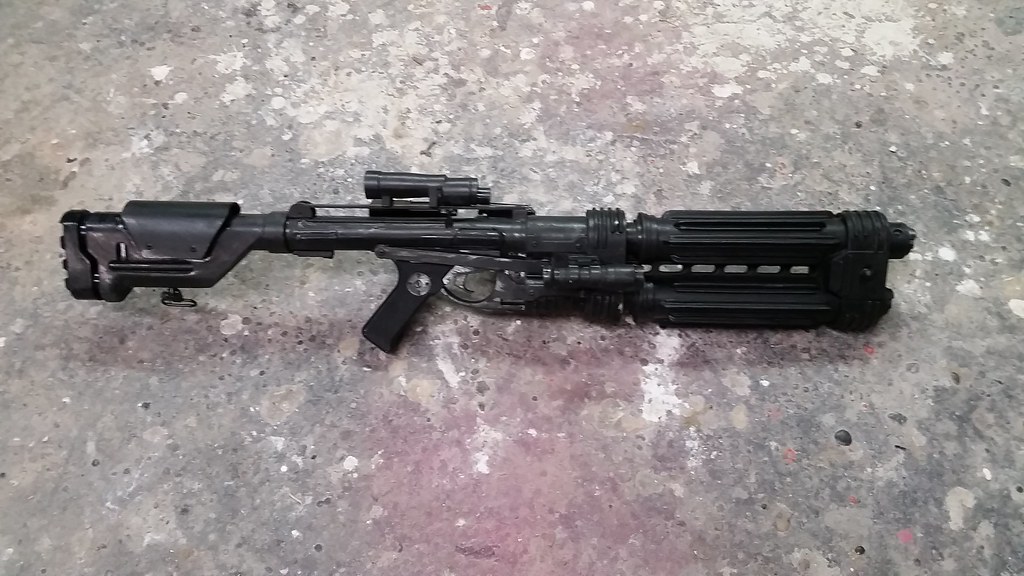
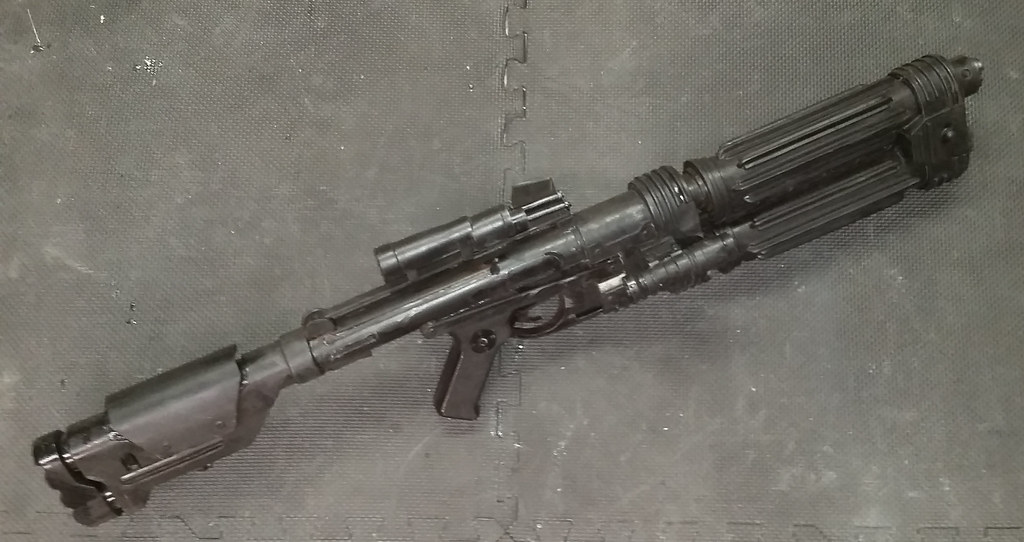
Of course, I never manage to make just one of anything I build:

Not only did I make a few extra copies in resin, just for the heck of it, I also cast one in rubber that would be able to hold up to being dropped on the ground repeatedly without chipping or breaking. It was great, but it was a bit on the heavy side:
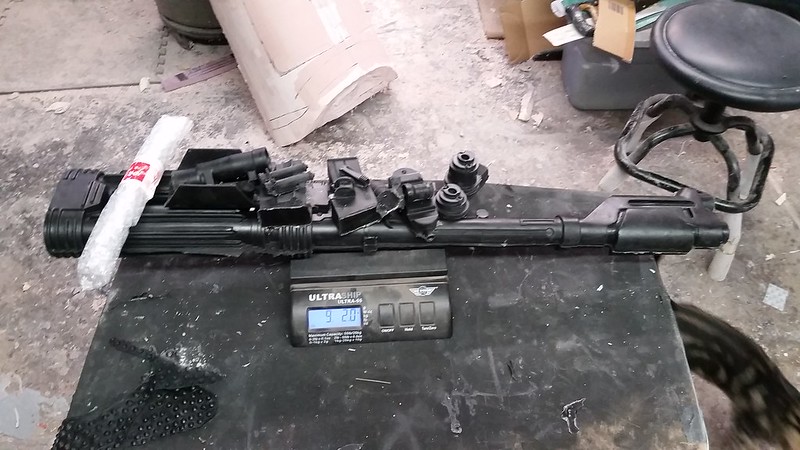
The rubber blaster still painted up pretty well, but it's a good thing it can be fitted with a sling for carrying around for long periods of time.
So to solve the weight problem and still enjoy the benefits of a blaster that can be thrown around without breaking, I cast another one in flexible foam. The weight was much more reasonable:

It didn't look quite as pretty once it was painted, but it works just fine from a distance.
Now I have way too many heavy blasters. I just need to talk myself out of making the rest of the costume to go with it.
I'll probably fail, so stay tuned.
when you put the PVC pipe in the mold how did you centre it? or make sure it was lifted off the rubber, so does not show through? or does the resin lift it?
ReplyDeleteI start with the two halves of the mold laid horizontal on the bench. I pour both sides full enough to cover the details and float the pipe on top of the resin on one side. After that pour is mostly cured, I bolt the mold shut and pour the rest of the resin in from the butt end.
DeleteLooks absolutely amazing. I am working on getting a set of Shoretrooper Captain Armor built and would like to get an E-22.
ReplyDelete