It was my good friend Peter Rubin.
"Shawn!" says he, "are you busy lately?"
"I'm always busy," says I, "but you don't often call, so what can I do for you?"
"I'm in Boston right now," he replied. "I'm working on a movie."
"That's kinda what you do."
"This one's called 'Ghostbusters.'"
"I've heard about that one."
"I thought you might have."
Cut to the night before. It turns out that Peter was working as a concept artist for the film and happened to be talking with the director, the art director, and the picture car coordinator (the guy who was responsible for building the Ecto-1 for the movie) the night before. They were discussing various elements of the completed cars when someone mentioned that it'd be a lot cooler if it had a hood ornament.
That got everybody excited. A few minutes with a sketchbook and Peter had roughed out a design. They loved it, but since they needed the cars to be complete in time for promotional photography and initial filming within a week, getting it done in time was a tall order. That's when Peter mentioned that he knew a guy who tends to do really well with insane deadlines.
That's where I came in.
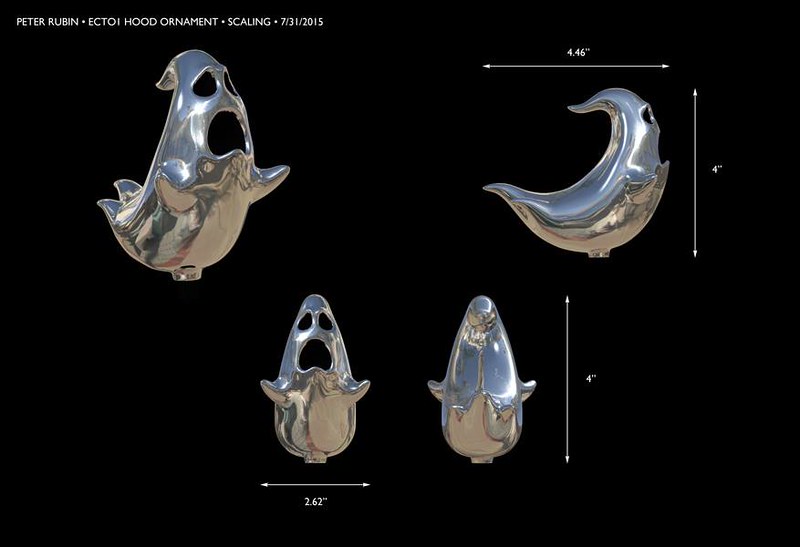
The film industry moves fast. Within 24 hours of the first call, the project was greenlit and Peter sent me his completed 3D model of the hood ornament:
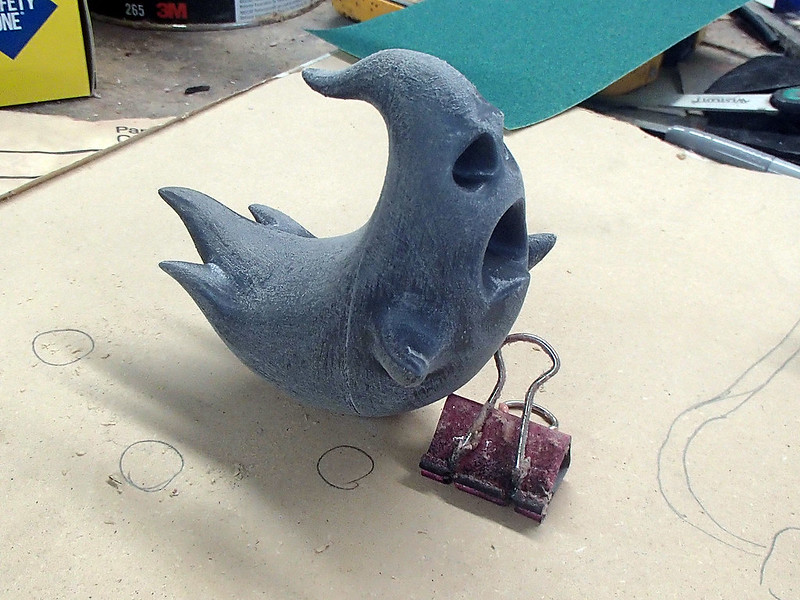
Once the final scale was determined, I had it printed out on two different 3D printers. I didn't want to run the risk that the print would fail and have to start over. As it turns out, both prints came out great. Here's one of them after an initial sanding:
Then it got a quick pass with some spot putty to fill in the build lines:
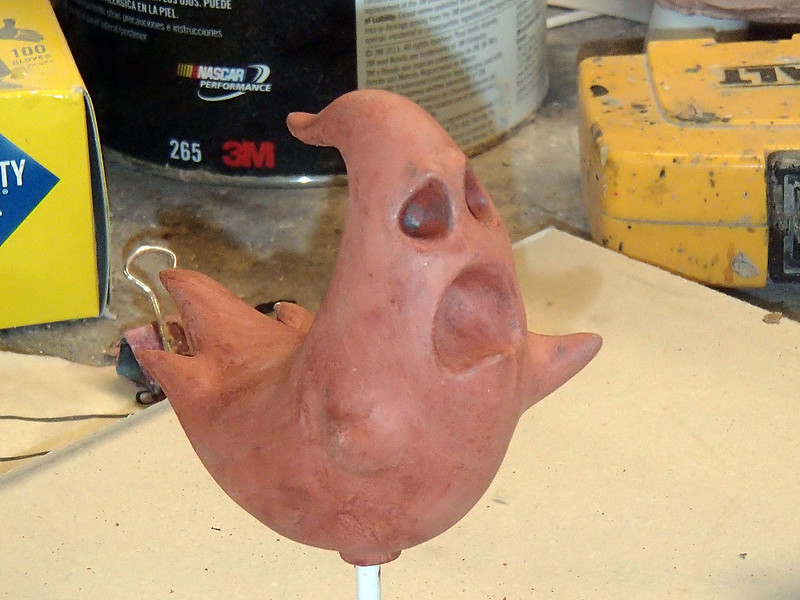
And more sanding:
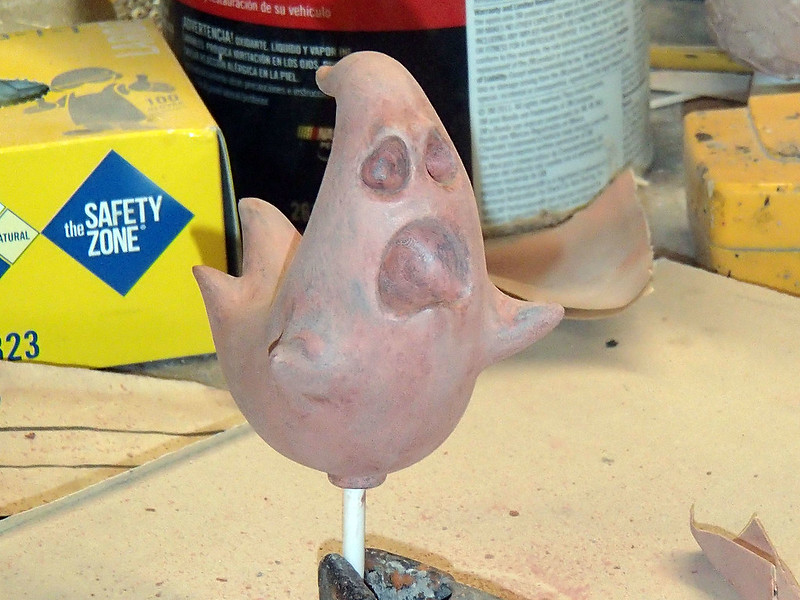
A quick coat of primer made it clear that everything was smooth and ready to go:
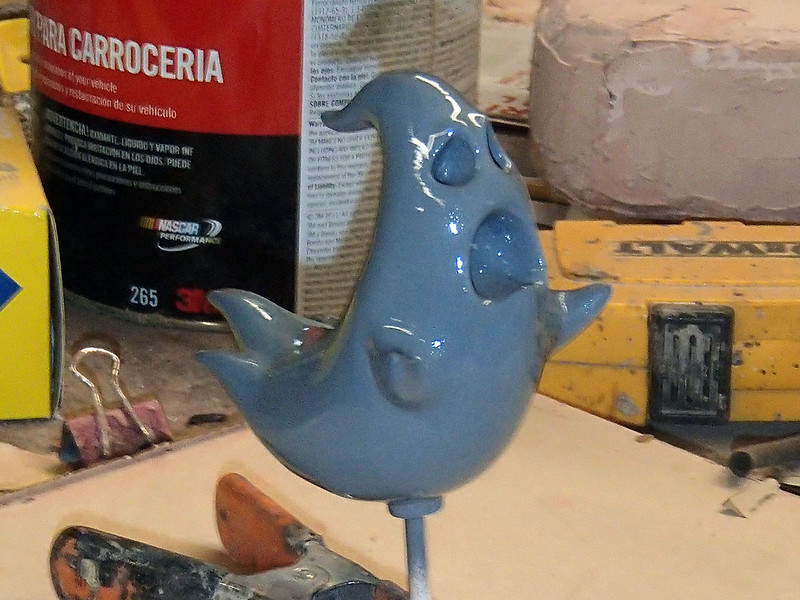
To give it a tiny bit more shine, I gave it my standard coat of glossy light red paint:
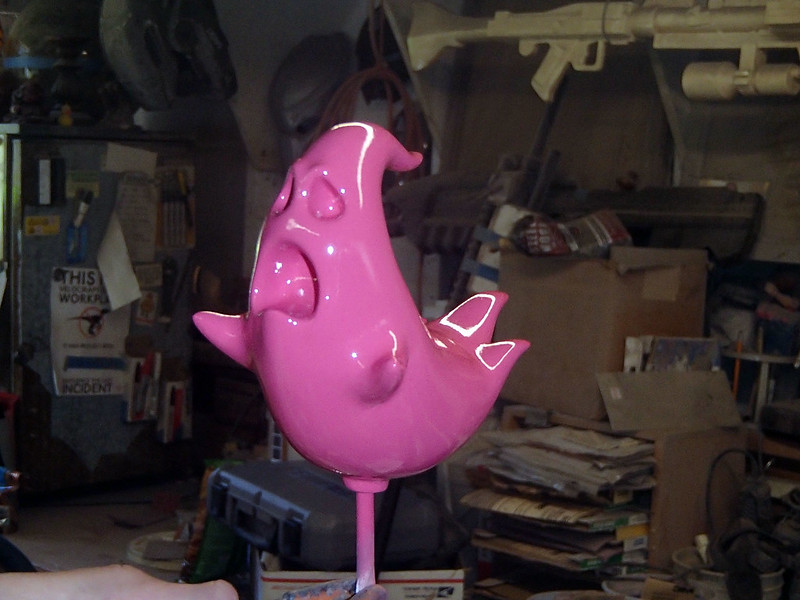
I actually went through the entire process on both copies:
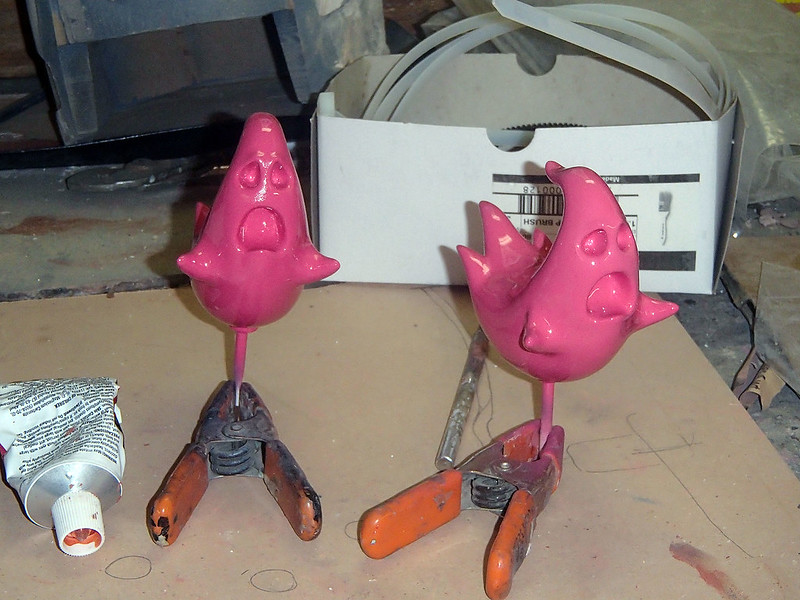
Then I mounted them for molding:
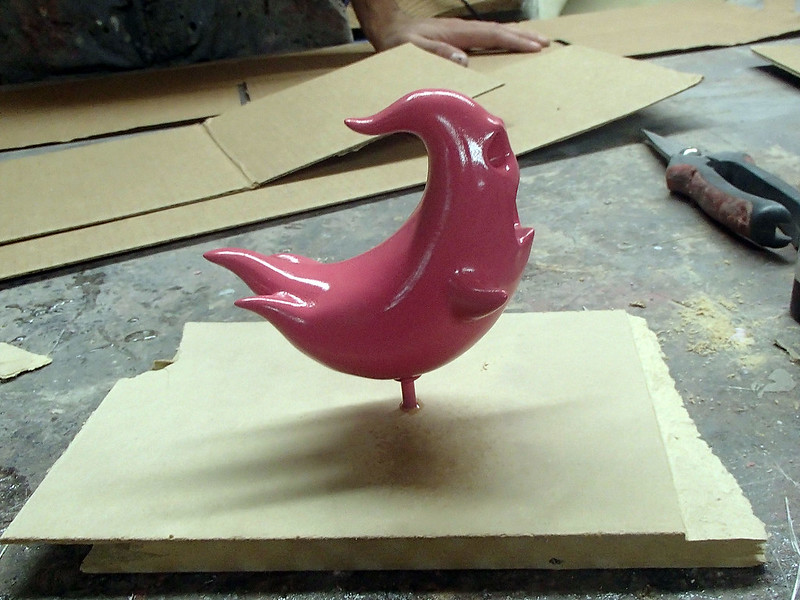
And built up a mold box:
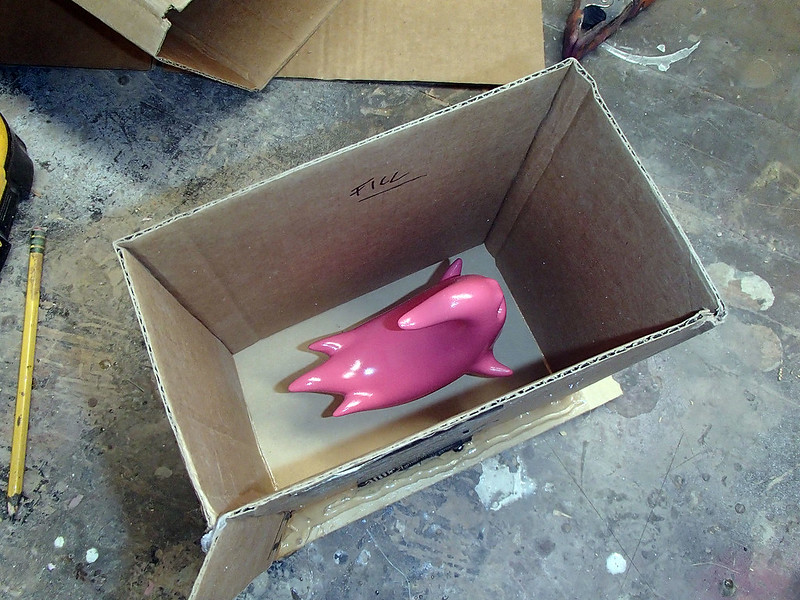
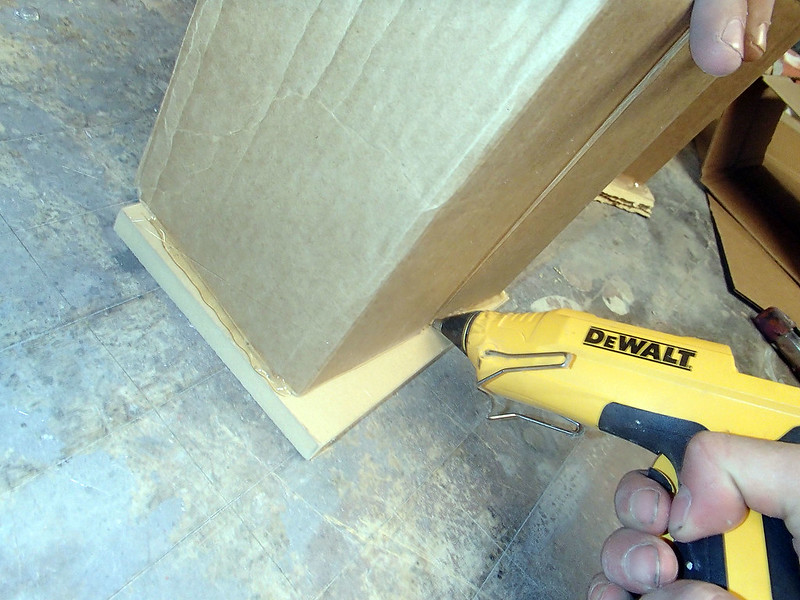
Still paranoid about anything that could set the build timeline back, I dumped a ton of hot glue onto all of the seams in order to ensure that they were watertight:
Then I mixed up a batch of silicone and poured the mold:

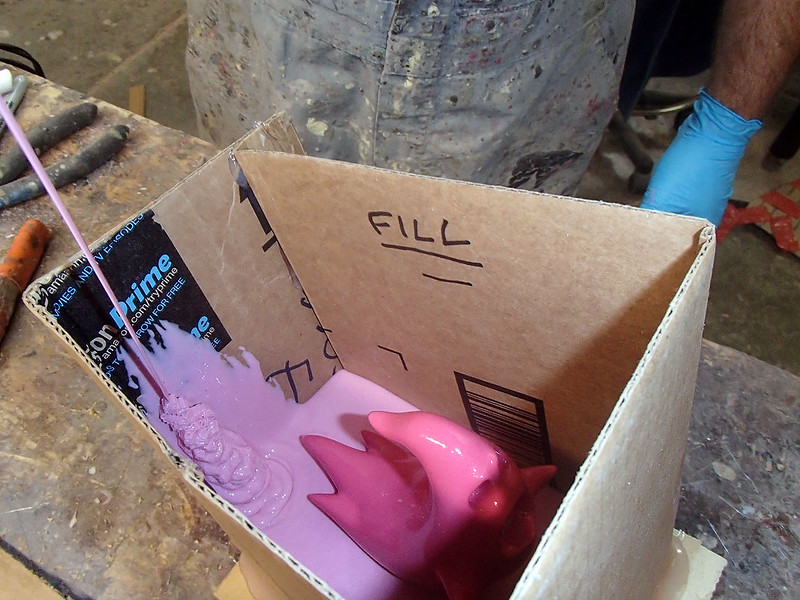
Since my friend Rio was in the shop that night, I asked him to to ahead and pour the rubber for the other mold:
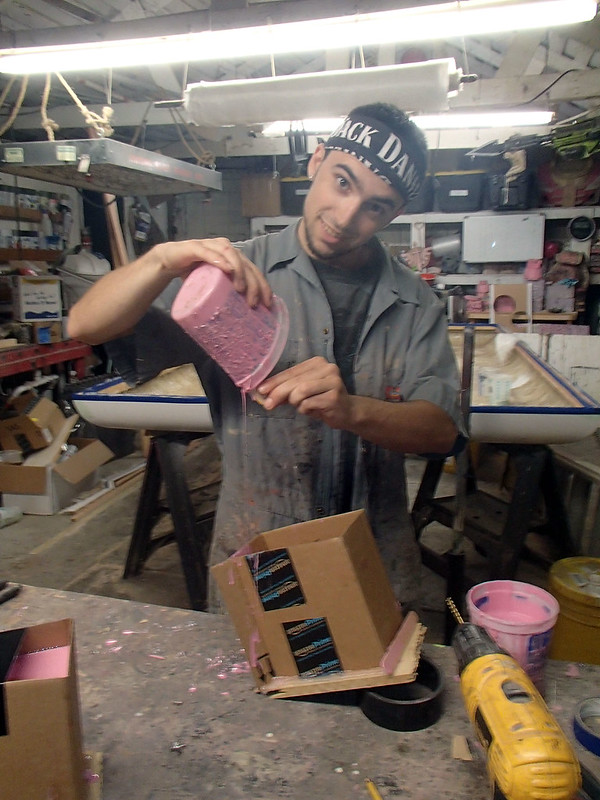
I had him use a completely new bucket of rubber so there'd be a better chance of one of the molds working if it turned out that I had some silicone that had gone bad.
Once they were poured, both molds were covered and left overnight to cure:
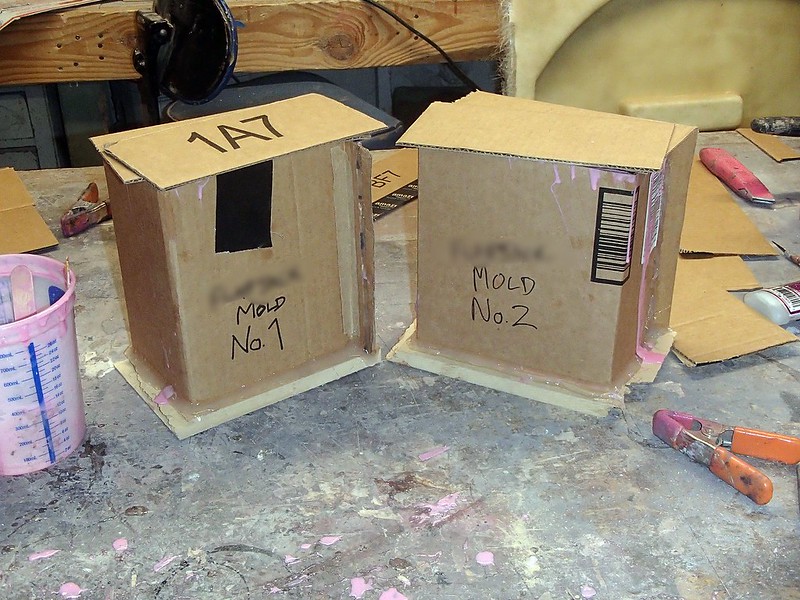
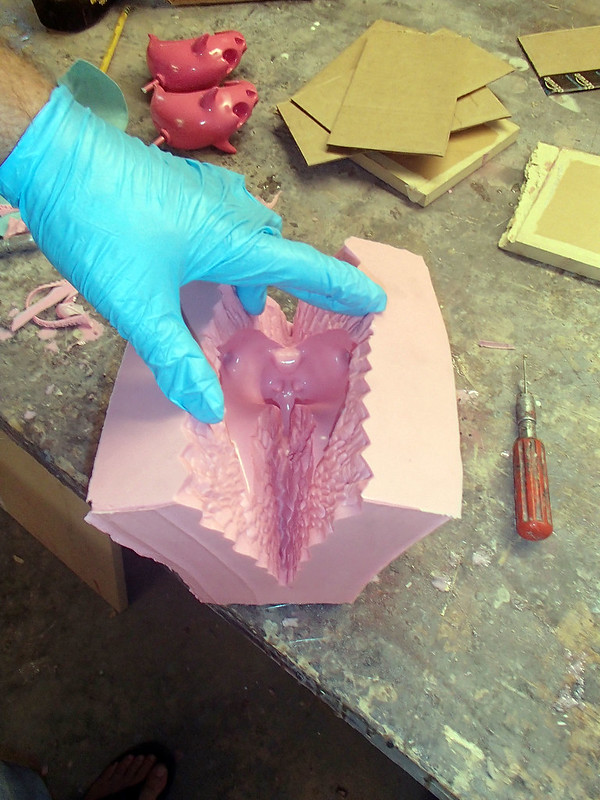
The next day, I used a basic jeweler's cut to remove the prototypes from the molds:
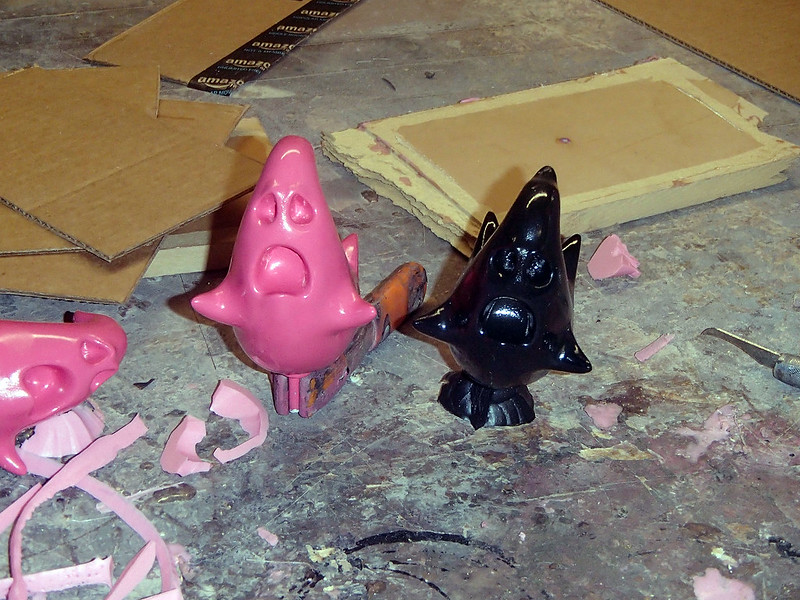
I cast the first copy in Smooth-Cast Onyx:
Using both molds, I cast more copies in Smooth-Cast 300:
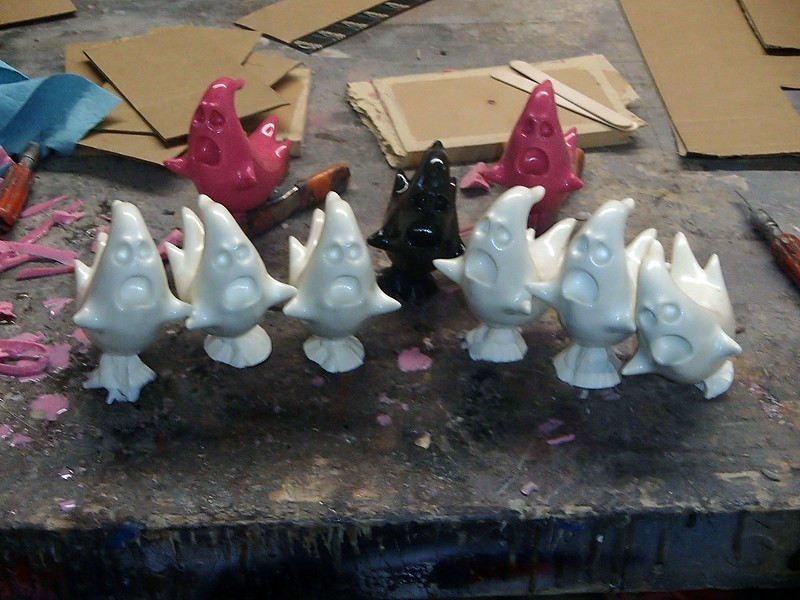
By the time I was done, I ended up making an even dozen castings, then filling in a few minor surface flaws with spot putty:
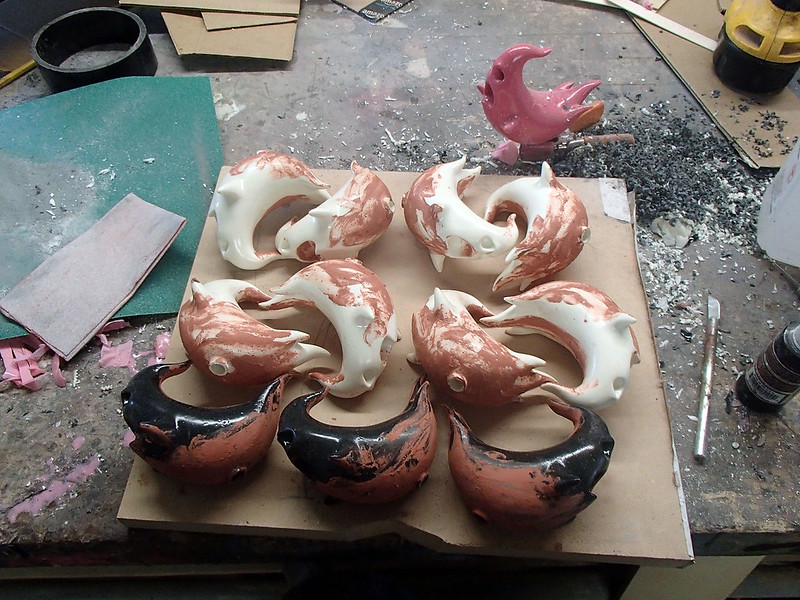
Then I sanded them smooth:
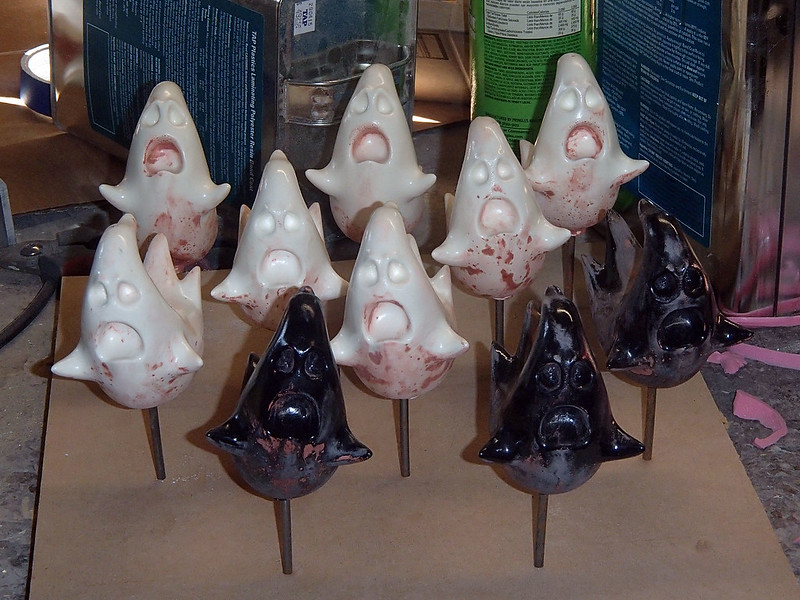
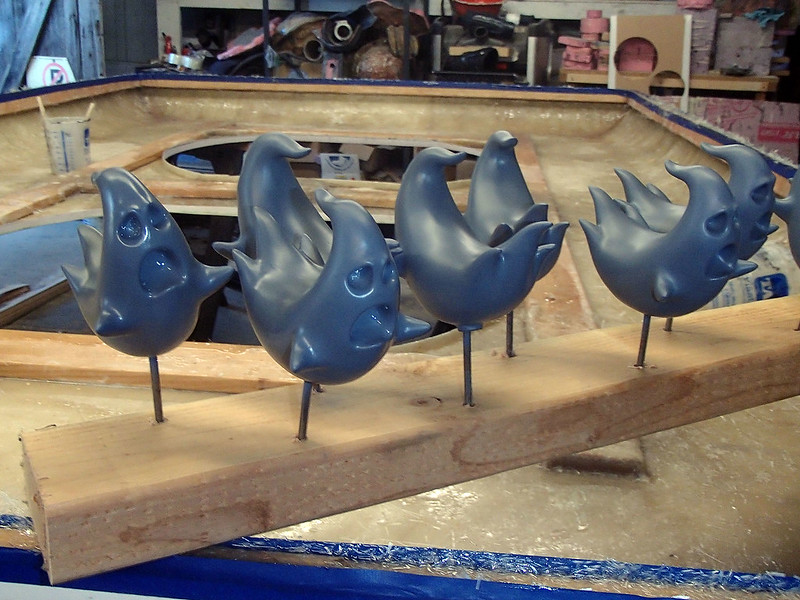
Here they are with a fresh coat of primer:
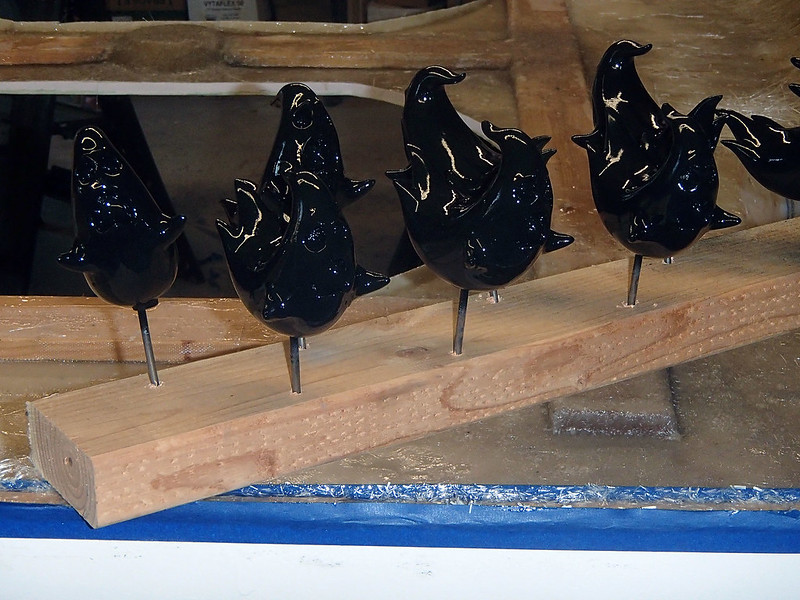
Then they got a coat of gloss black:
The first coat of chrome was less than awesome:
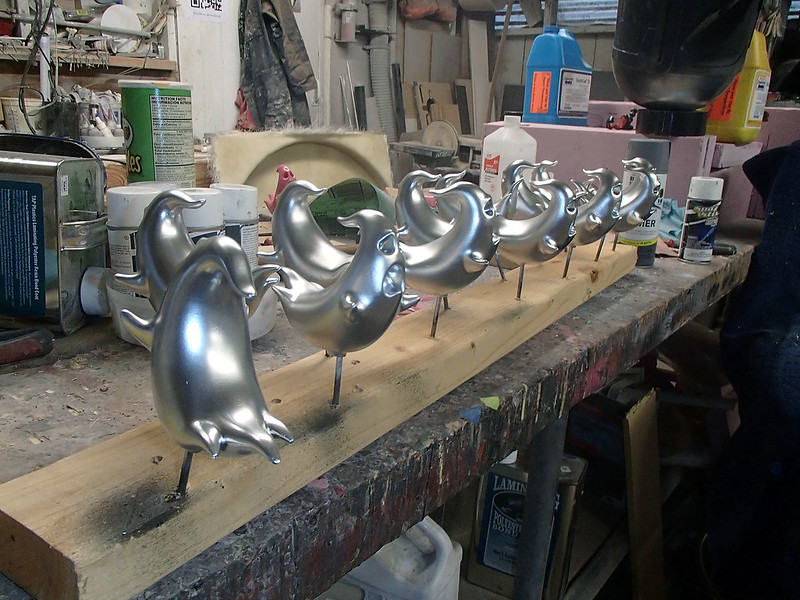
After a bit of buffing, it looked a bit better:
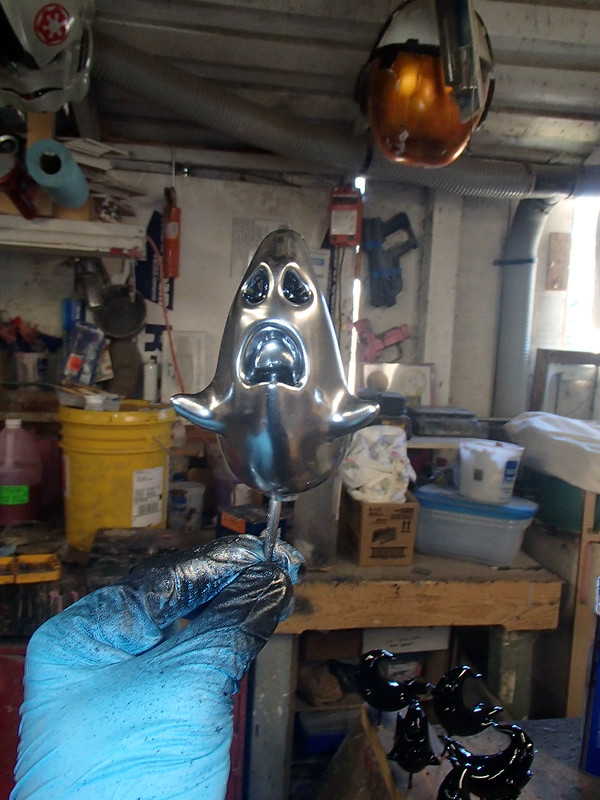
Since I didn't have time to send them out for proper chrome plating, I had to settle for my old standby, Spaz Stix Mirror Chrome:
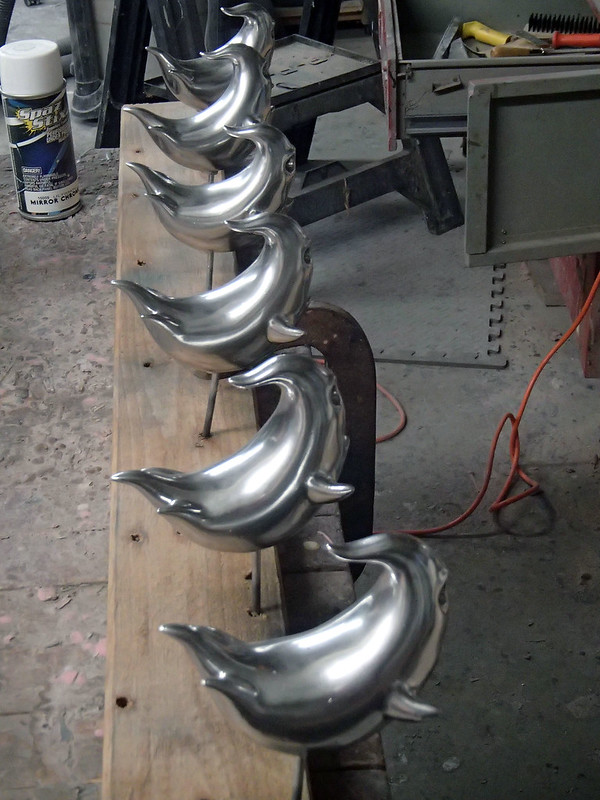
Once they'd dried, the next step was to ship them overnight to the production offices on the East Coast. Then it was only a matter of time before someone walking past one of the filming locations posted this picture on Instatwit or something:
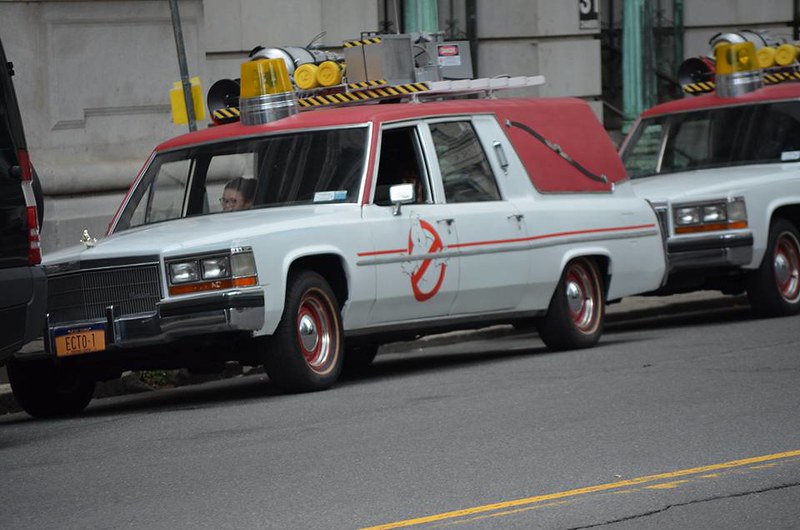
Then there was more:

Before too long, there were all sorts of sightings in and around New York:
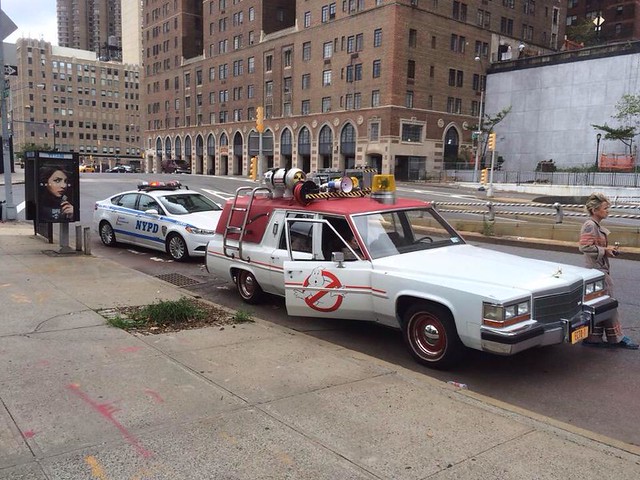
Since you don't want to hold up production on account of a car breaking down, it turns out they made two of them:
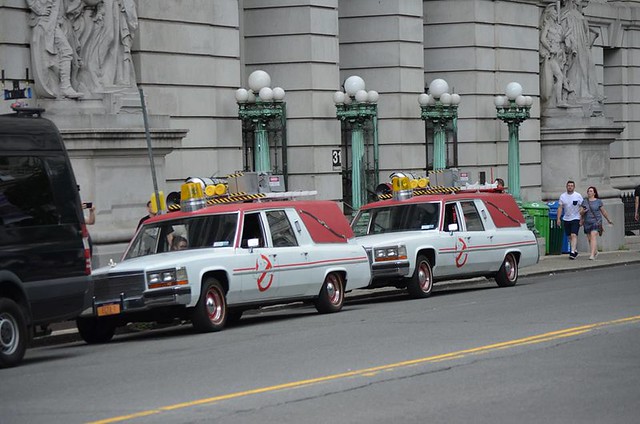
While I've made a few props for movies in the past, it was nice to think that this one might get some prominent screen time:
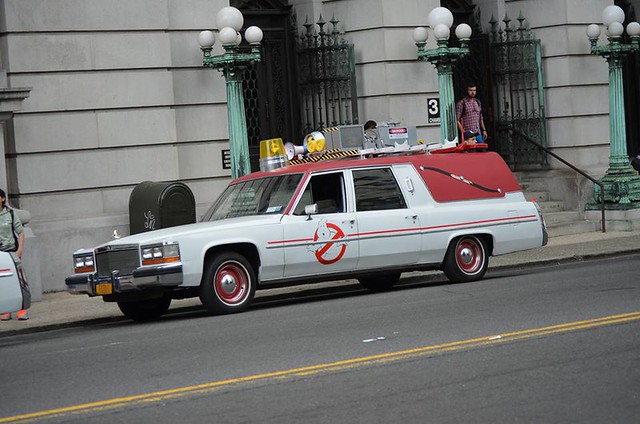
I wasn't 100% certain it would be noticeable in the film though, until this trailer came out:
There it is, plain as day about 31 seconds in:
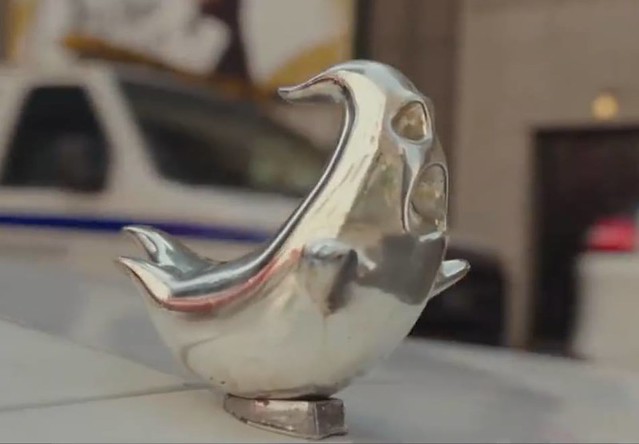
Shiny!
It also ended up being pretty visible in an episode of Jay Leno's Garage. You can see a preview HERE.
EDIT: Before anyone else asks, no I do not have the molds or the 3D files for this piece anymore. Sooner or later the good people at SONY Pictures may release a licensed replica. In the meantime, you absolutely can not get one of these from me. Please don't ask.
Great story!
ReplyDeleteWhat happened to the rest of them? As a huge Ghostbusters fan I'd love to get my hands on one! :)
Just came here from the Kotaku article, awesome job and turnaround time!
ReplyDeleteJust saw the movie and it was awesome, so cool to see this in there over what would've been a blank spot or the Cadillac symbol. What 3D printers did you use?
ReplyDeleteOne was a Zortrax M200, the other was a Makerbot 2.0. I'd have preferred to use my Objet30, but it was down with a faulty vacuum pump, so I had to rely on the FDM machines.
DeleteMad props for sure then, smoothing out FDM prints is still annoying lol.
DeleteDid you guys ever get your vacuum pump on the Objet fixed? We service them in California
Not yet. At this point, I'd rather just sell the Objet and free up the space in the shop. If you know anyone who wants a bargain on a mostly flawless printer, please send them my way.
DeleteWhat a great story! Congrats on pulling it off. How exciting to see that it got some good screen time, too!
ReplyDeleteId love to get the 3d print files and make my own!
ReplyDeleteOn l'achète ou ? :p
ReplyDeleteon peut l'acheter ou ?
ReplyDeleteThis is a pretty sweet write up. Thanks for posting this.
ReplyDeletesuper sweet!
ReplyDeleteI actually lit up when I saw that hood ornament. It is awesome. YOU are awesome.
ReplyDeleteVery cool! But... there's a name for "light red"... ;)
ReplyDeleteYou can chrome plate resin?
ReplyDeleteAll that effort on such a crap movie ...
ReplyDelete