
It was pretty bad:
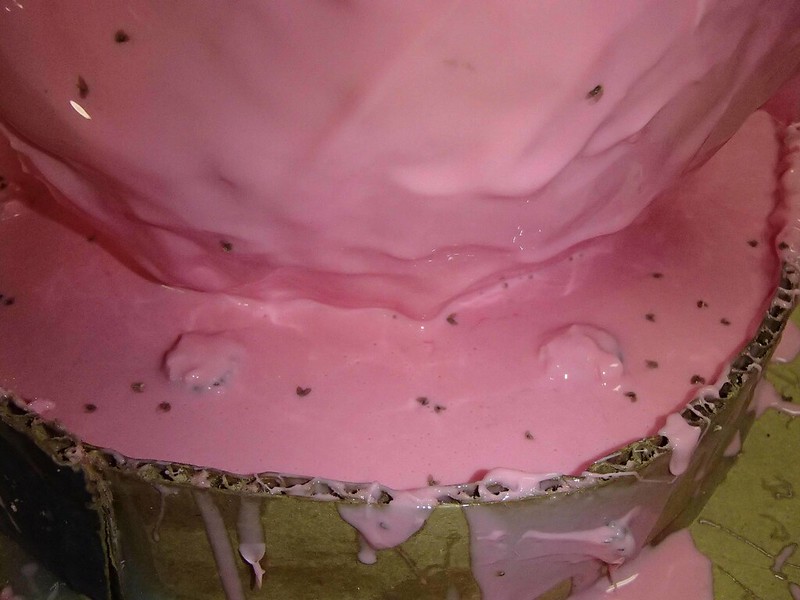
In fact, it was a full-on insect mass suicide:
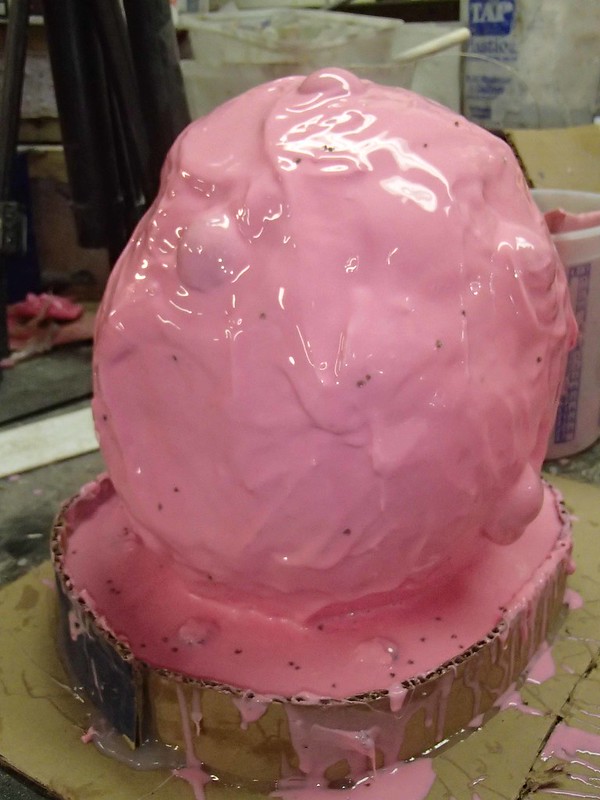
Both molds were literally covered with dead bugs:
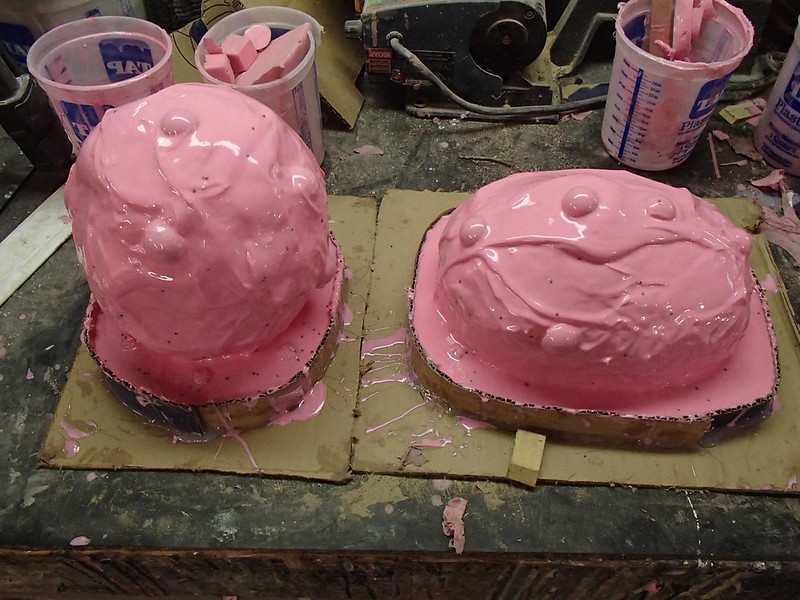
So it goes.
I removed the pegs from the bottom edge and built up a clay wall, but never got around to laying up the mothermold. I ended up getting distracted by the arrival of the UPS delivery guy who dropped off my order of these:
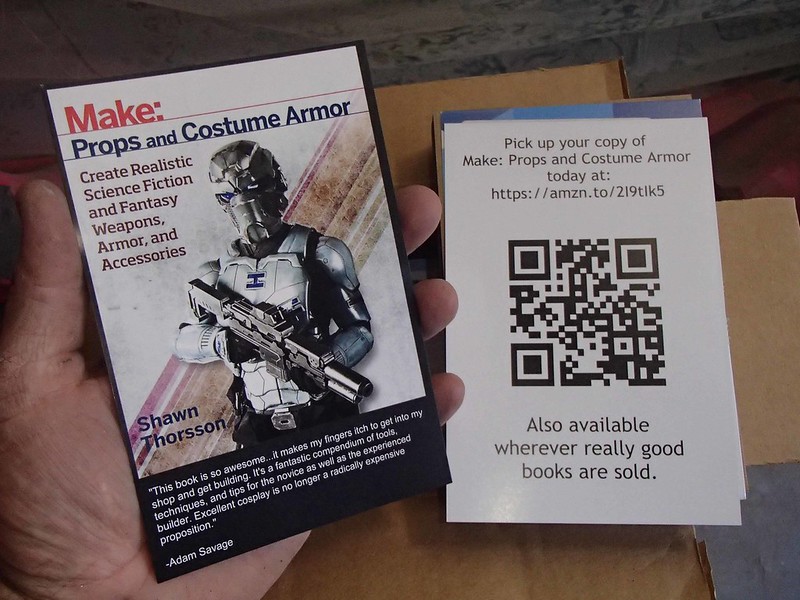
I'll be selling copies of my book at the booth this year, but I figured it'd also be good to have some of the cards to hand out for the folks who don't want to carry a copy around all over the Faire.
On the subject of the booth, I cut out all of the frame parts for the new display bases. Then I left them stacked on the table saw and completely forgot to do anything else with them for the day.
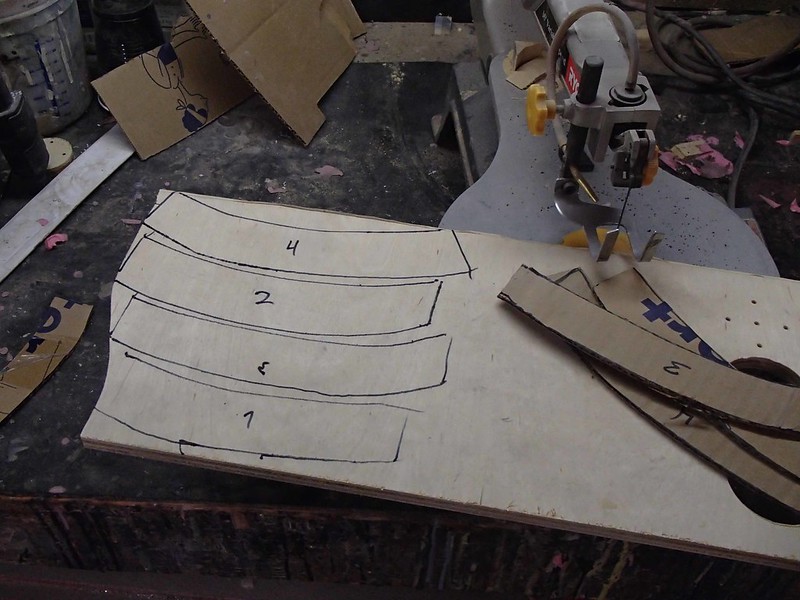
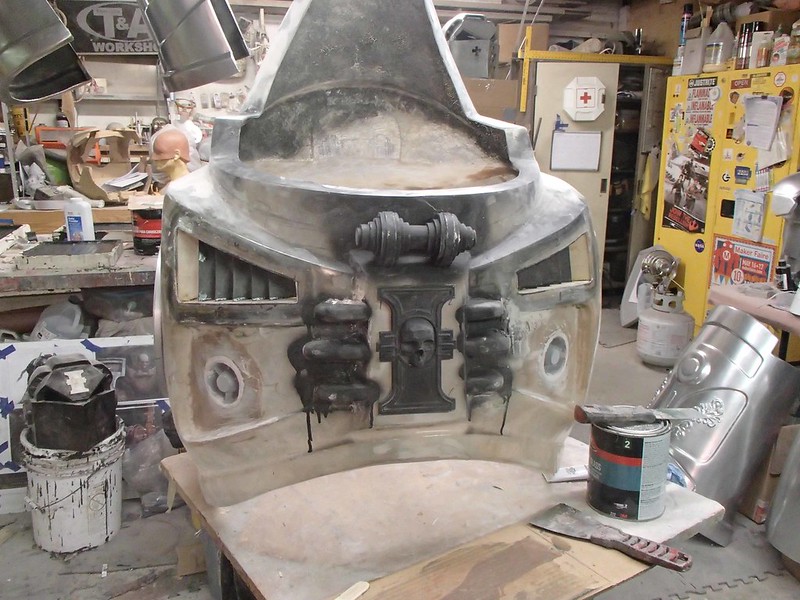
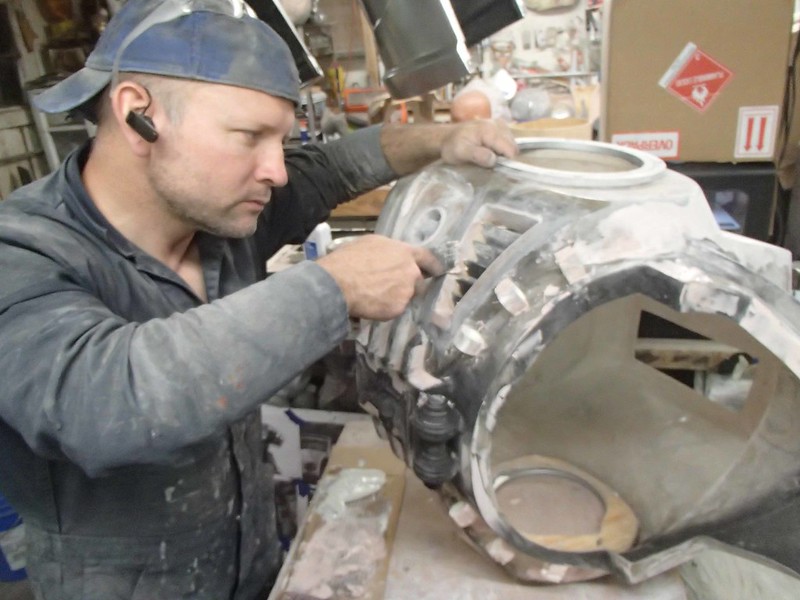
Shifting gears, I got back to work on the Grey Knight. Specifically, I made the vent details for the chest. I started by making cardboard templates of each edge:

Then traced them onto some 1/2" plywood so I could cut them out on the scrollsaw:
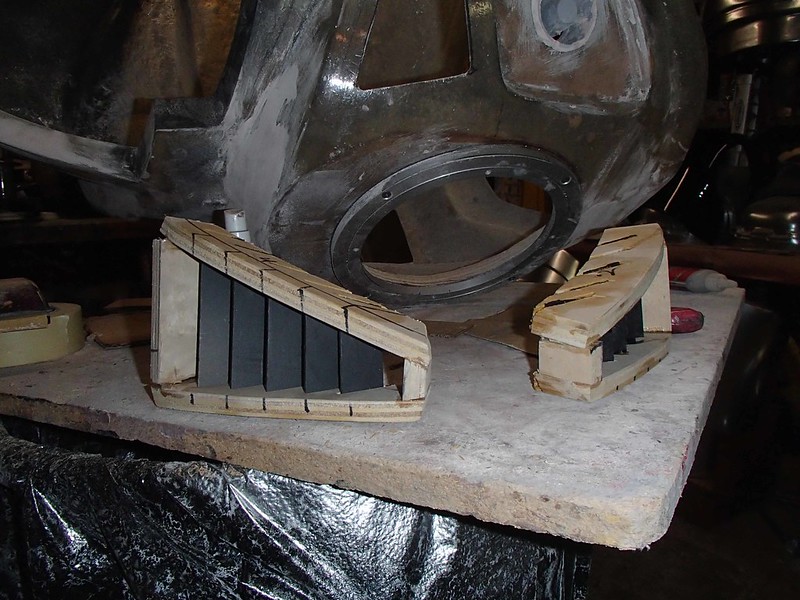
They were then put into place in the chest hole and glued together:

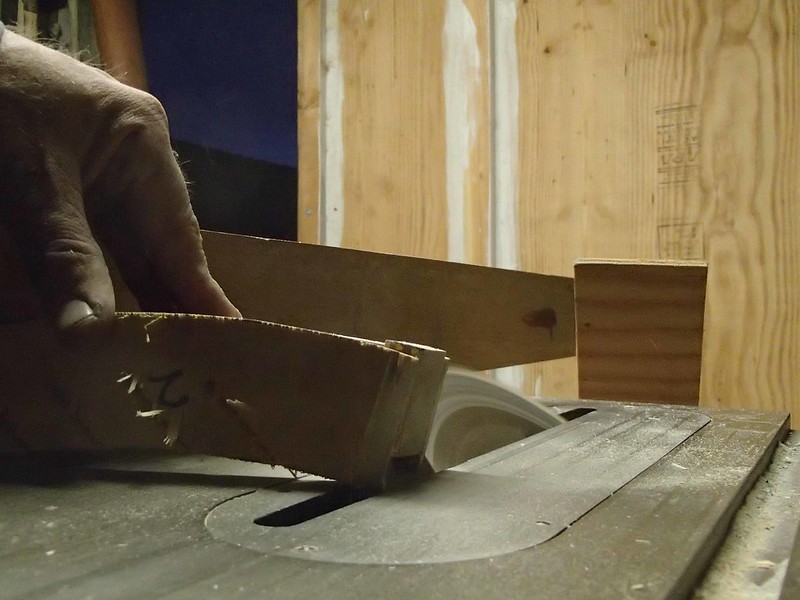
With the glue set, each of the assemblies was taken to the table saw and notches were cut at a 45-degree angle:
Th end result worked out reasonably well:
Then they were glassed in place inside the chest:
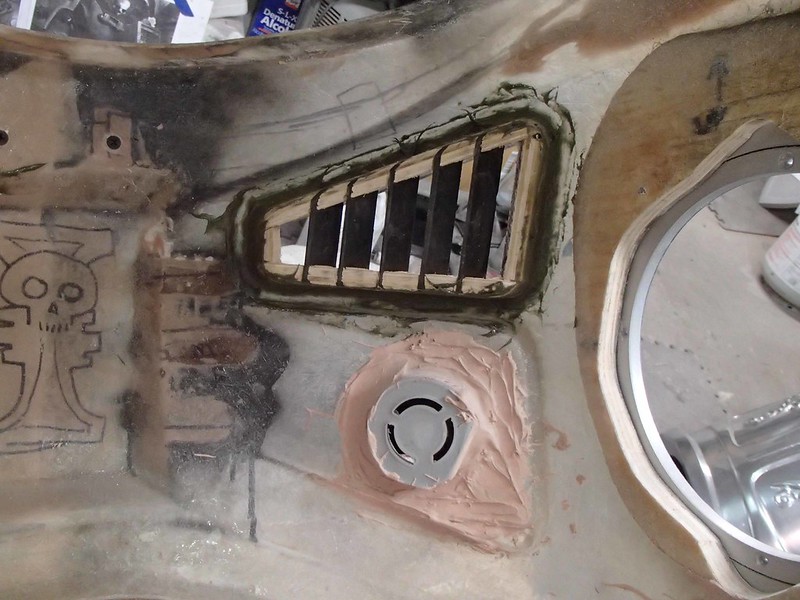
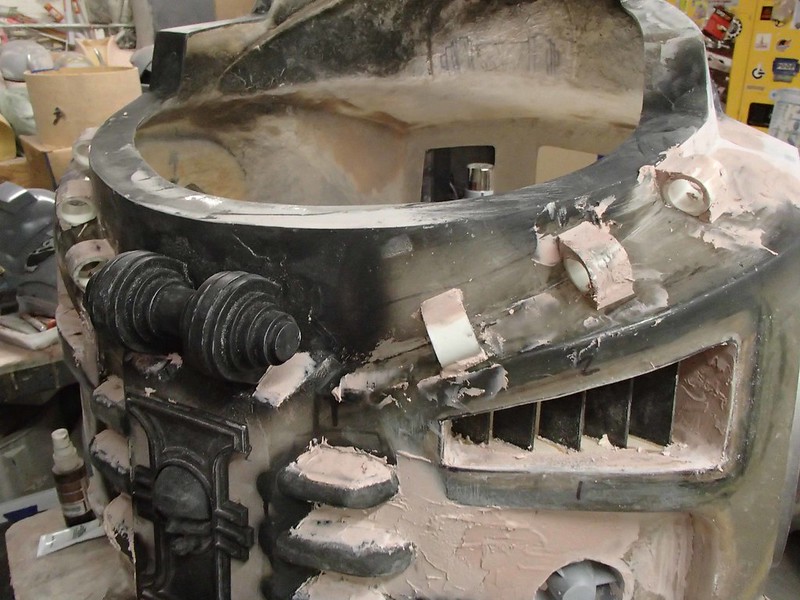
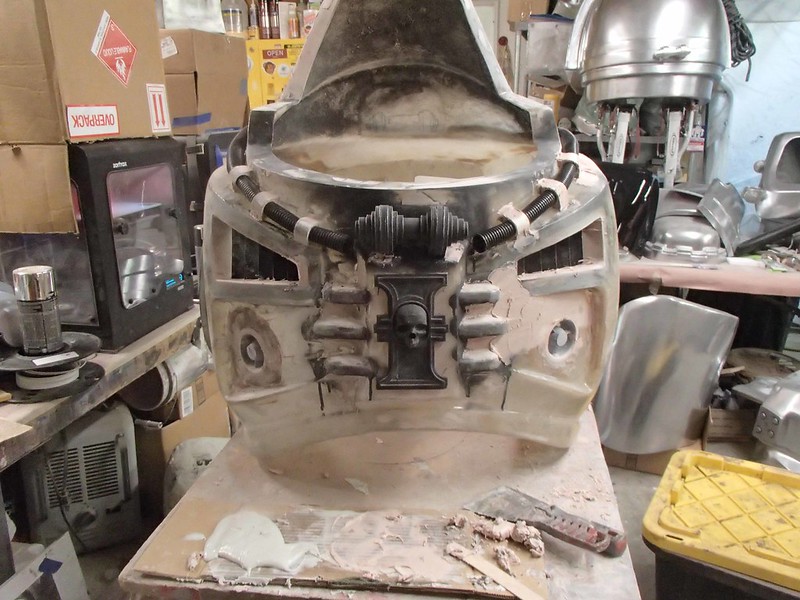
I'm pleased with the results:
Then I added a series of PVC rings along the area around the neck hole:
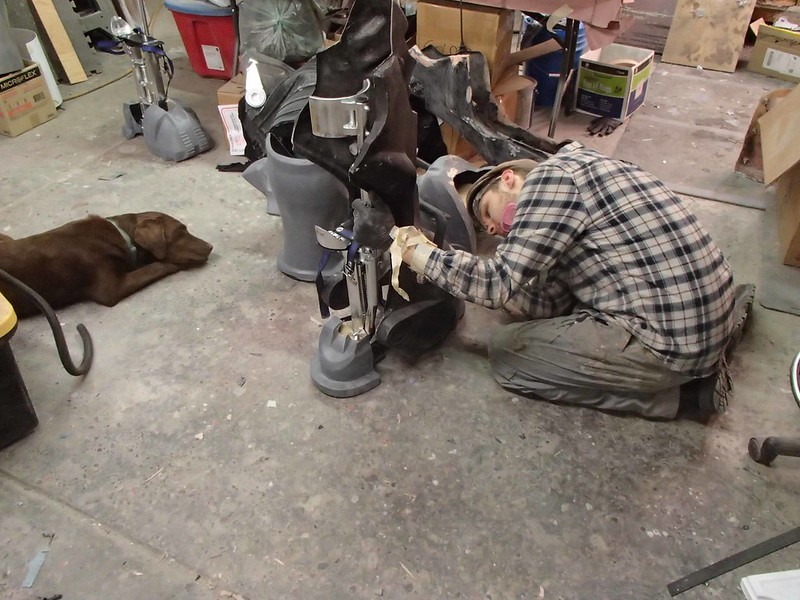
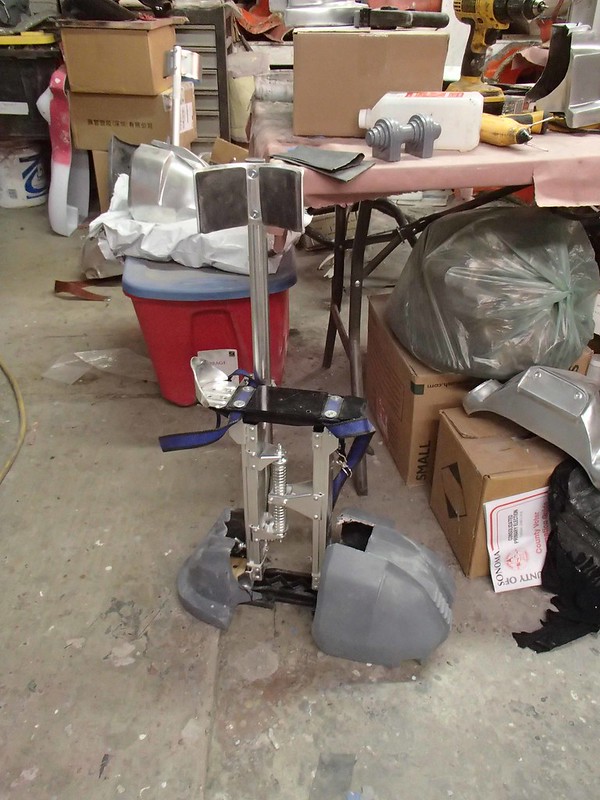
While I was doing that, Freddy and Tiki were working on getting the stilts built into the T-60 legs:
The final result was elegantly simple. I'm looking forward to finishing the paint work:
I'm glad he took care of that part though, becasue it meant I could focus on the Grey Knight details:
There's a lot of them:
At some point it was just about 1am and it was time to go home. I know because Tiki was in the shop giving me her best "it's 1am and it's time to go home" face:
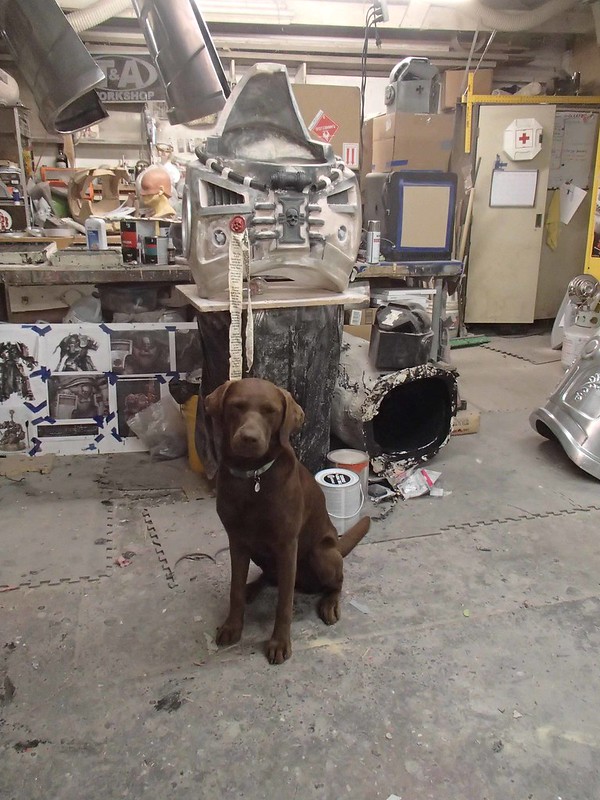
So that's what I did.
No comments:
Post a Comment