
If you're looking for detailed plans to build the exact right workbench for your precise application, look elsewhere. That's not really what I do. If you're looking for a quick and dirty guide for how to wing it and end up with a table that will take a beating and not cost an arm and a leg, read on...
Step 1: Figure Out How Big Your Table Will Be.
This part's all up to you. There are a lot of considerations. If space is unlimited, you can save yourself a bit of trouble by making the tabletop the same size as a full sheet of plywood. This will give you tons of work space without requiring you to cut down the sheet. That said, unless you can set the table up so you can work on all four sides of it, chances are you won't want it to be more than about three feet wide. Unless you're some sort of pituitary freak or NBA player or a particularly lanky Yogi, making the table wider than that means you'll have to do some awkward acrobatic stretching maneuvers to reach the far side when a vital tool or just-right part rolls beyond your reach and against the wall.
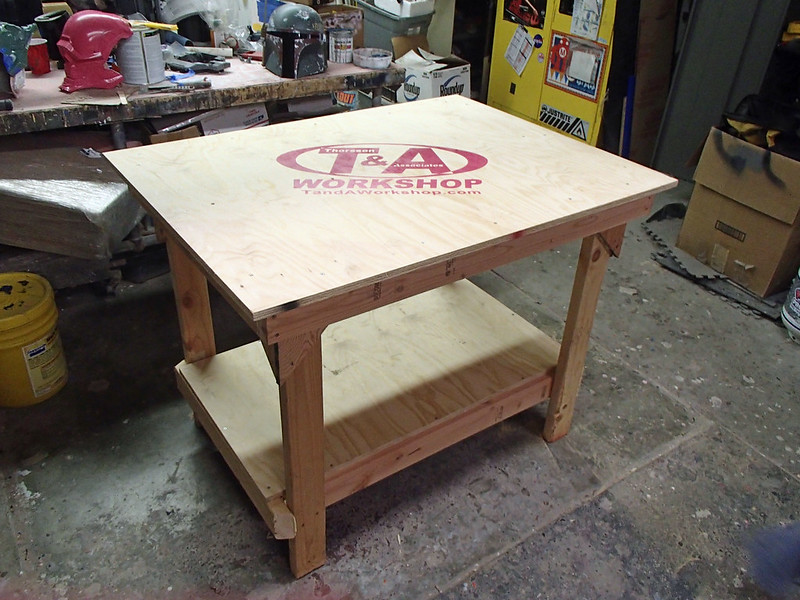
To illustrate this project, I'll be making a table that's three feet wide, four feet long, and about waist high. I'll actually be making two of them so I can potentially set them together and have a table that's three by eight feet, or four by six feet as needed. It opens up a world of feng shui options.
Step 2: Gather Your Materials.
- 1 piece of 3/4" thick plywood - Anything thinner and you're making a pretty flimsy table.
- 6 or 7 8-foot 2x4s - This is what I needed for one of these tables. If yours is bigger, you'll need more.
- 1 box of 1-5/8" screws - a small box. You'll have some left over.
- 1 box of 3" screws - You'll have less of these left over.
- 1 bottle of wood glue - I use Gorilla Glue because I like the sound of it.
- cordless screwdriver - Ideally an impact driver, but I'm not going to tell you how to live.
- saw- I used a table saw, chop saw, and a circular saw for this project, but go with what you've got. If you plan on gritting through this project with a hand saw, skip the table tutorial and go back to working on the top of a somewhat flat rock, you neanderthal.
Step 3: Clear Some Space to Work.
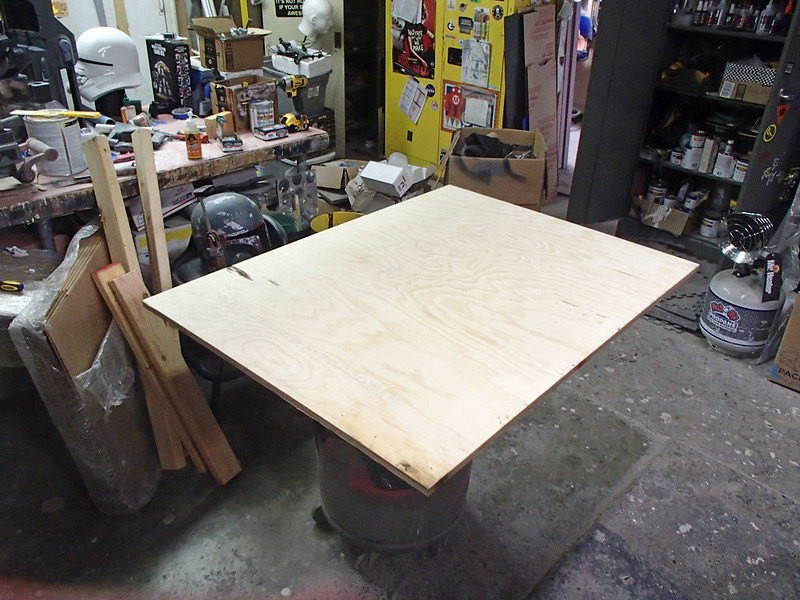
This should be easy since you don't already have a good-enough table in your way. That said, working on the floor kinda sucks compared to working at waist height. So this is why I tend to convert my trusty trashcan into a convenient workstation:

This should be easy since you don't already have a good-enough table in your way. That said, working on the floor kinda sucks compared to working at waist height. So this is why I tend to convert my trusty trashcan into a convenient workstation:
Step 4: Cut Your Tabletop to Size.
If you buy your plywood from any kind of decent lumberyard or big box home improvement store, you should be able to get someone at the store to it cut to size on a panel saw. However, if your luck is anything like mine, that tends to mean waiting around forever while the staff wanders around and tries to avoid you. So when you get frustrated and take a full, uncut sheet home, you can try to wrestle it around on your table saw, or you can set it up on sawhorses, clamp a cutting guide in place, and make a perfectly straight cut with your circular saw. Or you can do like me, park the truck on a bumpy hillside, slide most of the sheet out of the bed of the truck, prop one end up on a trash can, and cut it freehand because it's good enough:

Now you've got yourself a tabletop, and that's pretty nifty:
Step 6: Reinforcement
Cool as it may seem, it's time to build the frame that will keep it all straight and sturdy. Since your toes tend to stick out a bit in front of the rest of your body, you'll want the tabletop to be the widest and longest part of the table. So in this case, we'll cut the frame parts to sit about an inch and a half away from the edge of the tabletop. To make my life a little easier, I use my framing triangle to mark the line:
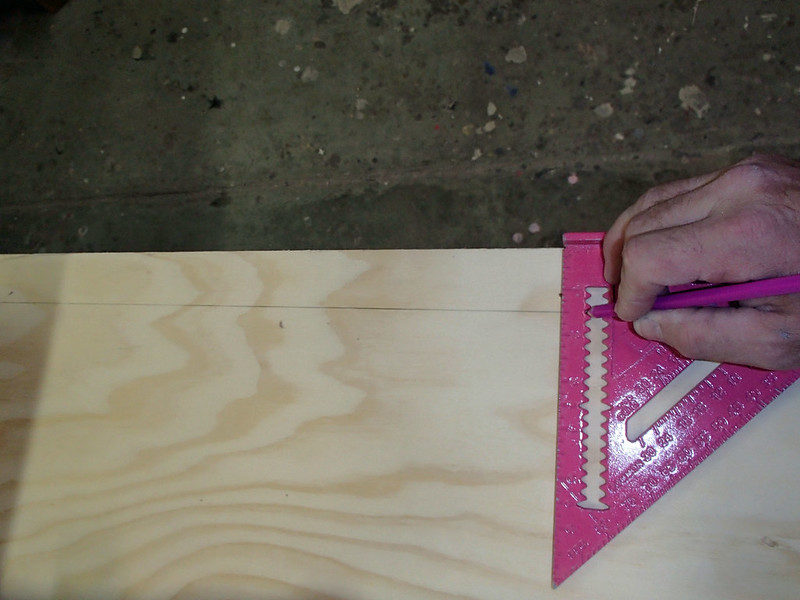
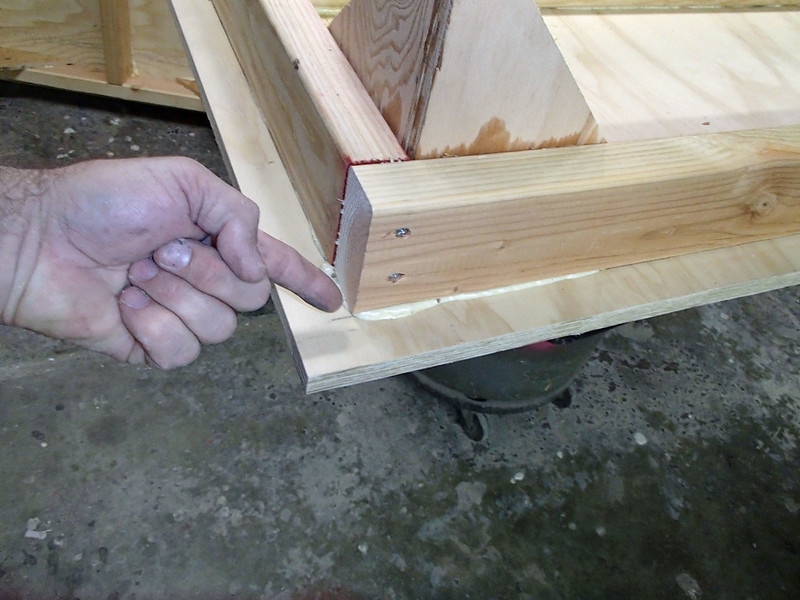
Since I started with a tabletop that was notionally 36" by 48," taking an inch and a half setback from either side makes for a rectangle that's 33" by 45". When we cut our framing, we'll need a pair of pieces 33" long and another pair of pieces 42" long. Why 42"? Because the ends will be capped by the 33" pieces and they're each 1.5" thick. 42" plus two 1.5" widths gives us the 45" we were after. Since your table will be a whatever size you were making, you'll have to do your own math here. Your results may vary.
Now we'll start by placing one of the long ends. Drawing that pencil line makes it pretty easy:
Now we'll start by placing one of the long ends. Drawing that pencil line makes it pretty easy:
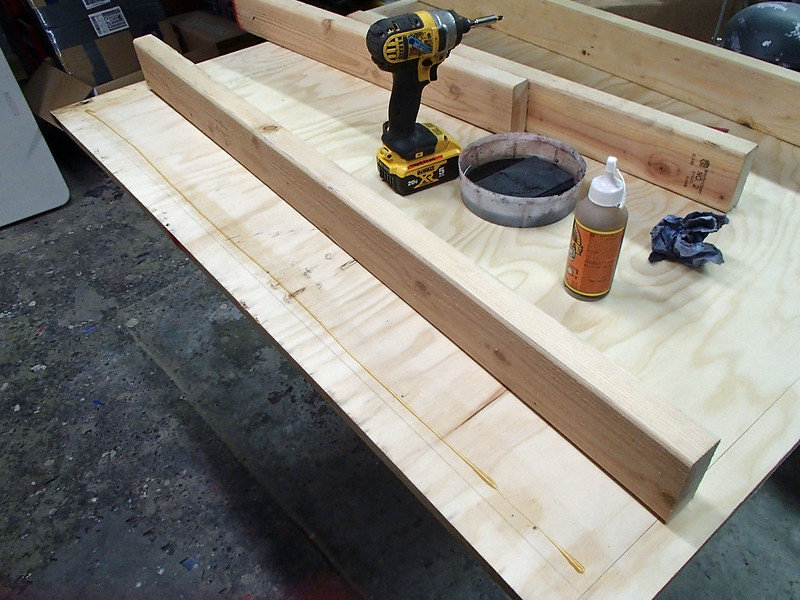
This whole thing is being fastened together with screws. Screws are stronger than nails and I suppose they'll make the table easier to disassemble. That said, we're also going to glue everything together for added strength and because, let's face it, you'll never get around to taking the table apart anyway.
NOTE: It's a little-known fact that Gorilla Glue is activated by moisture. I say "little-known" because it's explicitly mentioned in the instructions on the side of the bottle and nobody ever reads the instructions on a bottle of glue. To that end, I dab the surface with a damp rag (or the filthiest wet paper towel within reach) before laying down a bead of glue and screwing the pieces together.
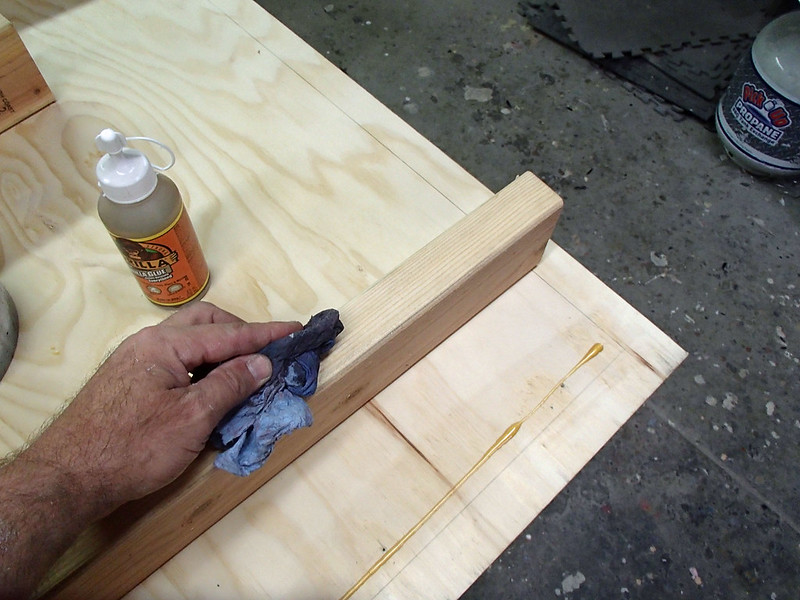
The water activated glue will actually foam up and expand a bit as it cures. This is why you'll want to use fasteners to keep everything in place while it does it's thing. If you put too much glue on the mating surfaces, it will splooge its way out of the edges as it cures. If you put too little, you'll have no way to know. So I tend to err on the side of caution and all of my glued joints look like this the next day:
The water activated glue will actually foam up and expand a bit as it cures. This is why you'll want to use fasteners to keep everything in place while it does it's thing. If you put too much glue on the mating surfaces, it will splooge its way out of the edges as it cures. If you put too little, you'll have no way to know. So I tend to err on the side of caution and all of my glued joints look like this the next day:
Here's another neat trick: you'll notice that I'm doing this all upside-down. In order to get the screws where I want them without any guesswork, I start by using them to poke guide holes through the tabletop:
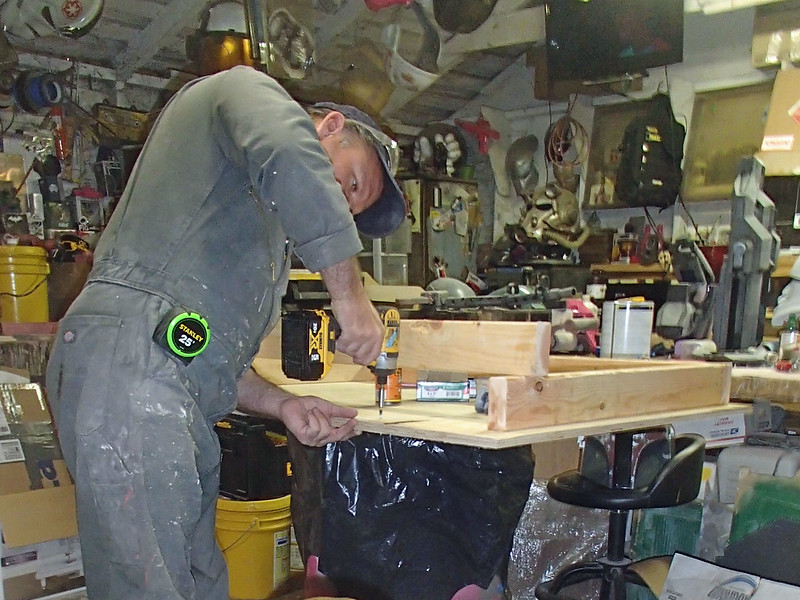
Then I set the frame parts in place and run the screws in from the bottom (which will become the top once it's all said and done).
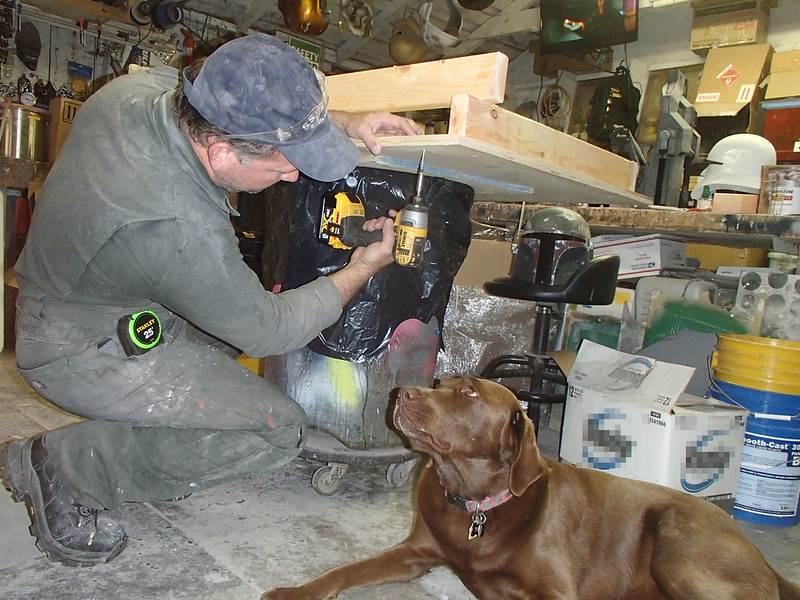
My dog Tiki is not impressed.
All four sides go together pretty much the same way. The corners get screwed together too.
The point of the framing is to reinforce the tabletop so that it isn't just a floppy piece of plywood tacked onto the top of some sticks, while still keeping it lighter than a four-inch thick slab of laminated wood. So because lumber is cheap* and I want this thing sturdy enough that I don't have to think about it, we'll add a third rib lengthwise down the middle. Since I have absolutely no confidence in the straightness of my lumber, the accuracy of my cuts, or the squareness of my layout, I just cut the piece to fit whatever measurement I ended up with when it was all slapped together:

Once that piece is cut, glued, and screwed in place, we now have a very sturdy tabletop that just needs something to hold it up at the right height. Especially if I ever want to use that trashcan again.
Step 7: Get You Some Legs.
In this case, I wanted the tabletop be be just about as high as my waist. That way I can stand and work comfortably at the table or I can sit on a shop stool and work comfortably. I'm a little on the short side, so waist-high means about 36 inches (your own waist may vary). Subtracting the 3/4" thickness of the tabletop, that means the legs will be 35-1/4" inches long. We'll need four of them.
It's vital that the legs all be the same length. If your good-enough table rocks back and forth while you're working, technically it's not good-enough. Technically it's a piece of crap. So be sure to follow the age-old maxim of all carpenters and measure once, cut five or six times, and pick the four legs that are closest to matching.
So yeah. Four legs of whatever length you want as long as they're all the same length. Now in order to attach them to the framing, we'll need a way to keep them from wobbling around. Technically, the wobbling will also make your table a piece of crap.
To keep the legs straight, we'll cut four pairs of plywood triangles out of whatever scrap is close at hand.
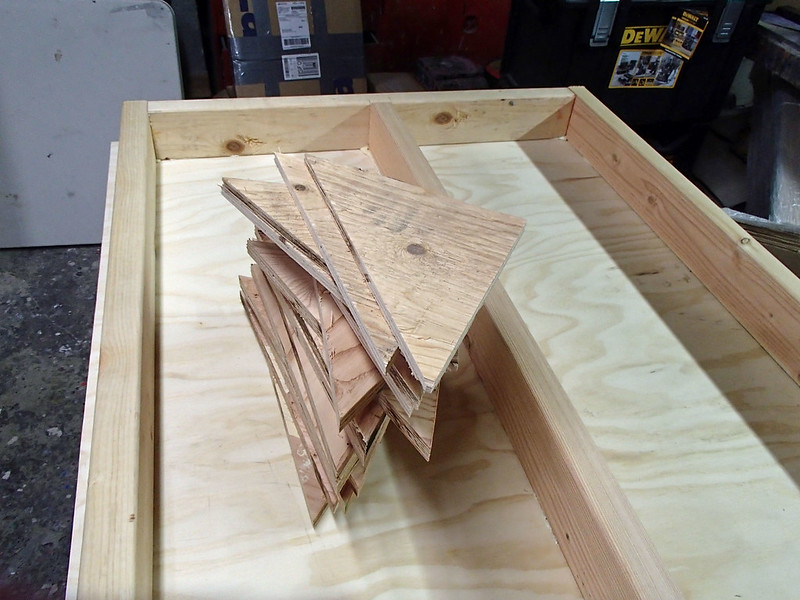
Next we'll go ahead and attach each pair to the inside of the framing like so:

These triangular pieces, called "gussets" if your into that sort of thing, will help keep the legs stiff and straight when you attach them. Then the legs are glued and screwed into place:

When it comes to structural design, triangles are really strong. Those gussets will do a good job of keeping the legs straight despite whatever jackassery you do with them:
When it comes to structural design, triangles are really strong. Those gussets will do a good job of keeping the legs straight despite whatever jackassery you do with them:

Now, for the first time, the whole thing can be flipped over and start to do table stuff. Still, in the interest of sturdy, stable, table-making, it's a good idea to do something to brace the bottom of the legs so they'll want to stay straight too.
Step 8: Frame the Bottom of the Legs
We'll start by cutting some 2x4 to connect them together.
When you put these piece on, it's important to leave enough space underneath so your toes to bump into them when you're leaning across the table. You may also want to consider leaving enough clearance for a broom to clean underneath (or a Roomba if you're one of those people). To make your life easier, find a box or a block of something that's about as tall as the largest thing you won't mind losing under the table and use that to set the height of the lower rails:

Once those get glued and screwed in place, you add a couple more rails lengthwise to the inside of the legs at the same height:

At this point I figure the table is stable and sturdy and definitely good enough to fulfill all of the vital functions integral to tables around the world. So it seems like as good a time as any to mark it in such a way as to show it's mine:

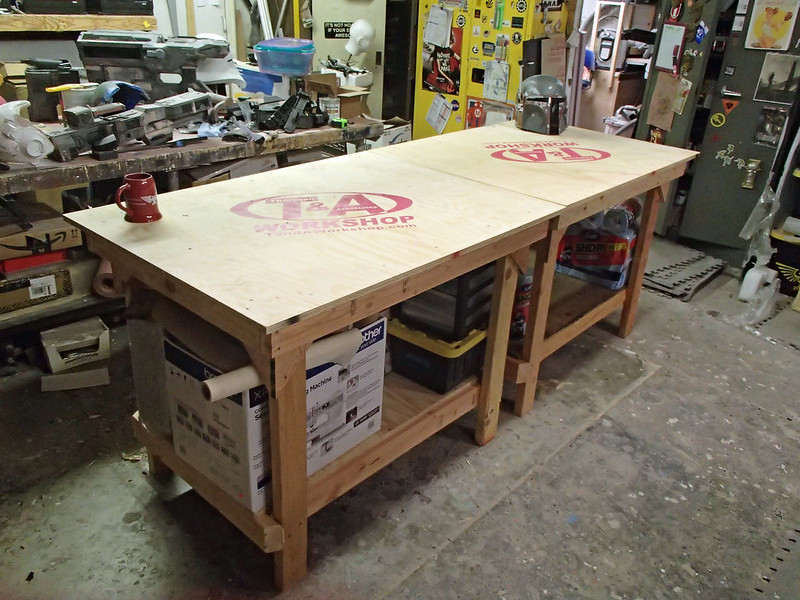
A table it is, sure, but there's this big chunk of useless space underneath it. This is a good place to take a couple more scraps of plywood and build in some reasonably heavy shelves, or a box to put useful things in, or a cup holder. Whatever you need. Your table(s) can be festooned with all manner of bells and whistles and painted in whatever flamboyant colors you prefer. I'm not here to judge. For me, a simple lower shelf was all I needed:
As I alluded to in the beginning of the article, I maked more than one of these tables. Two. I maked two. That way I can combine their powers like Voltron to make one super table:
Alright.
So it's not exactly rocket surgery, but if you've got a couple of nickels and an afternoon to kill, you too can have a good-enough table that you can spill paint on, drill holes in, beat with a hammer, and not care about at all. Which is nice.
So it's not exactly rocket surgery, but if you've got a couple of nickels and an afternoon to kill, you too can have a good-enough table that you can spill paint on, drill holes in, beat with a hammer, and not care about at all. Which is nice.
Before anybody asks me about that Boba Fett helmet in most of the photos, no, I didn't make it. It's the surprisingly well done Black Series helmet from Hasbro. A great deal for the price. You can get you one here: LINK.
*Lumber is cheap. It literally grows on trees.
Hilarious!
ReplyDeleteDo you not like locking wheels on your tables?
I love them. I don't love the price.
DeleteWhen I was loading up on lumber and screws I almost got some rotating, locking wheels and then realized the main reason I was building these tables was because I never moved the folding (very movable) tables in my shop, and figured wheels probably weren't all that necessary.
That said, I give me about a week before I curse myself for skipping the wheels and about three years before I get around to doing anything about it.
Great stuff, I love your blog!
ReplyDelete