About Me

My photo
I make toys for kids who don't want to grow up. I'm on the lookout for new projects. If you're interested in commissioning me to build something ridiculous, shoot me an email.

Friday, March 29, 2013

Need to Stir Up Some Cash

A little while ago I spilled a glass of wine on m keboard and now I can't tpe that letter that comes between "X" and "Z" anmore.  So, after almost five ears of faithful service, it's time to replace the laptop.

I've also got to get m dog Bain some significant dental work, some expensive maintenance is coming due on the car, and m annual airfare budget is going to increase dramaticall in the near future.

So, for a limited time,* I'm offering a 10% discount on everthing in the Ets shop.  Just enter the coupon code "blogger" when checking out and the savings will be applied to the order.

Also, the new pose is in stock:
Bayonet Gnome Sneak Attack
 
I've just updated the Combat Garden Gnome listings to reflect current stock on hand, so I'll be able to turn orders around prett quickl.  CLICK HERE TO PLACE ORDERS.

*This offer will onl be valid until I reach m current sales goal, so don't dela.

Sunday, March 10, 2013

Coming Soon: Bayonet Attack Gnome!!

I've finally got the first batch of these angry little guys out of the mold:
Bayonet Gnome Progress

As you can see, painting is still in progress:
Bayonet Gnome Progress


The first few should be ready to deploy in about a week.  Then they can harass your other lawn gnomes:
Bayonet Gnome Progress

They'll be joining the other nine Combat Garden Gnome variants already available in my Etsy shop at http://etsy.com/shop/thorssoli.

Thanks for looking.

I'm still working on a back story for the new bayonet gnome.  Any suggestions?


Wednesday, March 6, 2013

RvB Caboose Helmet Casting

I've written about the building of the prototype helmet for this project here and here. The prototype was a relatively easy build, but the end result was an MDF helmet that was a bit heavy and could potentially be damaged by moisture of any kind including mere humidity. On top of that, I'd made the visor so it was impossible to see through.

The solution to all of these problems:  make a mold and cast a copy in resin.

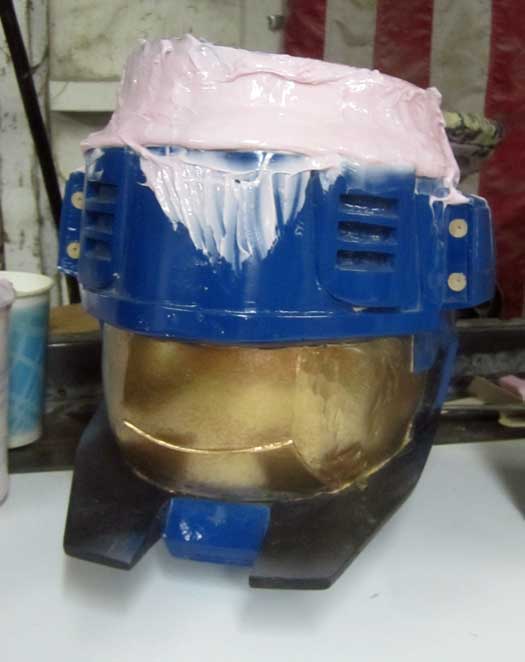
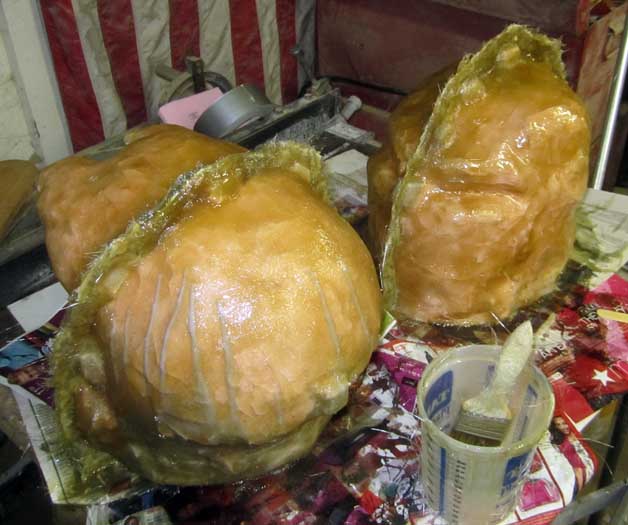
A while back I started making the mold:
Caboose Mold Begins

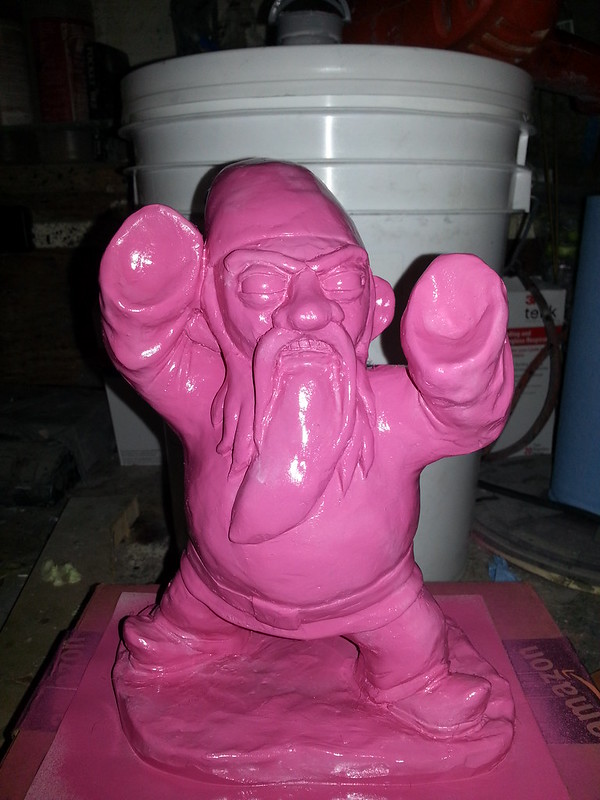
As usual for me, the jacket mold was silicone rubber from aeromarineproducts.com.  The plurple stuff is the pourable version while the pink stuff is the brushable version:Mk5 Mold Beginnings
If you noticed the ice cube tray full of silicone in the above picture and wondered "WTF?" good for you.  I was forming blocks of silicone to use as registration keys.  These were embedded in the second-to-last layer of silicone so that the rubber jacket would have nubs sticking out to keep it properly aligned within the mothermold.

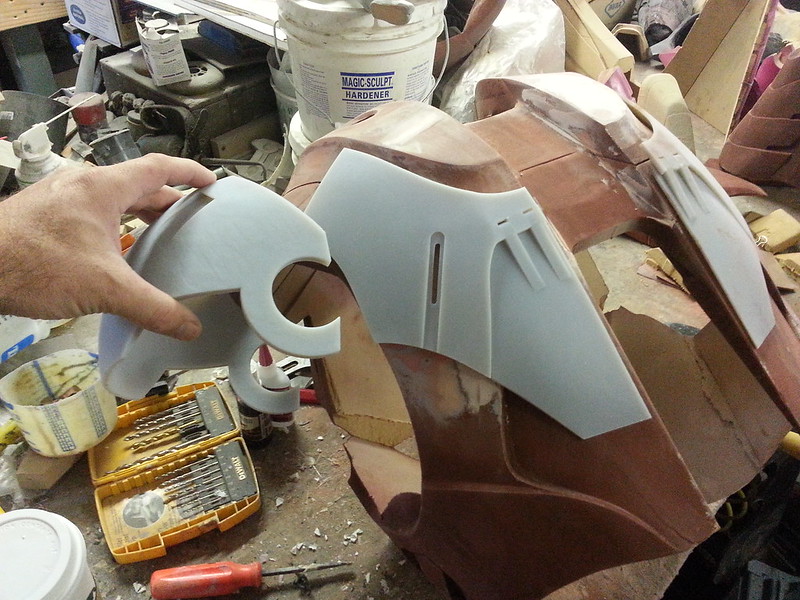
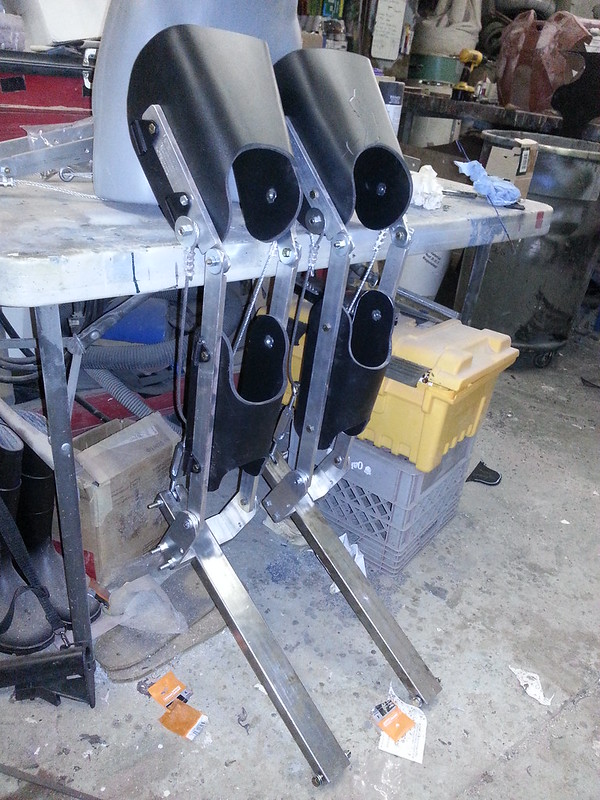
Once I had enough layers of rubber to make it strong enough for the strain of casting, it was time to lay up the fiberglass mothermold.  Here you can make out the outline of the rubber blocks from the ice cube tray:
Mk5 Mothermold Front

Once the fiberglass had set, it looked about like so:
Mothermolds Finished
The mold on the right was for my Warhammer 40k Chaplain helmet

Before pulling the two halves of the mothermold apart, I drilled holes around the flange that sticks out around the helmet so I could bolt the two halves together.  Then I unbolted them, separated the halves of the mothermold, and removed the prototype.

Casting copies of something hollow (like most helmets are) involves a process called rotocasting or slushcasting.  Basically you mix a small batch of resin and pour it into the mold.  Then you rotate the mold so that the resin flows over the entire surface and leaves a layer of material throughout.  Once the resin cures, you repeat the process a few times until you have built up enough thickness for the part to be strong enough to use.  Then you separate the halves of the mothermold, peel off the rubber jacket mold, and marvel at the shiny new helmet you've made. 

Repeat as necessary until you have enough helmets for your whole army.

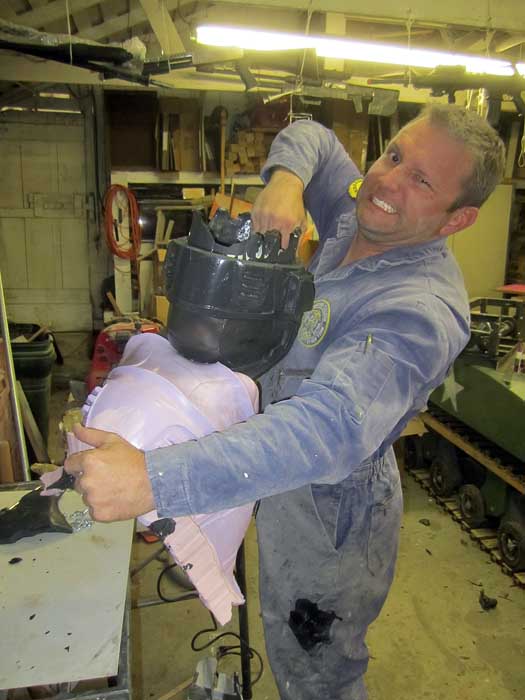
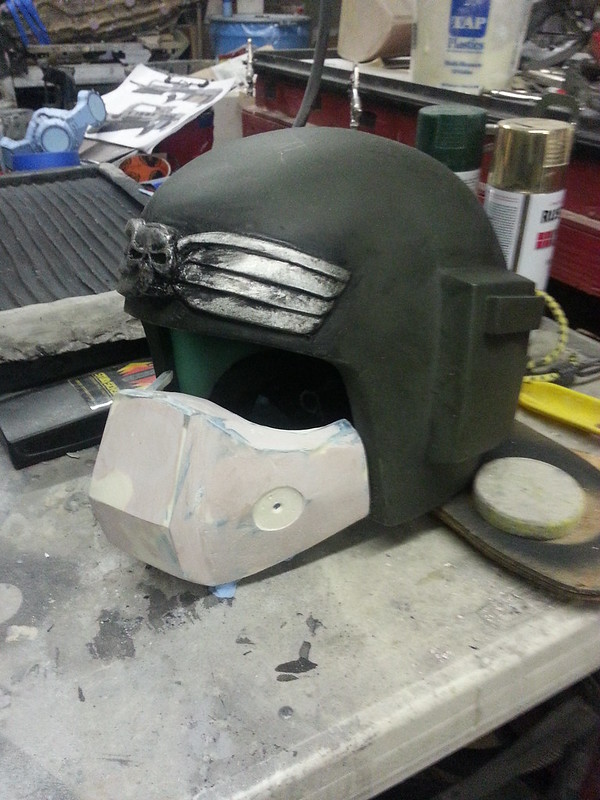
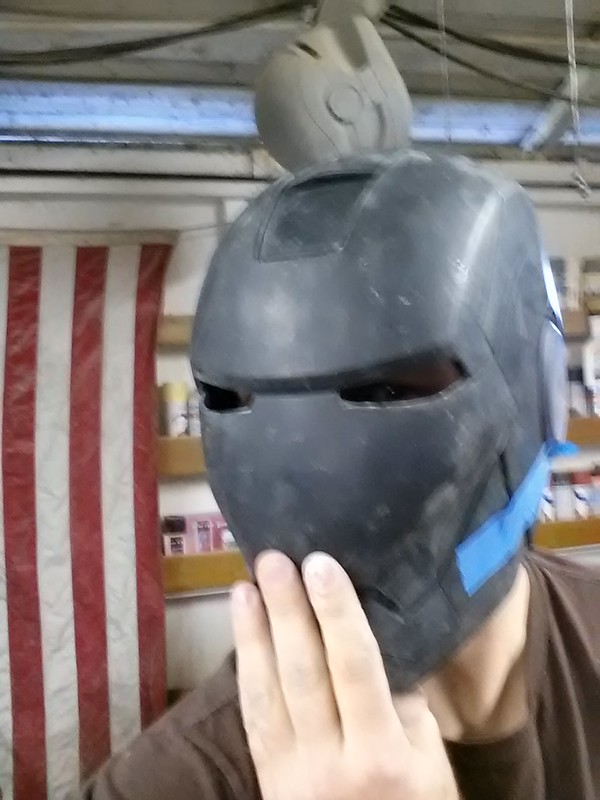
Here I am pulling the first casting out of the jacket mold:
Mk5 Helmet first pull

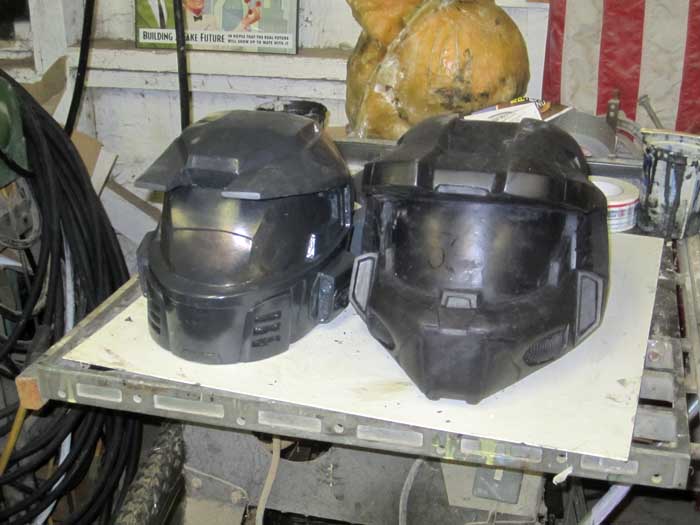
Here's the first casting next to one of my MkVI Master Chief helmets:
HALO helmet comparison


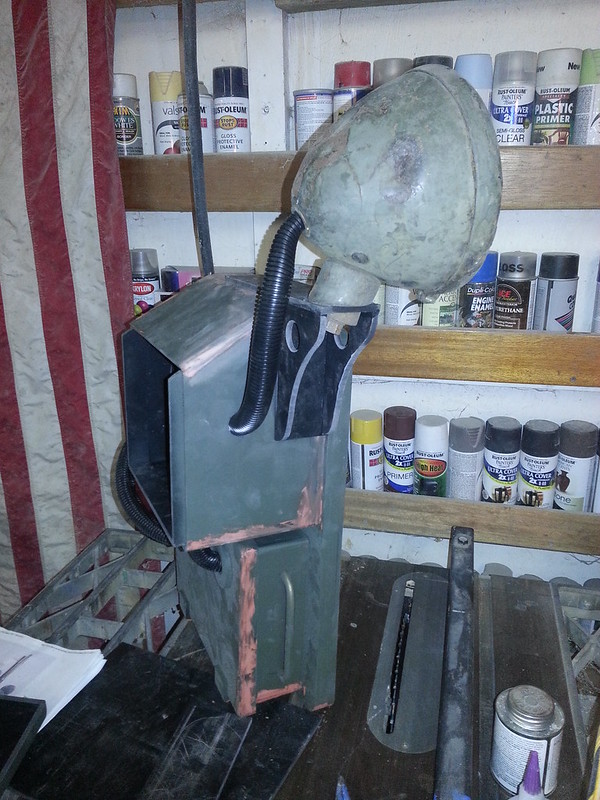
Once I had that cast cleaned up, I gave it a quick coat of blue paint and it promptly fell off my list of things to do.  To keep it out of the way, I hung it up in the rafters with all of the other unfinished helmets.  

Then, months later, I got an email from Adam Grumbo, founder of the 405th Infantry Division.*  He was working on a rushed hush-hush project and in dire need of a MkV helmet such as Caboose wears in seasons 6-10 of Red vs Blue. 

I pulled the blue helmet down from the rafters, knocked the dust off of it, and mailed it to him.  Some time later, he sent me a snapshot of it all painted up and it looked good.  

Then I forgot all about it.

Fast forward a few months, I'd bought the DVD of Halo 4: Forward Unto Dawn.  Mixed in with the special features was a live action Red vs. Blue skit by Rooster Teeth.  At some point in the skit, in walks none other than Private Michael J. Caboose wearing a very familiar helmet:


So now one of my helmets is famous.  Cool.

It was enough to convince me to grab the mold, pull another casting out of it, prep it, spray on a coat of blue paint, and hang the unfinished helmet up in the rafters again.

I'm sure I'll finish one of these sooner or later. 


*The 405th is the central costuming forum for all things Halo-related.  Check it out at 405th.com.

Sunday, March 3, 2013

UFO Sightings in the Workshop

I've got a few dozen things in the works right now, so I haven't had a lot of time to spend writing about them.  Here's just a few of the UnFinished Objects rattling around in the workshop right now...

Since I'm on a roll with Warhammer 40,000 stuff, I've decided to make a Voxcaster to go with my Imperial Guard costumes.  It's nearing completion:
Vox Box Green

Vox Box Light Added

I'm also working on some other small bits and pieces for them.  Notably this hostile environment mask:
Facemask Beginning
 
After over a year on the backburner, I've finally made molds for my Helghast Assault Rifle from Killzone.  Here's the first two casts with the paintjob nearly done:
STA-52 LAR Pair Painted

While I was planning on just making the rifle to hang on the wall, the more time I've spent on it, the more intrigued I am by some of the other elements in the game.  So I've started working on the helmet worn by the Light Assault Infantry troops as well:
Untitled
I don't like the oversized look of the rivets I added, so I've already plucked them off.  I'll probably put in carriage bolts instead.  Once the helmet is done, I'll get to tinkering with the facemask and the glowing eyes.  Then I'll just have to talk myself out of making the whole costume to go with it.

The thing taking up the most space in the workshop right now is the Ironman project:
Parts Seated

This is my first all digital build.  I'm making the smaller pieces on my Objet 30 3D printer and carving the bigger pieces on my Craftsman Carvewright CNC machine.  Here's one of the shoulder parts during test fitting:
 first printed shoulder part

This one's going to be a lot of fun when I'm done with it:
First Casting Test Fit

While the Ironman project is taking up the most space right now, it's about to be eclipsed by something I'm currently referring to as "Project D."  Right now it's mostly just a couple pairs of digigrade stilts.  Here's one pair coming together:
Digitigrade Stilts Coming Together

Once I've got the stilts together, I'll be building up an armature so I can sculpt out the skin for this particular creature.  I don't want to go into details about what it's actually going to be on the off chance I have to scrap it somewhere along the way, but if it works it's going to be one hell of a thing.  Possibly two.

Last, but not least, I've finally made a mold for the bayonet attack version of the combat garden gnome:
Bayonet Attack Gnome ready to mold
The hands and rifle will be cast separately.  Once I've got a few painted up, I'll be offering them for sale in the Etsy shop: http://www.etsy.com/shop/thorssoli.

All of these things are shaping up simultaneously, so expect a whole string of posts as I finish them in the coming weeks.  Be sure to subscribe so you don't miss any updates.