About Me

My photo
I make toys for kids who don't want to grow up. I'm on the lookout for new projects. If you're interested in commissioning me to build something ridiculous, shoot me an email.

Monday, October 31, 2011

Halo Spartan Armor Photo of the Month


Tea For One

Photo: Melissa Howell
Props and Costume: Shawn Thorsson
Model: Shawn Thorsson

Sunday, October 30, 2011

Video from the Maker Faire

I did an interview about some of my build processes at the Maker Faire back in May. The video finally posted to Youtube the other day.  They've got me explaining the steps that went into building the weapons, but what's really great is the opening sequence.  Enjoy.


Everybody in costume really looked great, but I can't help thinking I kinda sound like an idiot. Nice to finally see the video.

Tuesday, October 25, 2011

Isaac Clarke's Engineering RIG Costume

A while back I posted about building the helmet for Isaac Clarke's engineering RIG from Dead Space 2


Wearing the helmet and nothing else looks wrong.  Plus, it tends to disturb the other patrons in the coffee shop I frequent.  This means I absolutely had to build the rest of the RIG.


Here's the end result:

For details on how I made it (and a few better pictures), read on.

Tuesday, October 18, 2011

Now Available: Combat Garden Gnomes with Grenades

First off, here's a picture of the finished sculpt next to the standing and kneeling versions:
Grenade Throwing Gnome Prototype Finished

As you can see, this guy is the heaviest gnome I've made yet.

Here's the first copy out of the mold:
grenade gnome pink

As usual, the original sculpt did not survive the molding process:
Grenade Gnome First Cast

I don't have any painted ones just yet, but when I do I'll be posting them up as well.


If you'd like an unpainted one, I've got some up in my Etsy shop: www.etsy.com/shop/thorssoli

Stay tuned...


.

Thursday, October 13, 2011

Wednesday, October 12, 2011

Building the M-3 Predator Heavy Pistol from Mass Effect 2 Part III: Painting and Wiring

When I last posted about this project, I had just finished casting it in solid urethane casting resin.  After cleaning it up a bit and filling in a few bubbles, I gave it a coat of black primer.  Then I sprayed the silver parts with Mirrorchrome paint from SpazStix.  That was covered with a satin clearcoat before I masked it off and picked out the black parts in satin black.  Then I went back and picked out all of the details by hand.


Here's the clean paintjob before weathering:
M-3 Predator Paint Progress


The weathering was simplicity itself.  Since I wanted the black parts to look like they were made of some sort of composite, I didn't add any scratch marks at all.  Instead, I just gave the silver portions a black wash to pick out the details and dirty it up a bit.  I'm pretty pleased with the results:
M3 Predator Heavy Pistol Showcase Photo


For the lights I just pressed masking tape over the holes and then poured clear casting resin into the holes from the inside.  Then I embedded a high-intensity blue LED into the resin between the holes so light would shine through both holes.  I think it worked out pretty well:
M3 Predator Heavy Pistol in Hand for Scale


While it looks reasonably threatening all by itself, these pictures hardly do it justice.  So I turned to Jia Jem, a lovely cosplay genius with an amazing collection of outfits in her portfolio.  Her rendition of Jack (Subject Zero) seemed like the perfect model to showcase the finished pistol.  It turns out she was already contemplating another version of Jack based on some of the concept art by Matt Rhodes.  So this gave her an excuse to finish that up.


Here's the end result of the pairing:
Mass Effect Alternate Jack 1


Mass Effect Alternate Jack 3


Mass Effect Alternate Jack 4


Mass Effect Alternate Jack 2

She really did a great job and I couldn't be happier with the pictures.  She's also planning another photoshoot, so I'm looking forward to even more pics.

Monday, October 10, 2011

First Teaser for HALO: Helljumper

The whole entire short film is supposed to be finished in January. For now, they've released a brief teaser.

Very brief:

Enough said.

Thursday, October 6, 2011

Rainy Day Bain

Rainy Day Bain
At least the weather's cooling off...

,

Heart of Gold Repair Update

A few years back, my onboard electrical generator started overheating.  It never worked all that well to begin with, so I wasn't thrilled to have to fix it again.  The problem turned out to be a failed raw water pump (it pumps cold seawater into the heat exchanger to cool the engine) and when I learned how much a replacement pump would cost, I figured it made more sense to buy a new generator altogether.


That was some time in 2008.


Since then I've had a few monetary setbacks and a luxury like having an onboard generator hasn't been very high on the priority list.  Essentially, the dead machine is just filling up space and serving as ballast on board to keep everything sitting on an even keel.


More recently, I had a survey done aboard the HofG and the surveyor recommended that I should remove the dead generator.  By his reasoning, it was just an extra liability and it was making it much harder to access vital systems and shutoff valves elsewhere in the engine room. 


He was right.  Now all I had to do was pull a massive, heavy chunk of steel (and wire, and oil, and rust) out of a room with no floor to stand on (and a ceiling too low to allow a person to stand upright) through a door only about half the width needed in order for it to fit through.

With no better way to occupy their time than to listen to me swear at my tools, Matt and Trevor came along to help.

Here's the offending piece of machinery before we got started:
HofG Generator Before

In order to make it fit through the door, we removed as many of its parts as we could.  The air filter, heat exchanger, control box, fuel filters, and countless other bits and bobs all had to go.

Matt pulled off the exhaust hose and went to work on the mounting bolts while reaching in through the aft end of the engine room.  Meanwhile, I worked at the rest of it while sitting on top of the engine down in the bilge.

Here's what we looked like while fighting off claustrophobia and trying not to crush anyone in the process:
HofG Generator Teardown 2

We managed to get much of the electrical end apart, but we needed a much bigger hammer if we were going to tear it down any further.  Instead, we had to wrestle the now-much-skinnier generator out through the aft door into the master cabin.

I'll admit that I'm not at all thrilled about the idea of this thing sitting in my bedroom for any length of time.  Still, once it's hoisted up and out I'll be able to get back to cleaning things up once and for all:
HofG Generator Teardown

I had the boatyard blank off the raw water intake and I'm still planning on capping the exhaust fittings, but at least this beast isn't in my way anymore.

While the boat was out of the water, I also had the yard go ahead and free up a couple of the through-hull shut-off valves that had siezed. 

There's still a few scheduling setbacks that have the rigging work stalled.  But the mast is ready to step and the rigging wire is all made up.  With any luck I'll have the boat back sometime this month.

Stay tuned...

Sunday, October 2, 2011

Work in Progress: Grenade Throwing Combat Garden Gnome

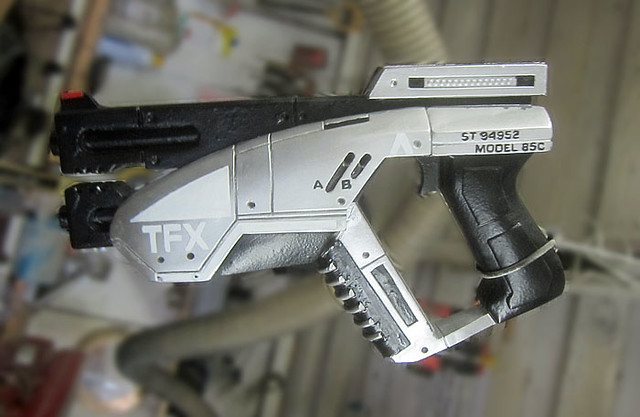
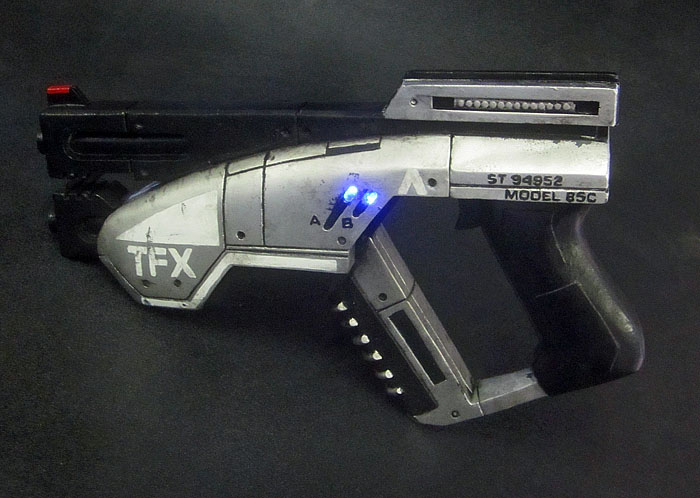
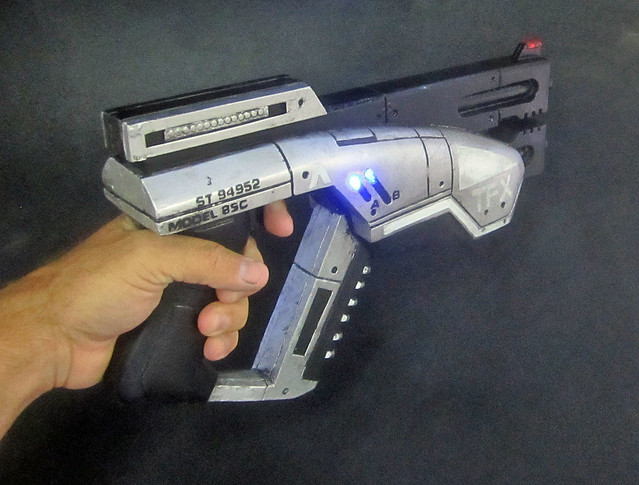
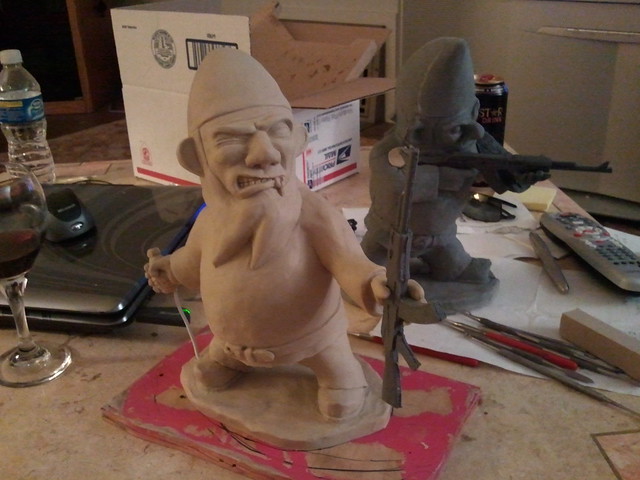
I've been getting around to sculpting this guy for a while. The roughed-out version has been sitting unfinished on the shelf for a couple of weeks, so the other night I locked myself in a room and refused to come out until it was presentable.

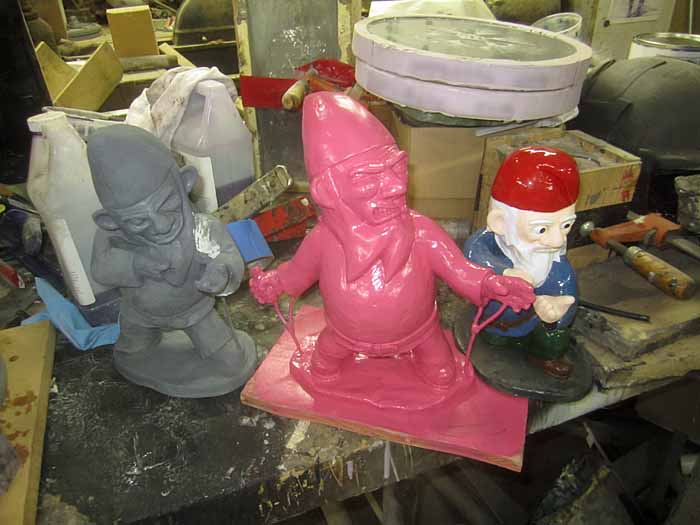
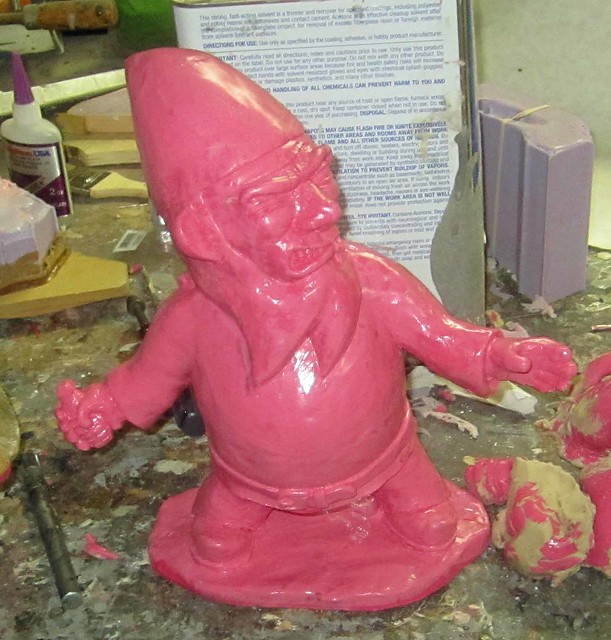
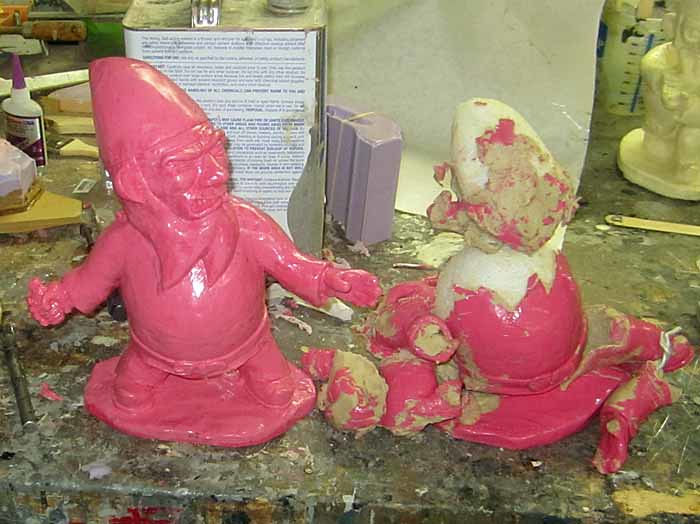
By 0430 (in the morning) he looked like so:
Combat Garden Gnome with Grenade

I'm definitely happy with this little guy:
Grenade Gnome Face Details

You may have a bullet with his name on it, but he's got a grenade addressed "to whom it may concern."

Now all he needs is a bit more smoothing and detailing, then I'll start making the molds.  As usual, I'll be selling these in my Etsy shop: www.etsy.com/shop/thorssoli

He also needs a bit more back story.  Any suggestions?

.